
 Pin
Pin
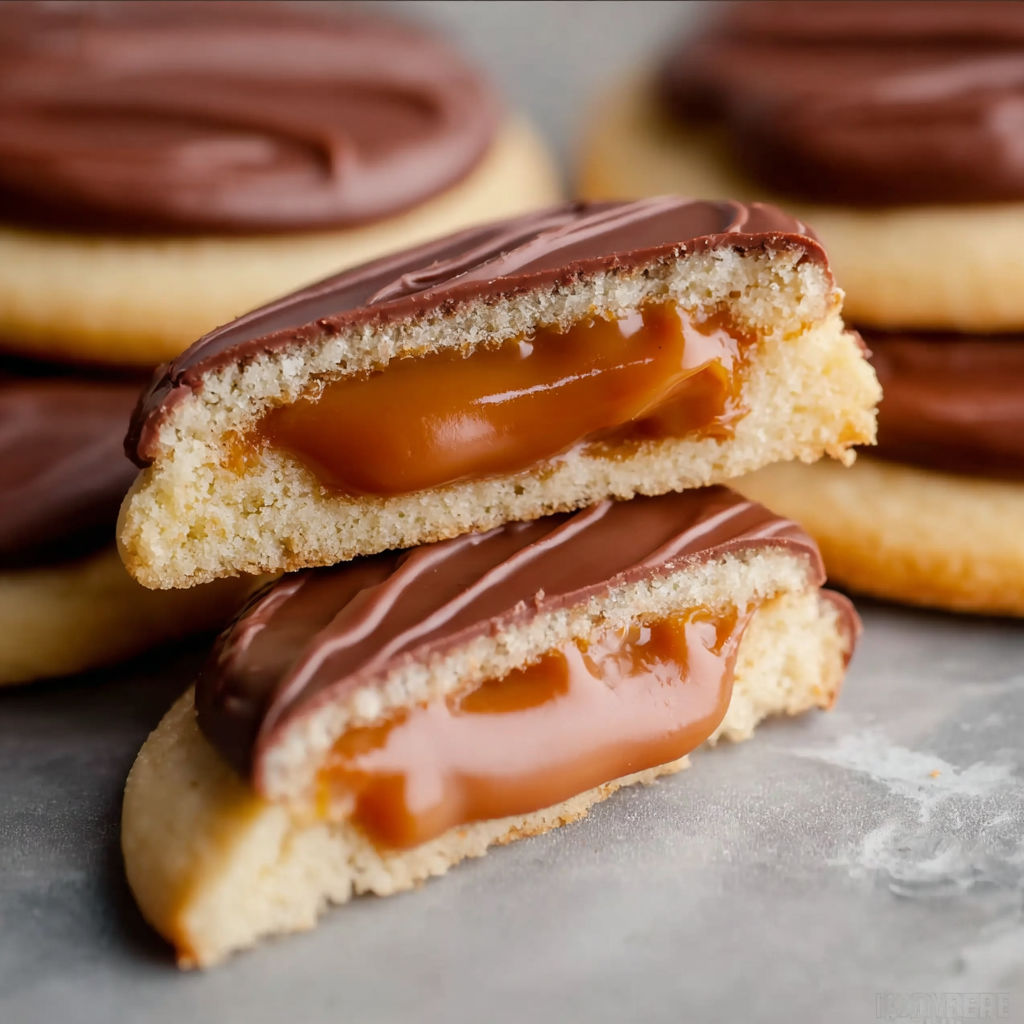
These homemade Twix cookie cups turn an ordinary day into something extra special, giving you that iconic candy bar taste with the bonus of freshly baked goodness. When you bite into that combo of crisp cookie base, sticky caramel middle, and velvety chocolate top, it brings both comfort and nostalgia. They're super simple to make and always get snatched up fast at get-togethers or family film sessions.
The first time I baked these for my children's birthday sleepover they nicknamed them the ultimate cookies and they vanished so quickly I couldn't save any for later
Round Up Your Ingredients
- Salted butter: creates a flavorful foundation and its salt cuts through sweetness try to grab quality American or European style when possible
- Granulated sugar: adds sweetness and helps create crispy edges choose regular fine sugar for best results
- Vanilla extract: brings warm flavor notes genuine vanilla works best if you have it
- Egg white: works as the glue for your dough let it sit out until it reaches room temp
- All purpose flour: forms the cookie's backbone remember to stir it before you measure
- Baking powder: adds lift and prevents heavy cookies make sure yours isn't expired
- Caramels: form the essential middle layer pick ones that feel soft to touch
- Milk: helps thin the caramel just a tiny bit makes spreading easier
- Milk chocolate chips: create the classic topping invest in good ones for smooth melting
Baking Instructions
- Warm Up and Get Ready:
- Turn your oven to 350 degrees while you mix everything. Get a clean counter and sprinkle plenty of flour on it to prevent your dough from sticking.
- Mix Butter and Sugar:
- Put your soft salted butter and granulated sugar in a bowl of medium size. With your mixer running at medium, beat them together for 2-3 minutes until you see it turn light and airy. Don't skip this step—it's what makes your cookies soft.
- Mix in Wet Stuff:
- Break open an egg and keep just the white part. Drop this white and some vanilla extract into your butter-sugar mix. Keep mixing for about half a minute until everything looks smooth and well combined.
- Combine Dry Items:
- In another bowl, stir together your flour and baking powder so the rising agent gets spread out evenly. Add this dry mixture to your wet ingredients in three batches, mixing on low so you don't end up wearing flour. Mix just until you get a nice soft dough.
- Form Cookie Shapes:
- Roll your dough on the floured surface until it's between 1/4 and 1/2 inch thick. Use a round 2-inch cookie cutter to make evenly sized circles. Place them on an ungreased cookie sheet, leaving room between each one.
- Bake Your Cookies:
- Put them in the oven for 6-8 minutes. Keep an eye on them and take them out when they look puffy on top and aren't shiny anymore. Don't leave them in too long or they'll get hard instead of staying soft.
- Let Them Cool:
- Move the baked cookies to a cooling rack so they don't keep cooking from the hot pan. Wait until they're totally cool before adding caramel or it'll just run off.
- Prepare Caramel Filling:
- Unwrap your caramels and put them in a bowl that's safe for the microwave along with a tablespoon of milk. Heat for one minute total, stopping halfway to stir. Once done, keep stirring until you get a smooth, fully melted mixture.
- Top Cookies with Caramel:
- With a small spoon, put 2-3 teaspoons of melted caramel on each cookie. Spread it almost to the edges but not quite, creating that signature caramel puddle look.
- Cool Caramel Layer:
- Stick the caramel-topped cookies in your fridge for 10-15 minutes. This helps the caramel firm up and stops the chocolate from mixing with it later, making cleaner layers.
- Prepare Chocolate Topping:
- In a fresh microwave-safe bowl, heat your chocolate chips in 30-second bursts, stirring between each until they're completely melted and shiny. Watch carefully to avoid burning the chocolate.
- Add Final Chocolate Layer:
- Spoon or drizzle the melted chocolate over each caramel-topped cookie. You can tip the cookies for an even coating or use your spoon back to make pretty swirls. Let them sit at room temp or pop them back in the fridge if you're in a hurry.
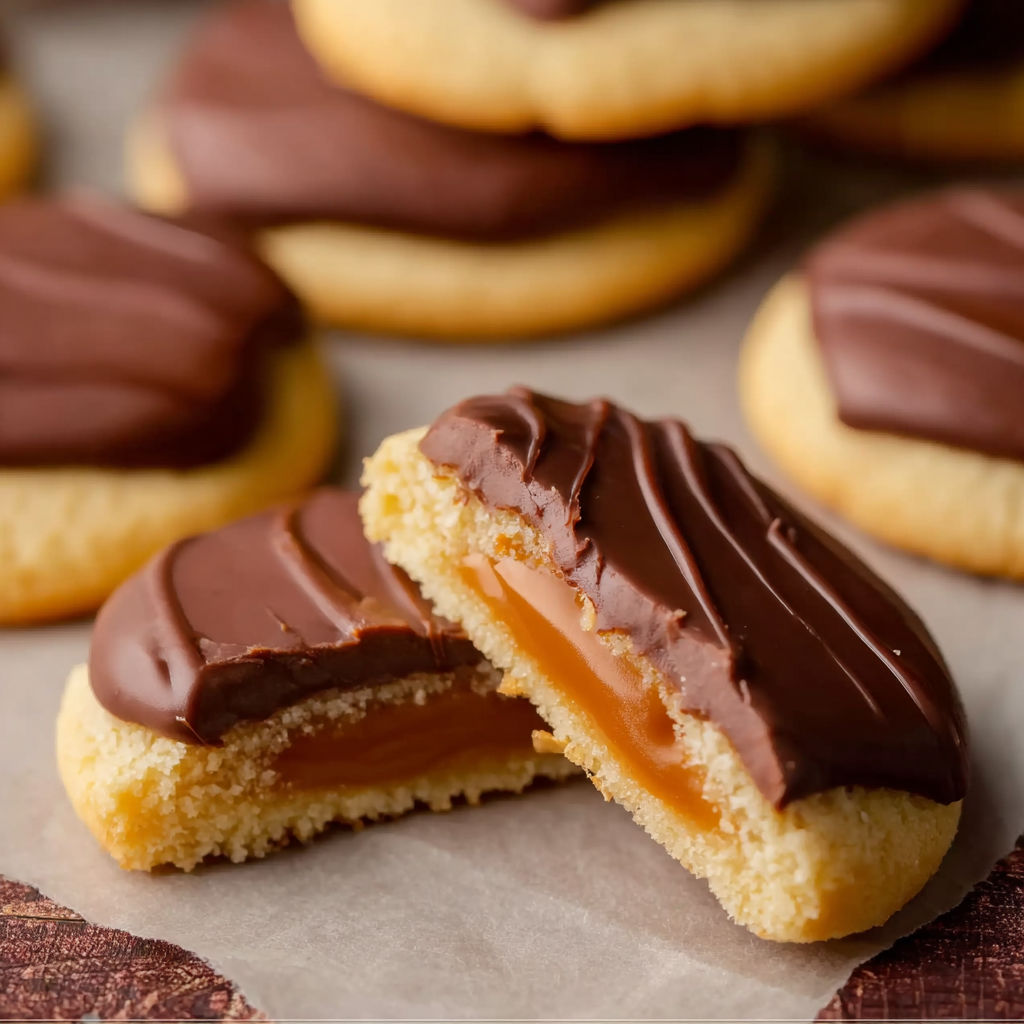
They remind me exactly of a Twix but with that warm homemade feeling I can't stop myself from dunking these in my coffee or a glass of cold milk and I often catch my family sneaking extras from the fridge when they think I'm not looking
Tasty Upgrades
Don't have milk chocolate? Try dark or semisweet chips for a more grown-up flavor. You can make your own caramel from scratch if you want more control over the taste. And if you need to skip gluten, a cup-for-cup gluten free flour mix works just fine here.
Ways to Enjoy
Show off your cookie cups on a fancy plate at dessert tables or wrap them up in clear bags as gifts. For an extra special treat, warm one up for a few seconds and add a scoop of vanilla ice cream on top.
Fun Variations
Make them festive by adding a tiny pinch of sea salt or colorful sprinkles on the chocolate before it sets. While these taste amazing any time of year, they feel extra magical when shared during Christmas or passed around at Halloween parties.
Watching people's faces light up when they realize you've turned their favorite candy bar into homemade cookies brings its own kind of joy The pleasure comes from both creating and sharing these little treats
Common Questions About This Recipe
- → How do I know when the cookie cups are done baking?
Look for puffy cookies that aren't shiny anymore. Don't leave them in too long if you want them nice and soft.
- → Can I use homemade caramel instead of store-bought caramels?
For sure, homemade works great. Just make it thick enough to spread but not runny for the best outcome.
- → What type of chocolate works best for the topping?
Go with milk chocolate chips to get that real Twix taste, but you can switch to semi-sweet or dark chocolate if you want something less sweet.
- → How should I store Twix cookie cups?
Put them in a sealed container and they'll stay good at room temperature for about 3 days. Pop them in the fridge if you need them to last longer.
- → Can I make these cookie cups ahead of time?
You bet. Make them a day before you need them. Keep them cold until it's time to eat, then let them warm up a bit for the best texture.