
 Pin
Pin
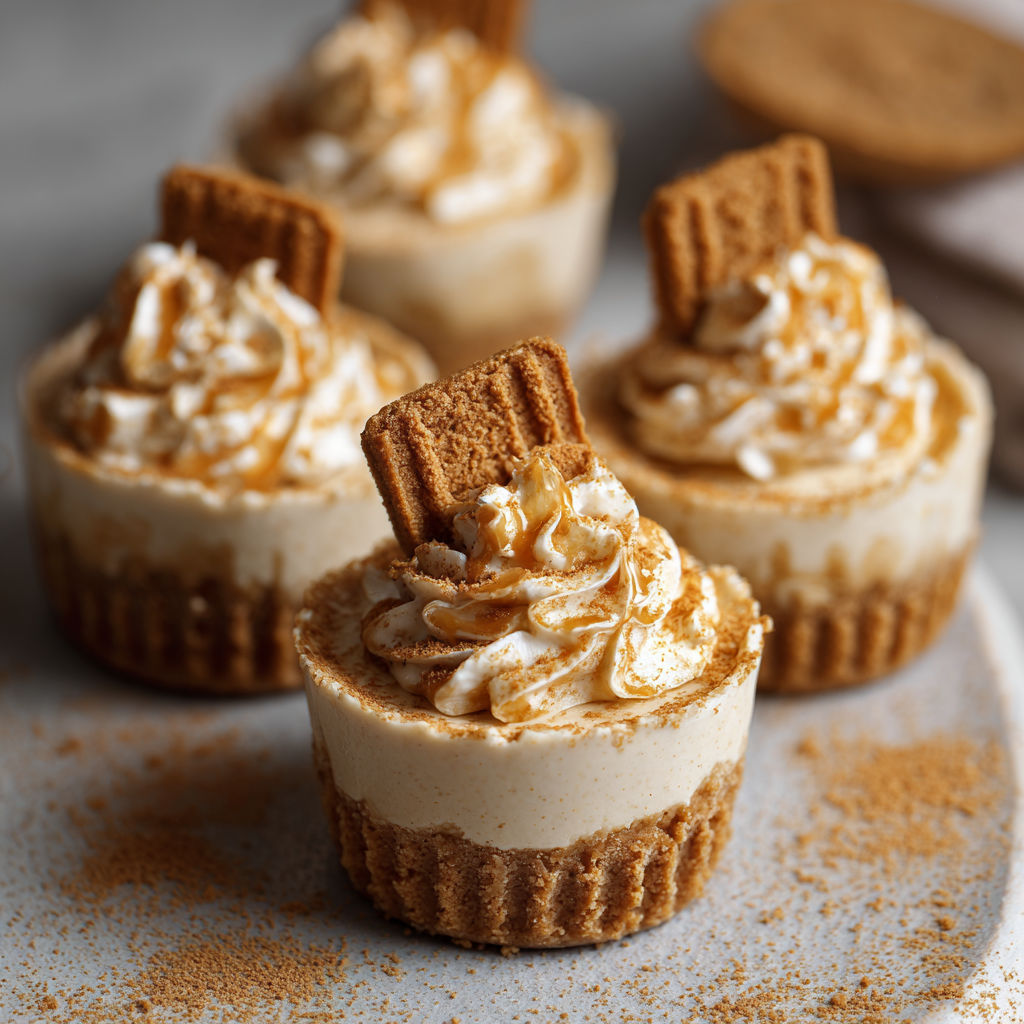
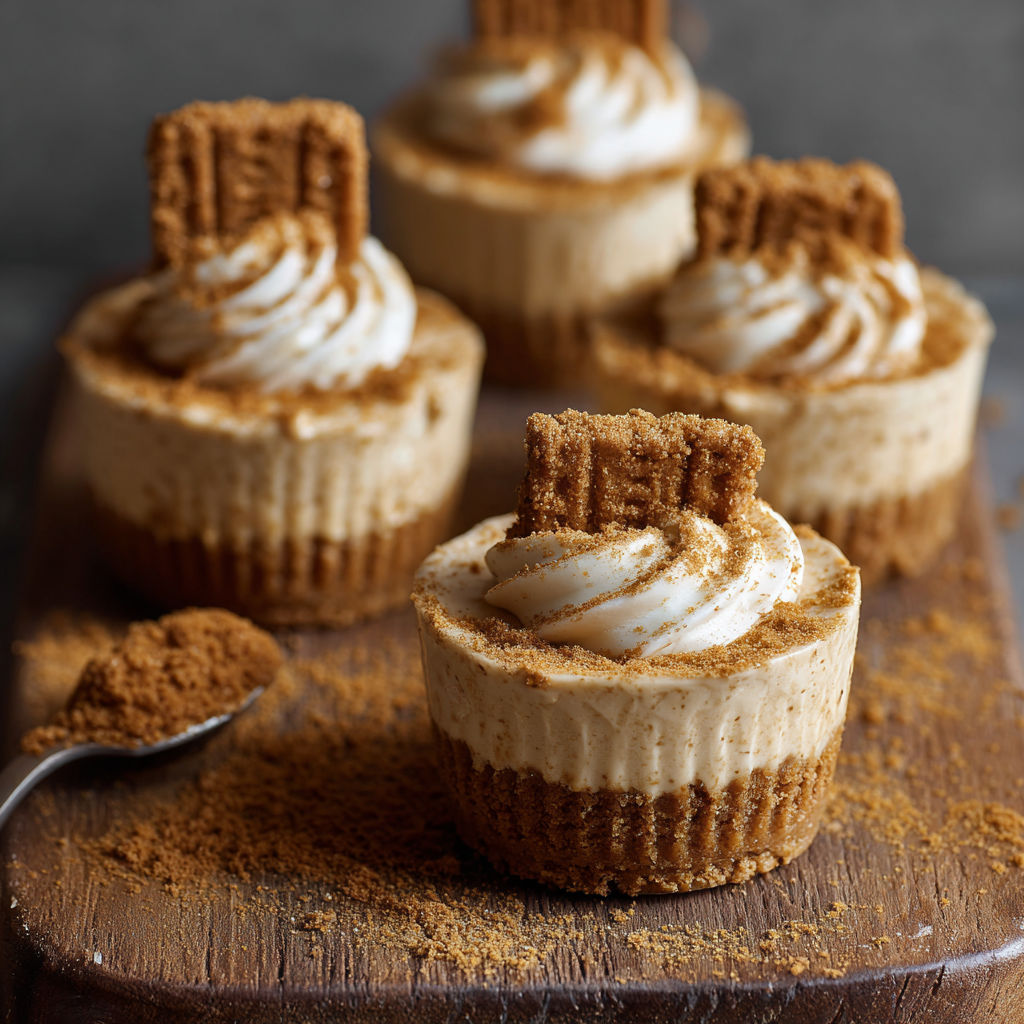
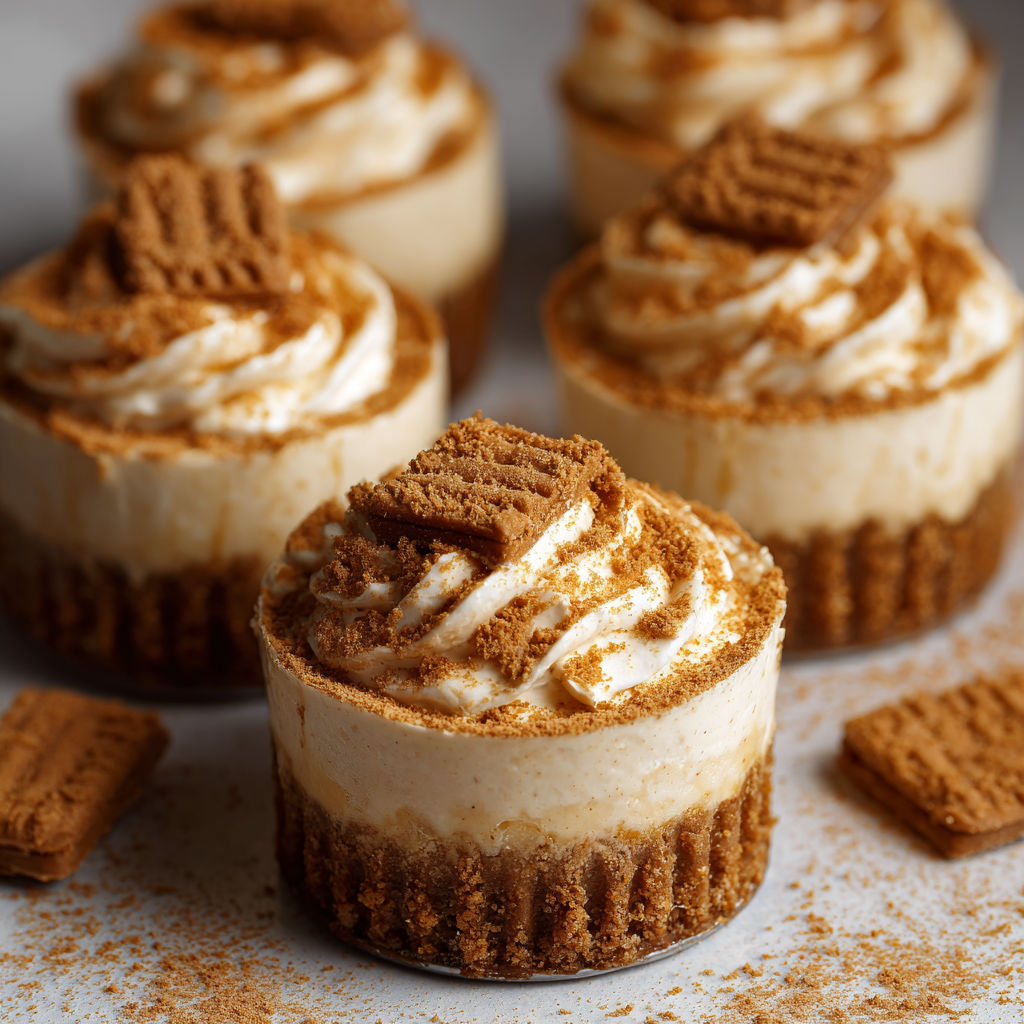
These No-Bake Biscoff Cheesecake Cups are my go-to sweet treat when I'm craving something indulgent without dealing with the oven. I first whipped these up during a family movie marathon, and they vanished so fast that everyone wanted more. They're super quick to put together, look fancy in their individual cups, and that amazing combo of spiced cookie butter with smooth cheesecake just can't be beaten.
I'm always amazed how these cups win over everybody who tries them. My sister now begs me to bring them to every birthday party, and any leftovers taste even better after sitting in the fridge overnight.
Gather Your Ingredients
- Unsalted butter: melted to create that yummy buttery base - grab one with a nice golden color for best results
- Heavy cream: whipped up for that airy, dreamy texture - make sure it says heavy or whipping on the carton
- Cream cheese: left out to soften gives that classic tang - room temp is key for no lumps
- Powdered sugar: blends in smoothly without any grainy bits - the fine stuff works best
- Biscoff spread: brings that amazing spiced cookie flavor - stick with original Lotus brand if you can find it
- Vanilla extract: ties all the flavors together - the real stuff makes a big difference
How to Make It
- Prepare the Cups:
- Mix crushed Lotus cookies with melted butter and push about 2-3 tablespoons into each dessert cup. Use a spoon's back to pack it down tight so it doesn't fall apart. Put these aside while making the filling.
- Whip the Heavy Cream:
- Grab a cold bowl and pour in your cold heavy cream. Beat it until it forms stiff peaks - that's when you lift the beaters and the cream stands up straight without flopping over. Set this fluffy goodness aside for now.
- Mix the Cheesecake Base:
- In another bowl, throw together your soft cream cheese, powdered sugar, Biscoff spread, and vanilla. Beat everything until it's perfectly smooth with no lumps. Don't forget to scrape down the sides of the bowl to catch any missed spots.
- Fold in the Whipped Cream:
- Now gently add your whipped cream to the cream cheese mix. Use slow, gentle movements to fold it in without squishing out all the air bubbles. You want to keep it light and fluffy.
- Fill the Cups:
- Scoop or pipe your cheesecake mixture on top of each crust. Try using a piping bag with a big tip if you want them to look extra fancy with pretty swirls.
- Layer the Melted Biscoff:
- Warm up some Biscoff spread in the microwave until it's just runny but not hot. Drizzle this over each cup for a shiny top layer. If you want, stick half a Biscoff cookie on top with some extra cookie crumbs.
- Chill and Serve:
- Pop these babies in the fridge for at least 4 hours or overnight. This waiting part is super important - it helps them firm up to the perfect texture. Serve them cold right from the fridge for the best taste.
There's something magical about the smell of Biscoff in desserts—it always takes me back to visiting my grandma in Belgium when I was younger. She always had a tin of speculoos cookies next to her tea kettle, and now every bite of these cheesecakes brings those sunny afternoons right back to me.
Flavor Boosters
You can keep these cups in the fridge for up to 3 days if you cover them well. They actually taste even better on day two! For special events, I make them the night before so all the flavors can hang out together. Want to save them longer? Wrap them tight and freeze for up to a month, then just thaw them in the fridge overnight before you plan to eat them.
Serving Suggestions
These cups look amazing with some extra Biscoff crumbs sprinkled on top, a light dusting of cinnamon, or a dollop of fresh whipped cream. In fall, try adding some baked apples or pears on top, or fresh raspberries during summer. They go perfectly with a hot cup of coffee or a shot of espresso for a fancy little dessert after brunch.
Creative Twists
You can try coconut cream instead of heavy cream if you don't do dairy, but it'll taste a bit different. Reduced-fat cream cheese works fine if you want something a little lighter. Any crunchy spiced cookies will do for the crust, though Biscoff gives you that classic taste. You can also try using peanut butter or Nutella for a totally different but still yummy flavor.
I've watched these cheesecake cups get snatched up within minutes at every potluck and family gathering. Serve them nice and cold to really enjoy that perfect mix of creamy, tangy cheesecake with warm spiced cookie butter flavor. Trust me, they'll be the hit of any party!
Common Questions About This Recipe
- → Can I use a different cookie butter for these cups?
Sure, you can swap Biscoff for another type of cookie butter like speculoos, but just know the caramel-spice flavor won't be exactly the same as what Biscoff gives you.
- → Do I need to bake the crust?
Not at all. The crust firms up just by cooling in the fridge. The melted butter helps stick all those crumbs together nicely.
- → How long should the cheesecake cups chill before serving?
Let them sit in your fridge for at least 4 hours. Leaving them overnight works even better for the perfect texture and richer taste.
- → Can I prepare these cheesecake cups ahead of time?
For sure. Make them a day before your event and keep them covered in the fridge. They'll turn out fantastic and save you time when you need it most.
- → What toppings go well with these cups?
Try adding more Biscoff spread on top, some cookie halves, fresh berry sauce, or even a little drizzle of melted chocolate to make them look and taste even better.