
 Pin
Pin
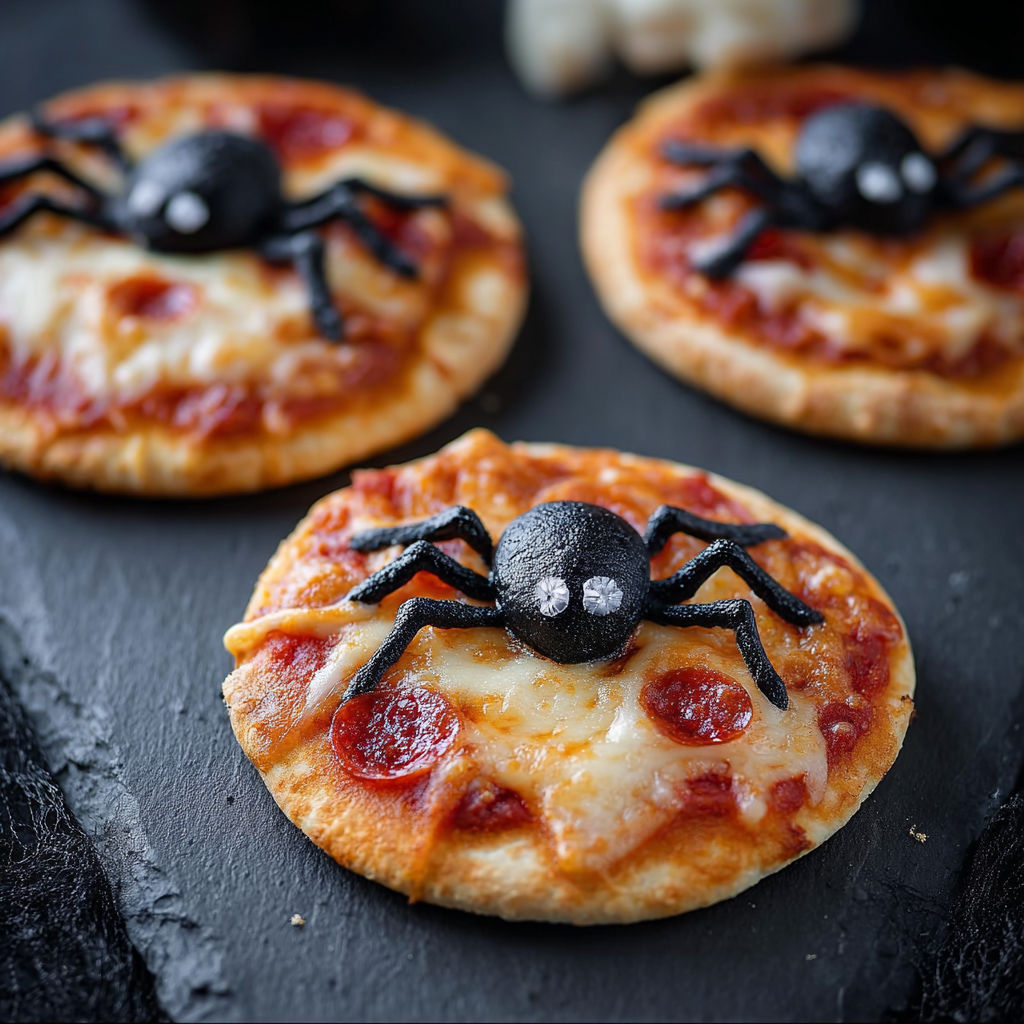
These tiny spider pizzas are what I always whip up for Halloween get-togethers when I need something playful, spooky and downright delicious. Everyone from little ones to grown-ups grab another slice, and even picky eaters can't turn down these adorable mini pies topped with cheese spiders and olives. They transform any event into a party and create laughs every Halloween season.
My kids beg for these when October comes around. We create a large batch and everybody crafts their own spider faces, sometimes getting pretty competitive about who can make the scariest design.
Round Up Your Ingredients
- All purpose flour: creates that familiar stretchy pizza base texture go for unbleached for richer flavor
- Whole wheat flour: adds wholesome grainy goodness and slightly earthy taste try to find fresh-milled if you can
- Warm water: gets the yeast working and pulls the dough together shoot for about 110 degrees for perfect rising
- Room temperature water: keeps everything at the right heat so yeast doesn't get too hot
- Honey: gives a hint of sweetness that makes the crust golden brown local varieties work best
- Olive oil: adds softness and keeps things tender look for extra virgin for better aroma
- Active dry yeast: makes everything rise nicely check that it's fresh for best results
- Salt: brings out all the flavors fine sea salt mixes in more smoothly
- Tomato sauce: makes the tasty foundation for your toppings grab a good quality brand or cook up your own
- Garlic: brings punchy flavor always chop it fresh and very small
- Olive oil: another splash for cooking the sauce helps release all the good flavors
- Sugar: brings out natural sweetness in tomatoes regular granulated works fine
- Basil: adds fresh green notes dried is okay but fresh leaves taste much better
- Oregano: gives that pizza shop smell and taste Mediterranean varieties have the strongest flavor
- Salt: just a bit more for the sauce to make everything pop
- Mozzarella cheese: shredded creates that wonderful melty layer buy blocks and grate yourself for best melt
- Mozzarella string cheese: perfect for making spider legs tears into strips easily for spooky designs
How to Make It
- Make the Dough:
- Mix both flours together in a big bowl after sifting for extra fluffiness then add salt and put aside. Mix yeast with warm water and honey and wait until it gets foamy, about five minutes. Pour in olive oil and remaining water then stir into your flour mix. Knead either by hand or with a mixer for eight to ten minutes until it feels smooth and stretchy. Put in an oiled bowl, cover with a kitchen towel and let it grow for sixty to ninety minutes until it's twice as big.
- Prepare the Sauce:
- Warm up olive oil in a pot over medium heat and cook chopped garlic for one minute until you can smell it. Add tomato sauce, basil, oregano, sugar and salt then let it bubble gently for fifteen minutes so flavors can mix, stirring now and then. Take a taste and add more seasonings if needed.
- Shape and Prebake the Mini Pizzas:
- Push down the puffy dough and cut into twelve equal pieces. Roll each into a small circle about four inches across, trying to keep them even. Put these rounds on lined baking sheets, cover them and let them sit for ten minutes for a lighter texture. Bake in a four hundred twenty five degree oven for six to eight minutes just until they're set but not brown yet.
- Build the Spider Design:
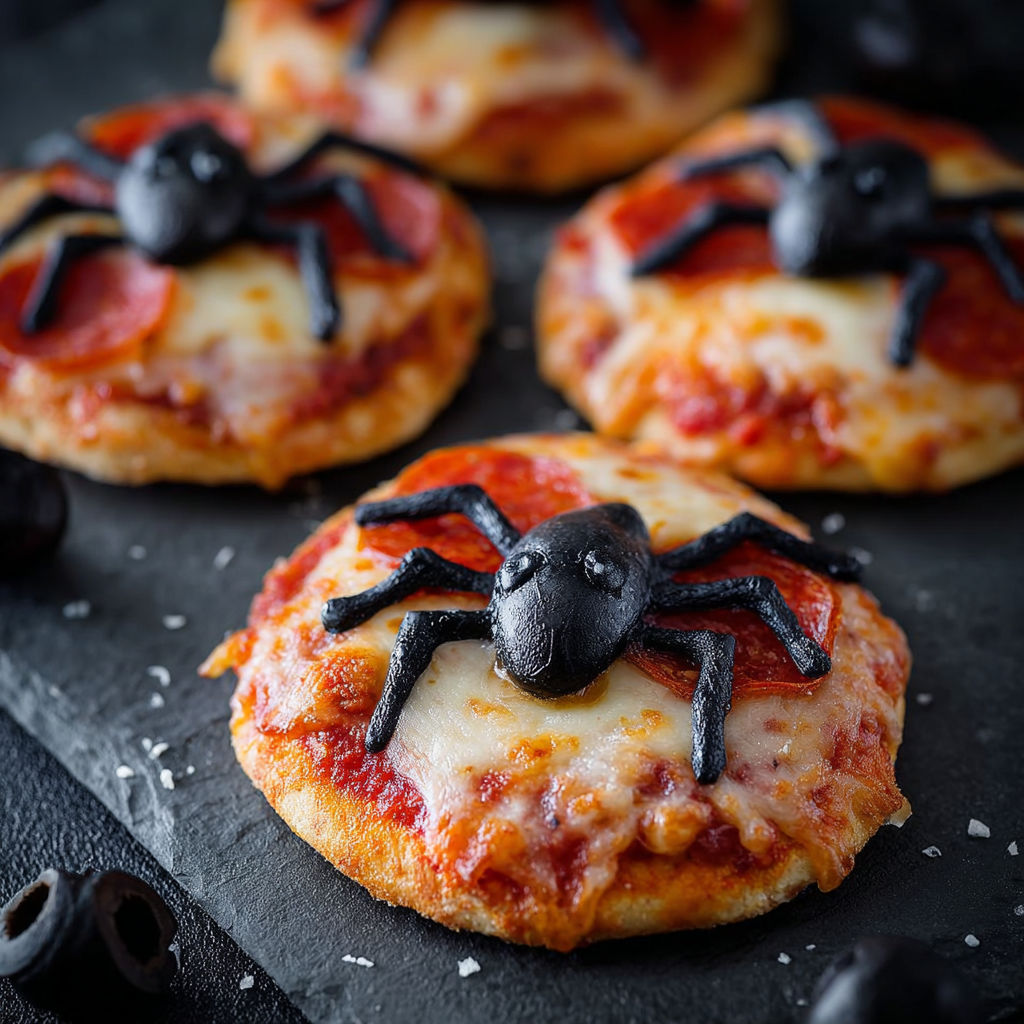
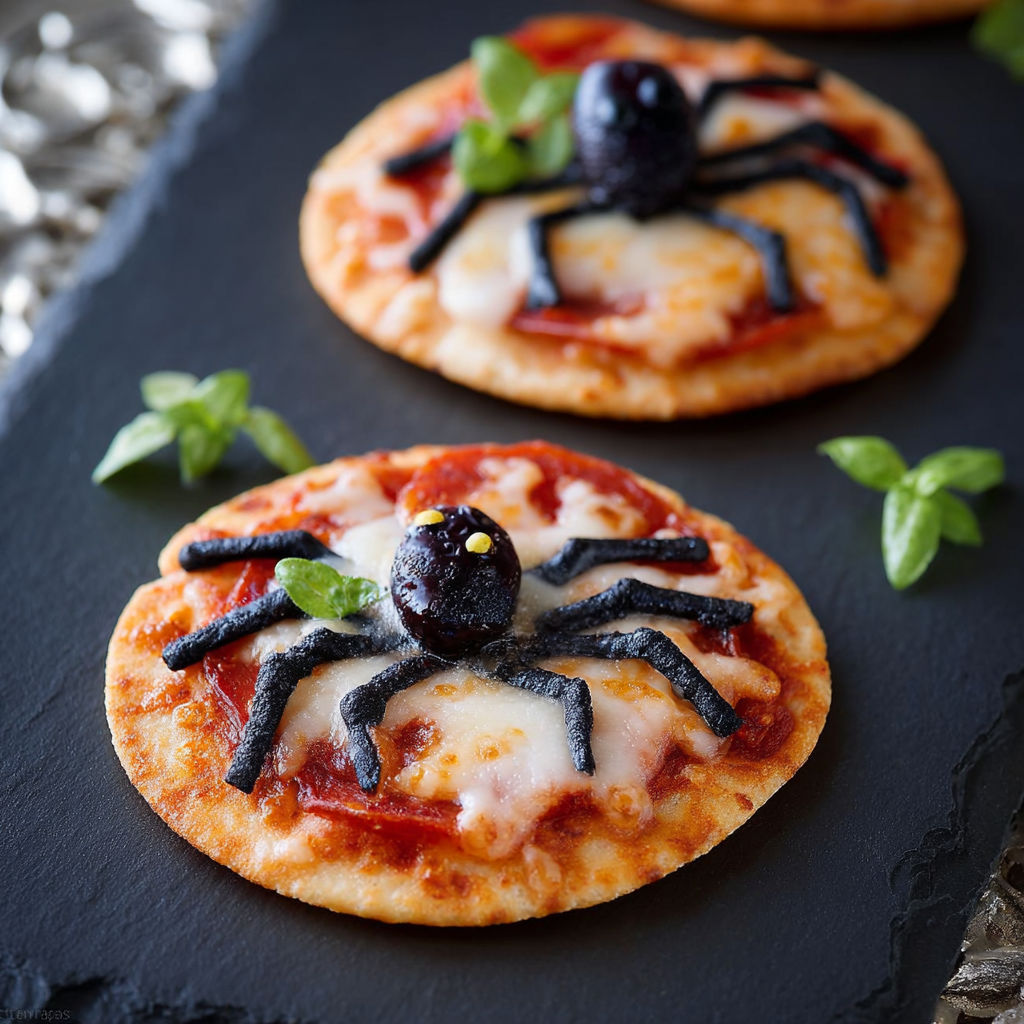
- Spread a big spoonful of cooled sauce on each pizza then scatter mozzarella all over. For the spider body, put a big olive or ball of cheese in the middle. Cut olives or string cheese into skinny strips for legs, putting four on each side. Press them down slightly so they stay put.
- Finish Baking and Serve:
- Cook pizzas for ten to twelve minutes at four hundred twenty five degrees until cheese is bubbly and the edges turn golden. Let them cool a bit before serving so your spiders don't fall apart.
What I love most is watching kids crowd into the kitchen excited to create their own spooky spiders, each one trying to outdo the others. String cheese works amazingly for those creepy legs, and my little one always adds two olive pieces for eyes to make them extra scary.
Flavor Boosters
Let pizzas cool all the way before storing them, place in one layer in a sealed container in your fridge. They'll stay good for about three days and warm up nicely in a toaster oven or microwave. For keeping longer, freeze them flat on a cookie sheet first, then move to a freezer bag and store for up to two months.
Serving Suggestions
Pair with carrot sticks shaped like witch brooms and bowls of pumpkin soup for a complete Halloween dinner. Add small pumpkins or toy spiders around the serving tray for party fun. When taking to school events, wrap in parchment paper with a cute sticker for easy handling.
Creative Twists
Try switching half the whole wheat flour with spelt or rye for different flavor notes. You can use store-bought pizza sauce to save time when you're busy. Non-dairy cheese works great for a plant-based version, and you can use black beans or cooked mushrooms instead of olives for spider bodies.
Take these mini pizzas to your Halloween party and watch how fast they vanish. Each bite brings holiday fun and happy faces all around the table.
Common Questions About This Recipe
- → How do you make the spider toppings?
Cut black olives in half for the spider body, then slice other halves into skinny pieces for legs. Place them on top of each mini pizza before they go in the oven.
- → Can I use store-bought dough?
Sure thing, ready-made pizza dough works in a pinch when you're busy. But making your own adds extra taste and a better bite.
- → What cheese is best for these pizzas?
Nothing beats mozzarella, whether it's shredded or string cheese, for that perfect melt and classic flavor. You can mix in other cheeses too if you want to try something different.
- → Are these suitable for kids' parties?
They're perfect for kids! The fun spider shapes and bite-size portions make them a big hit with little ones and they're super easy to hand out at birthday parties.
- → How can I store leftovers?
Wait till they cool down, then pop them in a sealed container and keep them in your fridge for up to three days. Warm them back up in the oven to keep them crispy.