
 Pin
Pin
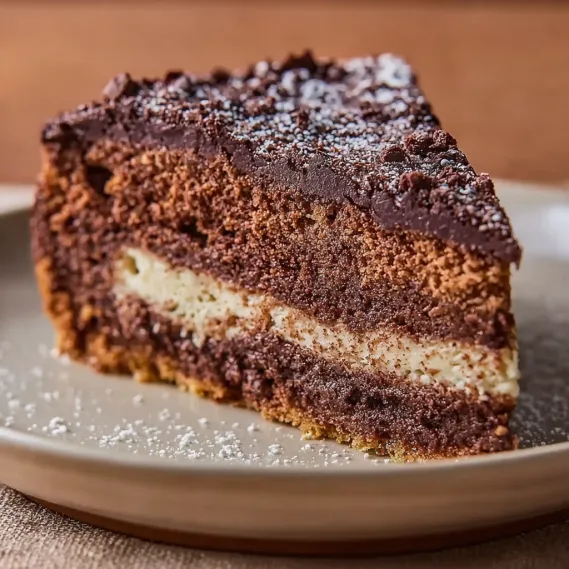
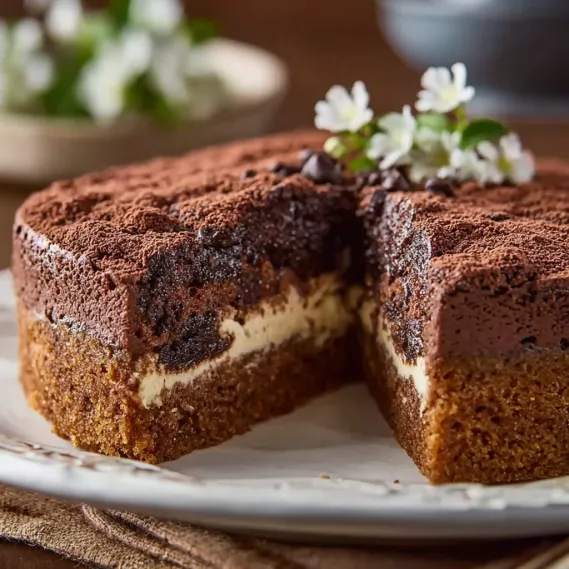
This divine chocolate Marie cake turns basic ingredients into a luscious no-bake treat that'll wow everyone. The smooth layers work perfectly with the crunchy Marie biscuits, making a dessert that seems fancy but takes hardly any work.
I whipped up this cake when my oven quit working right before friends came over for dinner. Everyone was so blown away they thought I'd bought it from a fancy bakery.
What You'll Need
- Heavy cream: gives your filling that wonderful fluffy texture
- Mascarpone cheese: makes everything extra creamy and holds the layers together
- Dark chocolate chips: bring that rich chocolate taste - don't skimp on quality here
- Marie biscuits: add just enough sweetness and give the cake its structure
- Butter: keeps the cookie base together and adds a lovely richness
- Granulated sugar: adds just the right amount of sweetness without going overboard
- Cocoa powder: for that pretty dusting on top that boosts the chocolate flavor
How To Make It
- Start With The Bottom:
- Smash up the Marie biscuits until mostly fine with some tiny chunks left. Mix thoroughly with melted butter until wet throughout. Push this mix down firmly into your springform pan so it's flat and tight. The fridge will help it get firm while you work on the rest.
- Mix Up The Filling:
- Beat the heavy cream and sugar in a big bowl until you get soft peaks - don't go too far. The cream should stand up a bit but still look a little shiny. Carefully fold the mascarpone in using a spatula without squashing all the air out. This makes a dreamy mousse-like filling that sets up nicely.
- Build Your First Layer:
- Spread half your cream mix over the cold crust, making it even with a spatula. Drizzle half the melted chocolate on top, then use a knife to make pretty swirls all through it. This makes little pockets of chocolate that taste amazing in every bite.
- Put In The Cookie Middle:
- Place the rest of your Marie biscuits in one layer over the cream. Push them down lightly so they stick to the cream below but not so hard that cream squeezes out. This middle bit gives you that classic crunch that makes this dessert so good.
- Finish It Off:
- Cover with the rest of your cream mix and smooth it out with your spatula. Pour the leftover melted chocolate on top and make more pretty swirls. Lastly, shake cocoa powder all over using a small strainer for that fancy restaurant look.
Dark chocolate really makes this dish special. I tried making it once with milk chocolate and while it was still yummy, it didn't have that grown-up richness that makes everyone go wow. My grandma always tells me good chocolate is worth spending more on, and she's totally right for this cake.
Keeping It Fresh
You can keep this cake in the fridge for up to 3 days and it'll still taste great. Just wrap it with plastic or put it in a container with a lid so it doesn't pick up weird fridge smells. It actually tastes even better the day after you make it as all the flavors mix together, making it perfect for when you want to cook ahead for guests.
Mix It Up
The original version tastes amazing, but you can easily change things up if you want. Try adding a spoon of coffee liqueur to the cream for a coffee kick. During Christmas, you can mix in crushed candy canes for a festive twist. You can also swap out the cookies for digestives or graham crackers to get a slightly different crunch and taste.
How To Serve It
For the best look, let the cake sit out for about 15 minutes before cutting so it softens a bit. Use a warm knife and wipe it clean between slices for the prettiest pieces. A tiny bit of whipped cream and some fresh berries on the side balance out the richness. For fancy occasions, try topping it with chocolate curls or a touch of gold dust to really wow your guests.
Common Questions About This Recipe
- → Can I swap marie biscuits for something else?
Sure, you can go with graham crackers, digestive cookies, or any similar crispy, light biscuit instead of marie ones.
- → How long does the cake need to stay in the fridge?
Give it at least 4 hours in the fridge, but leaving it overnight will give you the tastiest results and best texture.
- → Is it okay to use milk chocolate instead?
You can definitely use milk chocolate if you want something sweeter, but it might make the overall dessert a bit more sugary.
- → What's the trick to getting fluffy, smooth cream?
Beat your heavy cream with sugar until you see soft peaks forming, then carefully fold in the mascarpone so you don't knock all the air out.
- → What pan size works best?
A 9-inch springform pan works great, but you can always change the amount of ingredients if your pan is bigger or smaller.