
 Pin
Pin
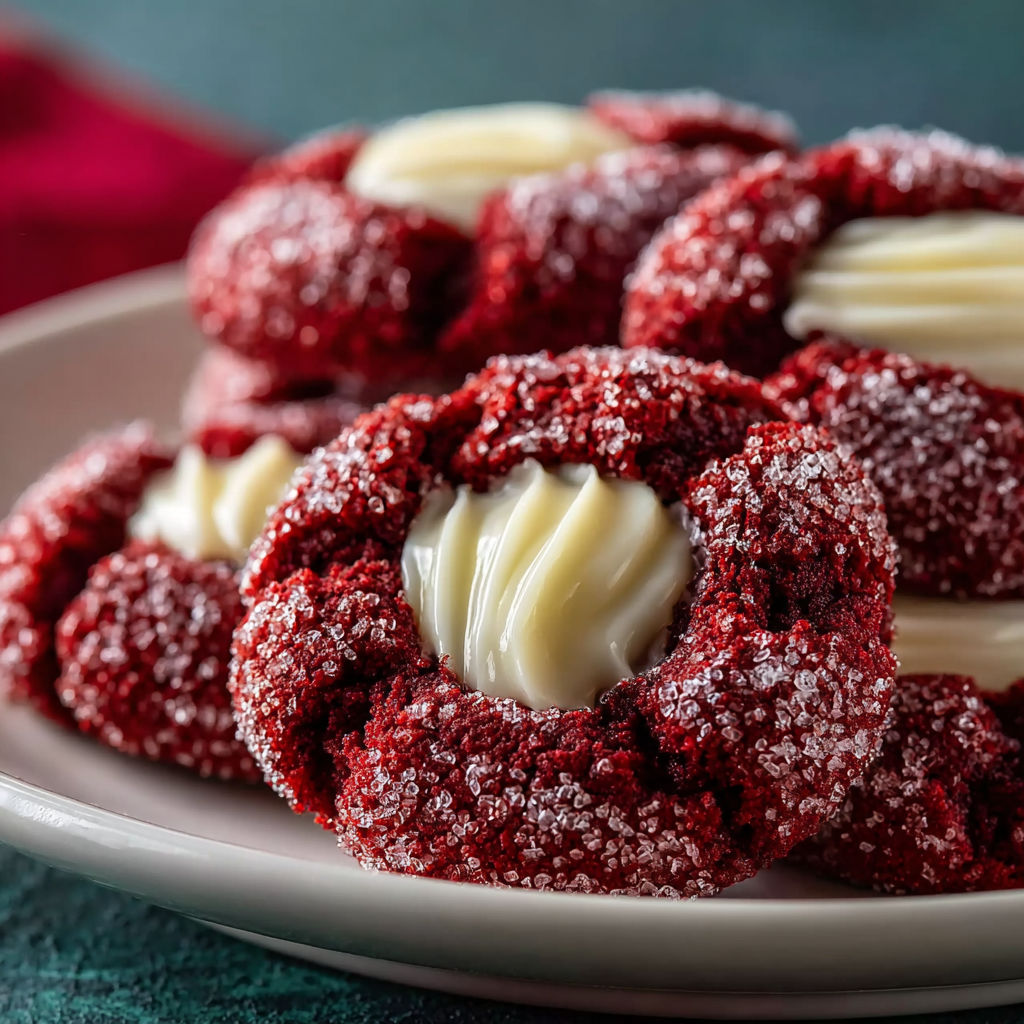
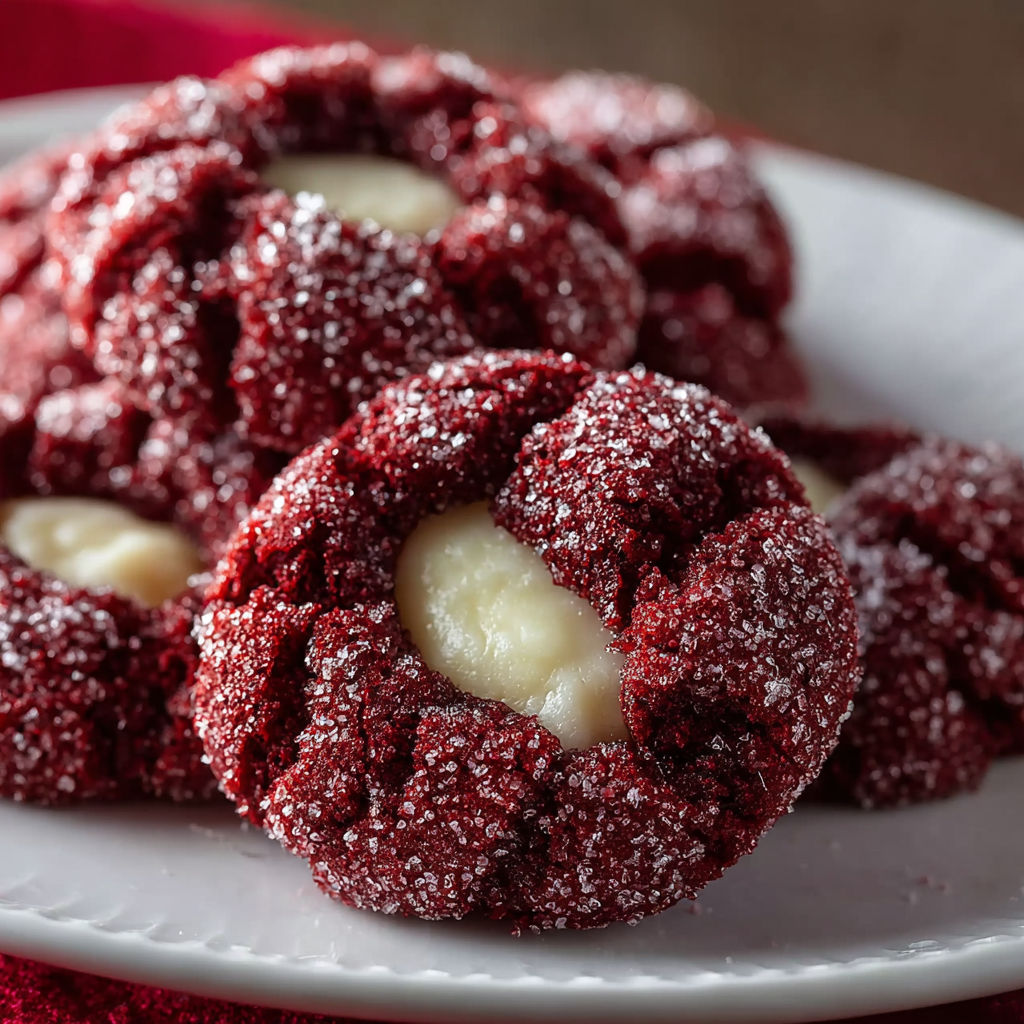
Crimson velvet thumbprint cookies combine the zesty sweetness of traditional red velvet cake with the tender, luscious middle of a thumbprint cookie. Great for celebrations, get-togethers, or just to liven up a normal day, they add both nostalgia and vibrant color to your sweet spread. The rich cocoa hints and buttery aroma transport me straight to those cold afternoons baking with my cousins—each of us stealing bits of dough before it landed in the oven.
My folks can't get enough of these cookies during festive seasons—they look fancy on a dessert plate but don't need much work. Each year, we end up making twice as many because they vanish so quickly.
Round Up Your Ingredients
- All purpose flour: Provides foundation and texture. Go for fresh unbleached variety for ideal results
- Unsweetened cocoa powder: Adds rich chocolate taste. Dutch processed works best for a more mellow flavor
- Baking soda: Helps cookies puff up slightly and keeps them tender
- Salt: Enhances sweetness and brings out cocoa flavors
- Unsalted butter: Delivers decadence in both cookie and filling. European-style butter makes them extra indulgent
- Granulated sugar: Adds sweetness and creates a slight crunch outside. Make sure it's fresh without clumps
- Large eggs: Hold everything together and make cookies soft. Warm eggs mix better
- Vanilla extract: Complements the chocolate notes. Real extract tastes much better than imitation
- Red food coloring: Creates that eye-catching color. Gel versions offer deeper shades
- Buttermilk: Gives a slight tang and softness. Real cultured buttermilk makes the best version
- Powdered sugar: Creates smooth, sweet filling. Sift it first to avoid bumps
- Cream cheese: Makes the middle tangy and velvety. Stick with full-fat block style
- Parchment paper: Keeps your cookies from sticking to the pan
- Shallow dish: Needed for rolling dough balls in sugar
How to Make It
- Mix Dry Ingredients:
- Stir flour cocoa powder baking soda and salt in a medium bowl until totally combined so everything blends evenly throughout the dough
- Cream Butter and Sugar:
- Beat softened butter with granulated sugar in a big bowl for about 2-3 minutes until it looks fluffy and lighter in color which adds air for a better texture
- Add Eggs, Vanilla and Food Coloring:
- Drop in eggs one by one mixing fully after each. Then pour in vanilla extract and red food coloring stirring until you get a bright uniform mixture
- Combine Wet and Dry Ingredients:
- Slowly add dry ingredients to wet mixture taking turns with buttermilk. Stir just enough to form a thick somewhat sticky dough
- Shape and Sugar Coat:
- Grab tablespoon chunks of dough and form each into a ball. Roll them in granulated sugar covering all sides. Arrange on parchment-covered baking sheets leaving two inches between each
- Bake:
- Cook in a 375 degree Fahrenheit oven for around 12 minutes till cookies seem done but still feel soft. Use a spoon to gently push down the middle of each for that classic thumbprint look
- Make the Cream Cheese Filling:
- While cookies cool mix softened cream cheese and butter until smooth. Add sifted powdered sugar and vanilla extract. Beat until it's silky and thick
- Fill Centers:
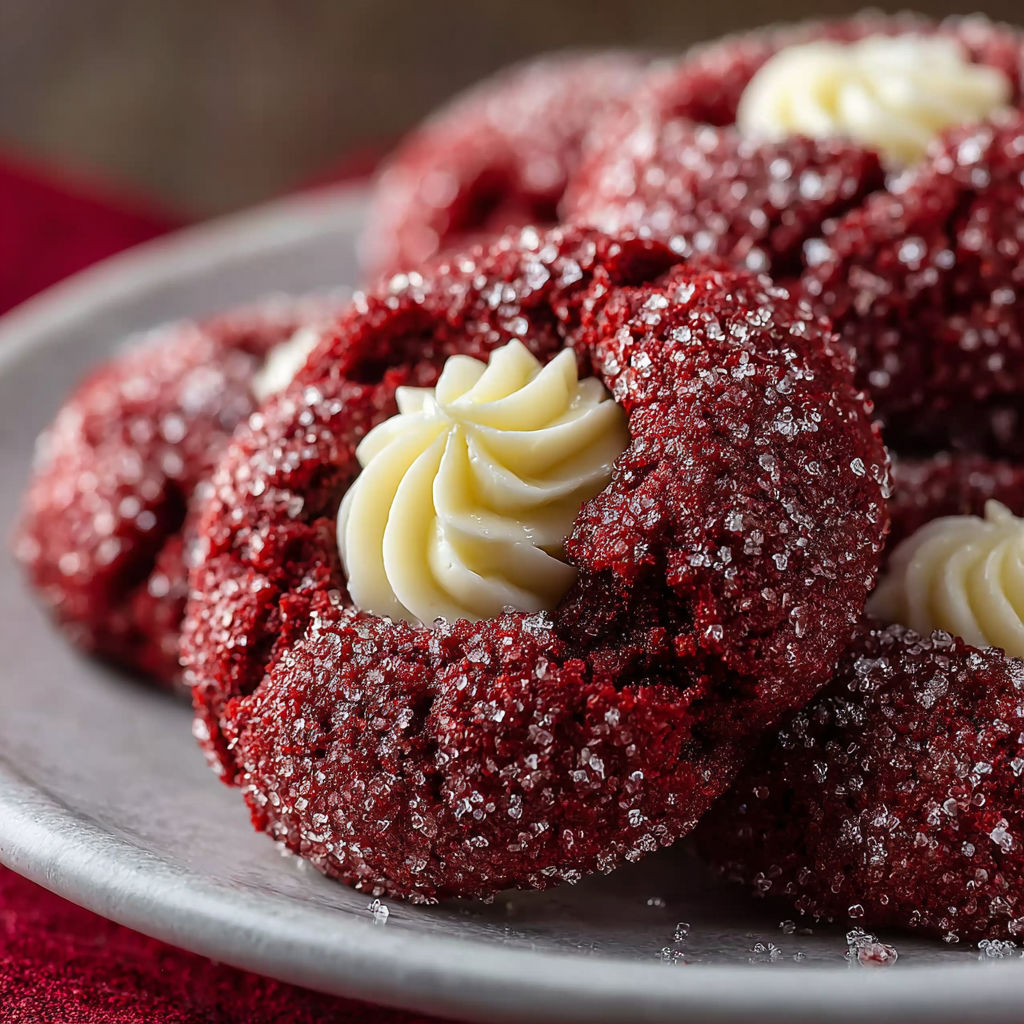
- After cookies cool down completely spoon or pipe cream cheese filling into each thumbprint making a nice puddle of creaminess
- Chill and Serve:
- Put filled cookies in the fridge for at least half an hour to set before eating. This step brings flavors together and creates the perfect cookie texture
One of my favorite memories is watching my niece mix the dough. Whenever she laughed as her hands turned bright red I had to remind myself to check that nobody tasted their fingers before washing their hands.
Flavor Boosters
You can mix whole milk with a teaspoon of lemon juice as a buttermilk substitute if needed. For folks avoiding dairy try vegan butter and non-dairy cream cheese. I've also mixed some lemon zest into the filling for extra zing. When you run low on red food coloring don't worry the cookies still taste amazing with a lighter color.
Serving Suggestions
Display these cookies on a nice plate dusted with extra cocoa powder. Try smaller versions for afternoon teas or baby celebrations. For something extra fancy add a little melted chocolate drizzle over the filled middles.
Creative Twists
Red velvet has deep Southern cooking roots from Great Depression times when bakers found clever ways to make cake softer. The thumbprint style gives these treats a modern touch perfect for any party. During winter months they feel extra festive with their bright color and rich filling but they work great anytime you want something both pretty and tasty.
Last winter I shared a container of these with my reading group and they disappeared instantly. Everyone wanted the recipe before we even finished eating dessert. Once you spot those vivid centers and taste that creamy filling you'll see why these cookies show up at every family gathering.
Common Questions About This Recipe
- → How do I achieve the signature red velvet color?
The rich red shade comes from adding food coloring to your mix. Stir it in with your vanilla to make sure the color spreads evenly through the dough.
- → Can I substitute buttermilk in the dough?
Sure, if buttermilk isn't in your fridge, just mix normal milk with a bit of vinegar or lemon juice and wait a few minutes until it thickens slightly.
- → What makes the cookies soft and chewy?
The cookies stay soft thanks to the mix of whipped butter, white sugar, and buttermilk that work together to create that perfect bite you're looking for.
- → How do I keep the cream cheese filling smooth?
Make sure your cream cheese and butter are really soft before you start mixing them, then beat well with the powdered sugar until everything looks silky smooth.
- → Can these cookies be made ahead of time?
Absolutely, you can keep the finished cookies in a sealed container or chill the raw dough in your fridge for up to two days before baking.