
 Pin
Pin
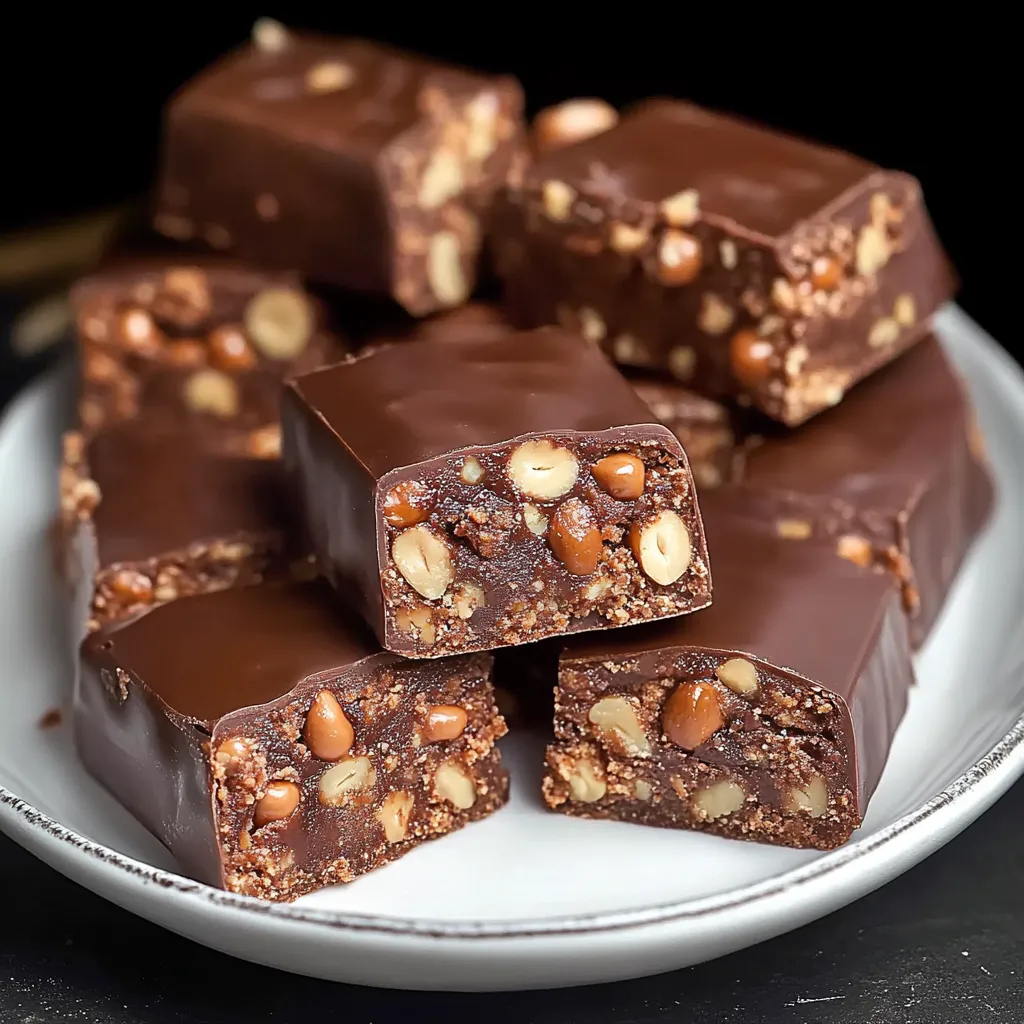
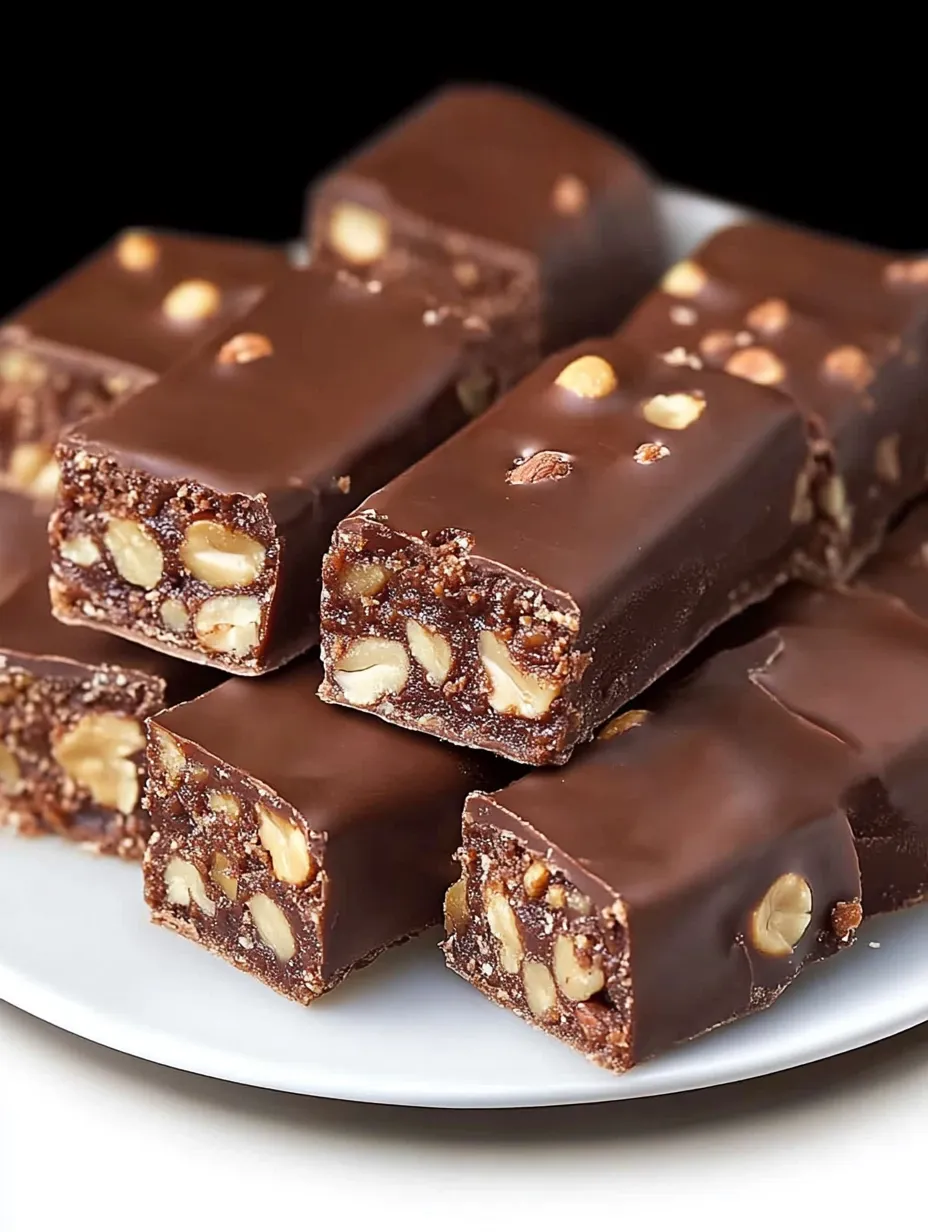
These chocolate biscuit bars became my signature recipe during a scorching summer when turning on the oven was unthinkable. The perfect blend of crunch and smoothness, they've earned their place as my most-requested no-bake dessert. The combination of crisp biscuits, toasted nuts and silky chocolate creates an impressive treat that tastes like it took hours of effort.
Every time I serve these at gatherings, they disappear within minutes. Even the pickiest eaters come back for seconds. The recipe has been thoroughly tested and refined through countless batches to achieve the perfect balance of textures and flavors.
Essential Ingredients
- Biscuits: Plain digestive biscuits or graham crackers provide the ideal base. Their subtle flavor complements the chocolate without overpowering it.
- Ground peanuts: Toast them first to enhance their nutty flavor. Hazelnuts make an excellent alternative for variety.
- Cocoa powder: Dutch-processed cocoa offers superior smoothness, though standard cocoa powder works well too.
- Chocolate: A combination of milk and dark chocolate in a 3:1 ratio creates the perfect balance.
- Heavy cream: Essential for achieving the proper texture - no substitutes recommended.
Preparation Method
- Prepare the base:
- Crush biscuits to achieve a mixture of fine crumbs with some texture. Combine with ground nuts, sugar, and cocoa powder thoroughly.
- Mix wet ingredients:
- Melt butter gently, combine with cream, then mix into dry ingredients until properly moistened.
- Form the base:
- Press mixture firmly into a lined pan using a flat-bottomed measuring cup for proper compression.
- Create topping:
- Melt chocolate gradually, stirring frequently. Add oil for a clean-cutting finish.
- Final assembly:
- Spread melted chocolate evenly, immediately top with ground nuts, pressing gently to adhere.
This recipe has been perfected through multiple iterations, with each adjustment improving the final result. The current version represents the ideal balance of ingredients and technique, particularly the addition of toasted nuts which significantly enhances the flavor profile.
Presentation Ideas
For elegant serving, cut into small squares and pair with fresh berries and mascarpone. They make an excellent addition to dessert platters or can be crumbled over quality vanilla ice cream for an indulgent dessert.
Variations
The recipe adapts well to different flavors. Try coconut for tropical notes, add espresso powder for a coffee version, or incorporate crushed peppermint during holidays. A layer of salted caramel creates an especially luxurious variation.
Storage Guidelines
Store in an airtight container in the refrigerator for up to a week, with parchment between layers. They remain stable at room temperature for 24 hours and freeze well when properly wrapped.

These versatile bars consistently impress at both casual gatherings and formal events. Their rich flavor and perfect texture appeal to all palates, while their straightforward preparation makes them a reliable choice for any occasion.
Common Questions About This Recipe
- → What kind of cookies should I use for this dish?
- You can use tea biscuits, graham crackers, vanilla wafers, or digestive cookies. Something simple and mildly sweet works best to smash into crumbs.
- → Can I leave out the peanuts?
- Of course! You could swap them for almonds, walnuts, or hazelnuts. To make it nut-free, try an extra handful of cookie crumbs, pretzels, or sunflower seeds.
- → Why isn't my mix sticking together?
- The mixture might be too dry. Add cream, one tablespoon at a time, until it comes together when squished. Also, make sure the butter’s completely melted before mixing.
- → Can I use a different type of chocolate for the top?
- Sure thing! Milk chocolate makes it sweeter, while dark chocolate gives it a deep taste. White chocolate works too—just be careful to use a bit less oil so it sets nicely.
- → Do these bars have to stay cold?
- Yep, they should stay in the fridge because of the dairy in the recipe. Keep them in an airtight box for up to a week, and serve either cold or at room temperature.
- → Can I add some extra flavors?
- Totally! Throw in a pinch of orange zest, some espresso powder, or a touch of liqueur. For a fruity twist, add dried cherries or cranberries.