 Pin
Pin
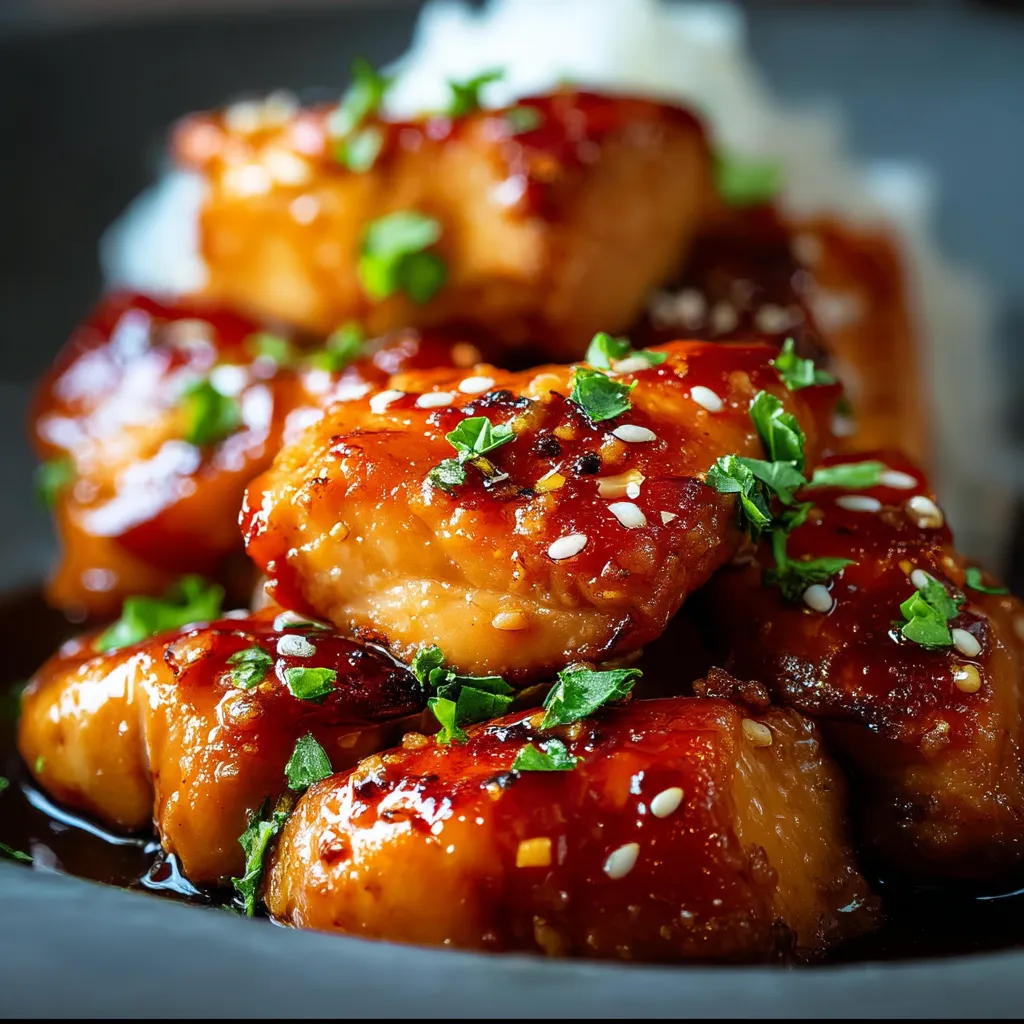
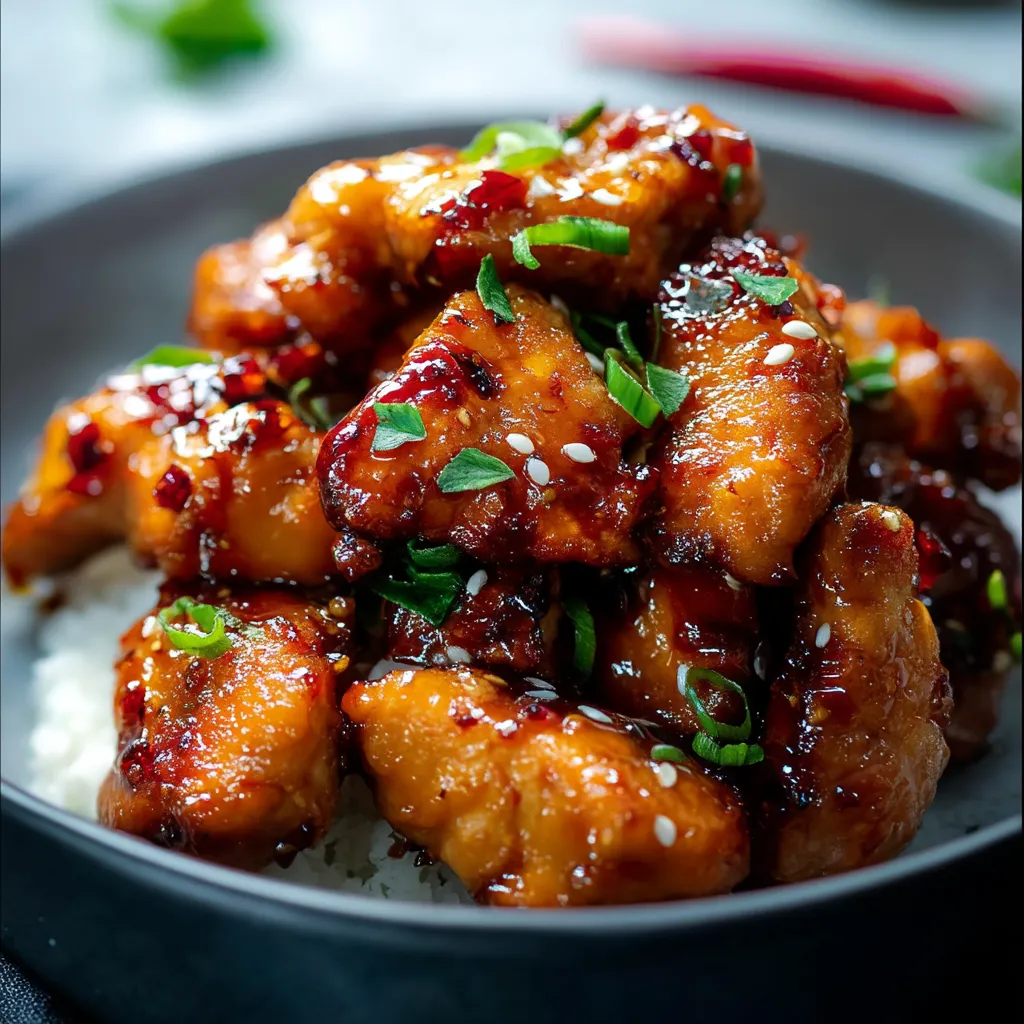
This honey garlic chicken has become my go-to dinner solution on busy weeknights when I need something delicious without spending hours in the kitchen. The sticky sweet and savory glaze transforms simple chicken into a restaurant-worthy meal that disappears from plates in minutes.
I first made this recipe when I was looking for something new to break out of our dinner rut. My family was skeptical about the honey garlic combination at first, but it's now requested weekly and has earned a permanent spot in our meal rotation.
Ingredients
- Chicken thighs or breasts: Fresh is best but thawed frozen works too. Thighs will give you juicier results with more flavor
- Honey: Use good quality local honey if possible for the best flavor profile
- Garlic: Freshly minced delivers more aromatic punch than pre-jarred versions
- Soy sauce: Provides the salty umami foundation that balances the sweetness
- Olive oil: For cooking the chicken a light or regular variety works fine
- Ginger: Adds a wonderful warm dimension that complements the honey perfectly
- Cornstarch: Creates a luxurious thick sauce that coats the chicken beautifully
- Salt and pepper: Essential for properly seasoning the chicken before cooking
- Green onions: Adds fresh color and a mild onion flavor as garnish
Step-by-Step Instructions
- Season the Chicken:
- Generously sprinkle both sides of your chicken pieces with salt and pepper. This first seasoning layer is crucial for building flavor from the start. Make sure to season evenly for consistent taste throughout each bite.
- Heat and Sear:
- Warm olive oil in a large skillet over medium-high heat until it shimmers. Place chicken carefully into the hot pan giving pieces enough space. Cook undisturbed for 6 to 8 minutes per side until gorgeously golden brown with a nice crust forming. Chicken should reach 165°F internally.
- Prepare the Glaze:
- While chicken cooks combine honey, soy sauce, minced garlic, and ginger in a small bowl. Whisk well to fully integrate the ingredients. The mixture might look separated at first but keep stirring until smooth.
- Remove and Rest:
- Transfer cooked chicken to a clean plate to rest momentarily. This prevents overcooking while you prepare the sauce in the same pan retaining all those flavorful browned bits.
- Create the Sauce:
- Pour honey garlic mixture into the still hot pan. It will bubble vigorously as it hits the hot surface. Simmer for 2 to 3 minutes stirring constantly as it reduces and thickens slightly becoming more intensely flavored.
- Coat and Finish:
- Return chicken pieces to the pan. Spoon the bubbling sauce repeatedly over each piece ensuring they get fully coated in the glossy glaze. Let everything simmer together for 1 to 2 minutes to allow flavors to meld.

The secret to this dish is letting the sauce reduce properly before adding the chicken back to the pan. I discovered this accidentally when I got distracted by a phone call once and came back to find the sauce had reduced into the most incredible sticky glaze. That happy accident taught me patience pays off in flavor development.
Sauce Variations
The basic honey garlic sauce is wonderfully adaptable to suit different tastes or what you have available. For a spicy version add red pepper flakes or sriracha to taste. If you prefer a citrus twist stir in a tablespoon of fresh orange or lemon juice at the end. For an Asian inspired variation add a tablespoon of hoisin sauce or oyster sauce to deepen the flavor profile. Each variation maintains the essential sweet and savory balance while creating a slightly different dining experience.
Storage and Meal Prep
This chicken stores beautifully in the refrigerator for up to three days making it perfect for meal prep. The flavors actually intensify overnight as the chicken continues to absorb the sauce. Store in airtight containers with some extra sauce poured over the top to keep the chicken moist. Reheat gently in the microwave or in a covered skillet with a splash of water to prevent drying out. The dish can also be frozen for up to two months though the texture of the sauce may change slightly upon thawing.
Serving Suggestions
While rice is the classic accompaniment for soaking up the delicious sauce consider other options to keep meals interesting. Serve over cauliflower rice for a lower carb option or alongside roasted vegetables like broccoli or brussels sprouts which crisp up nicely in the oven while you prepare the chicken. For a complete Asian inspired meal pair with stir fried vegetables and a sprinkle of sesame seeds. The versatility of the flavor profile means it works equally well with Western side dishes like mashed potatoes or a simple garden salad.
Common Questions About This Recipe
- → What type of chicken works best?
Both chicken thighs and breasts work well. Thighs are juicier, while breasts are leaner.
- → Can I make this sauce thicker?
Yes, mix a teaspoon of cornstarch with water and stir it into the sauce for a thicker consistency.
- → What can I serve with this dish?
This dish pairs wonderfully with rice, steamed vegetables, or even noodles for a complete meal.
- → Can I bake the chicken instead?
Yes, baking is an excellent hands-off option. Bake the chicken at 375°F (190°C) until cooked through, then coat with the sauce.
- → Is this dish gluten-free?
Ensure to use gluten-free soy sauce to make this dish completely gluten-free.
