
 Pin
Pin
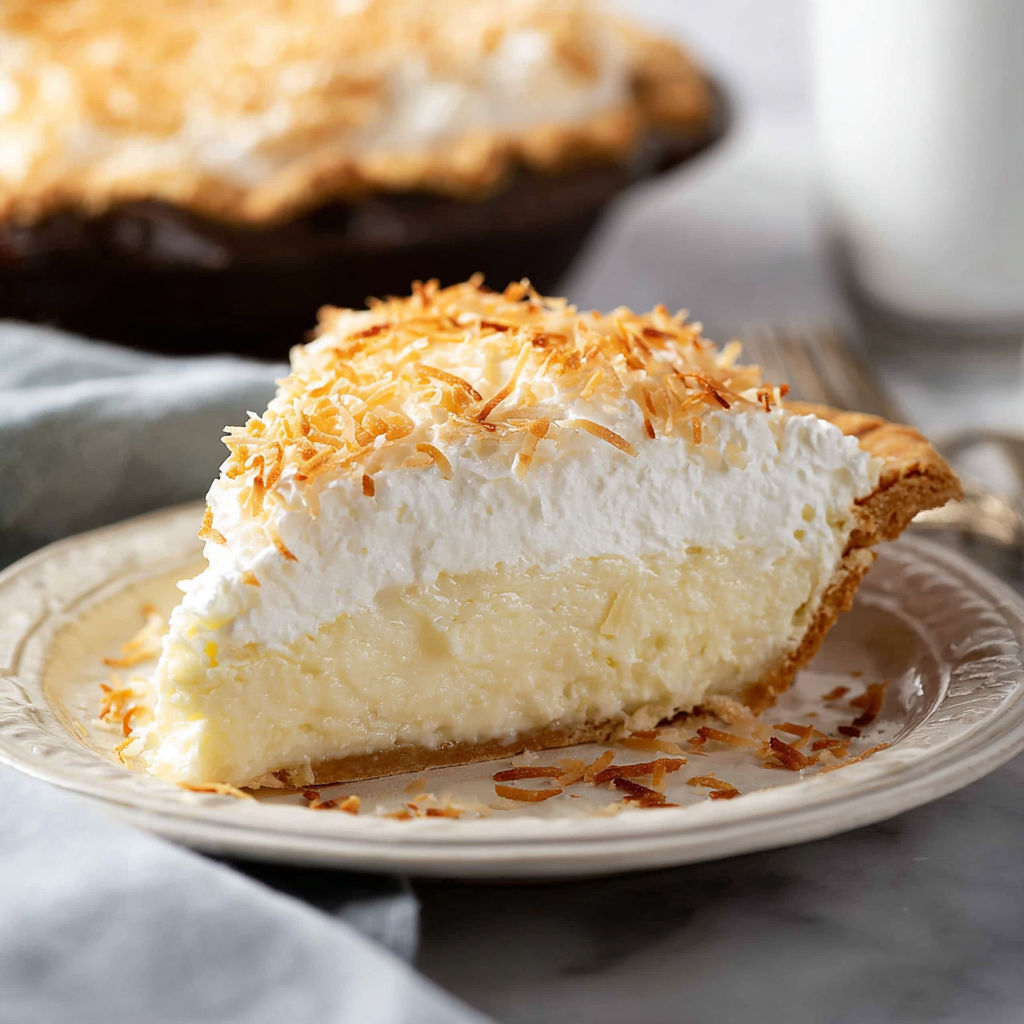
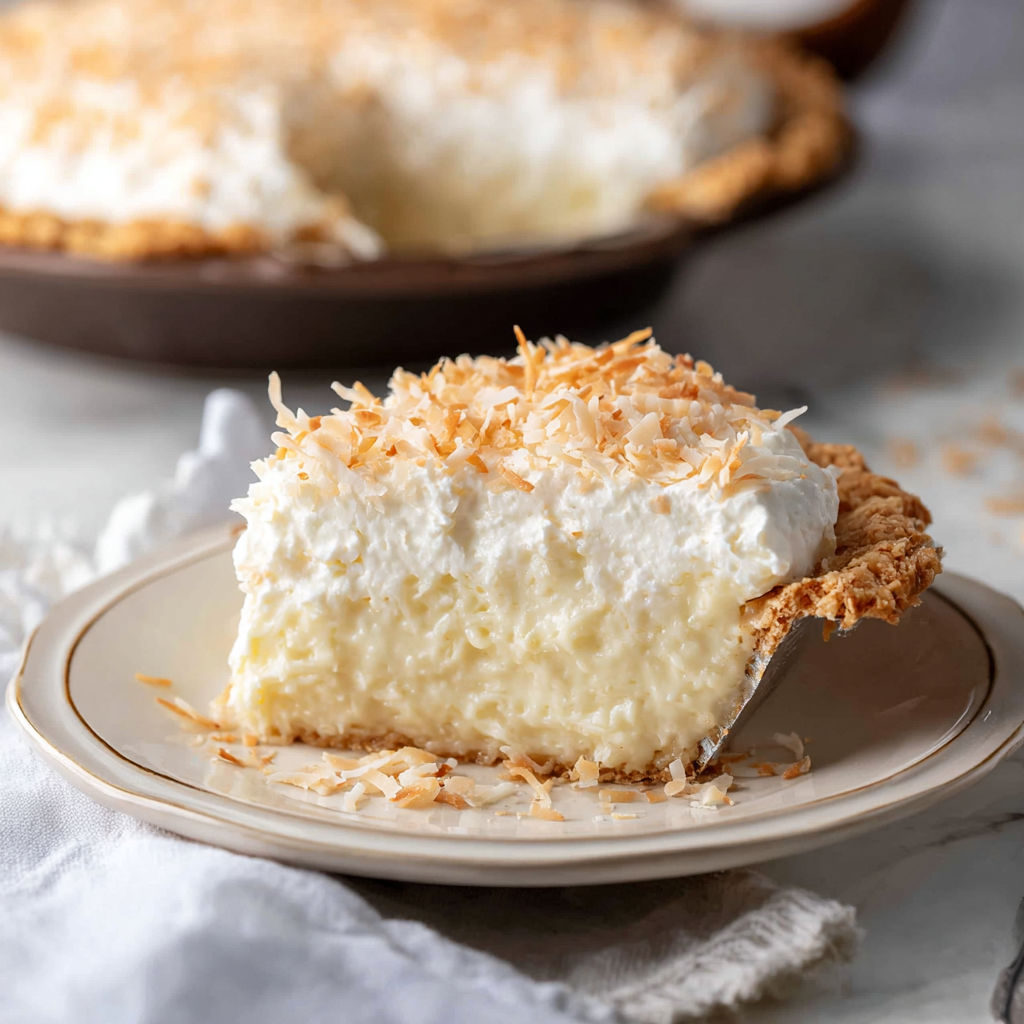
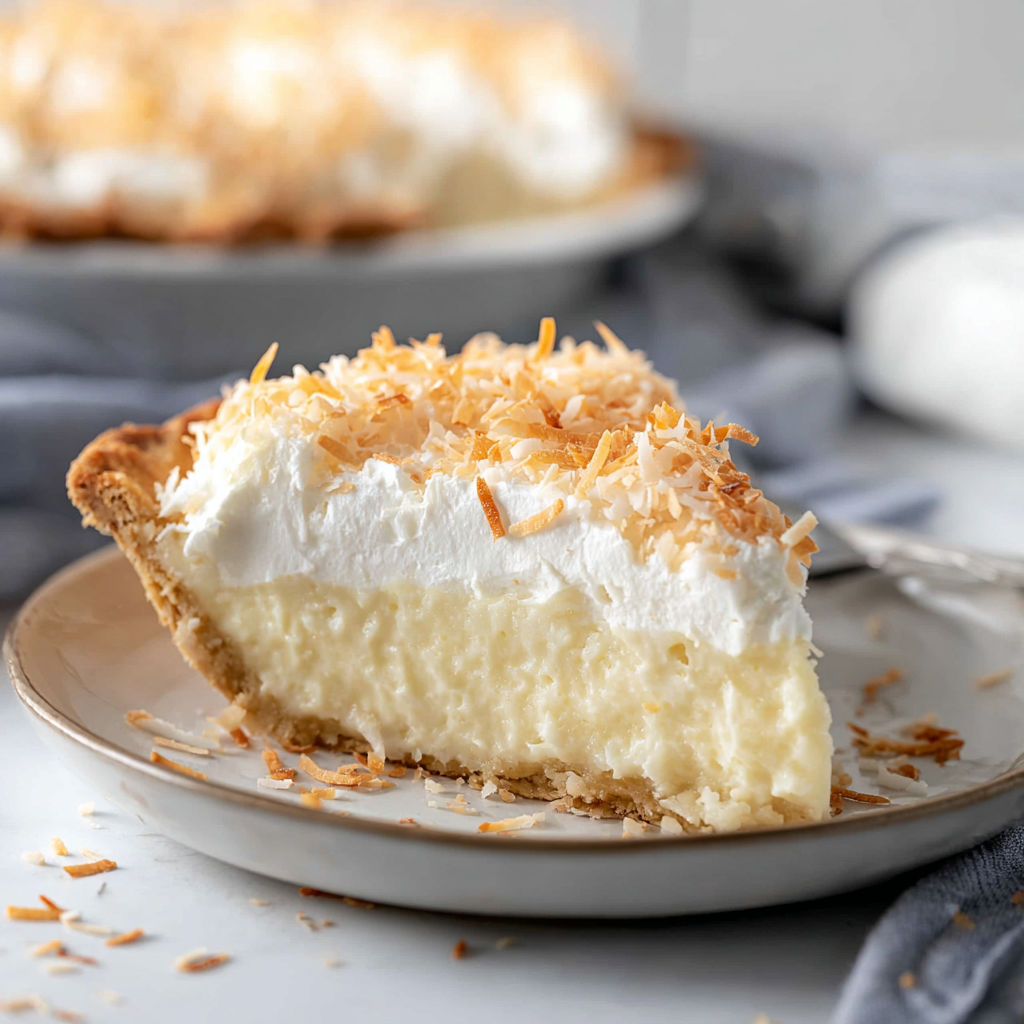
Nothing transforms an ordinary day into something special like a homemade coconut cream pie with its smooth, silky filling and towering cloud of whipped cream. This timeless treat works perfectly as the showstopper at your next get-together or as a well-deserved treat just for you. Don't worry about your baking skills - this pie welcomes cooks of all levels and will hit that sweet spot for anyone craving a taste of creamy comfort.
The first time I whipped up this pie for a family birthday, it was gone before I could grab a seat. Now everyone asks for it at every holiday, and nobody ever minds having some leftover the next day.
Gather Your Ingredients
- Fully blind baked pie crust: Gives you that perfect crisp base for your filling - grab a premade one from the store if you're short on time
- Granulated sugar: Adds the right amount of sweetness while letting coconut shine as the star
- Cornstarch: Works as the magic thickener for your pudding - make sure it's fresh for best results
- Salt: Wakes up all the other flavors with just a tiny amount
- Canned coconut milk: Brings that rich coconut flavor and smooth texture - go for the full-fat unsweetened kind
- Whole milk: Creates the perfect level of richness without making things too heavy
- Sweetened coconut: Packs double coconut punch and lovely texture throughout the filling
- Egg yolks: Give your custard thickness and that gorgeous golden color - the fresher your eggs, the better
- Salted butter: Adds depth while balancing the sweetness with a hint of salt
- Pure vanilla extract: Rounds out the flavor profile - skip the imitation stuff for best taste
- Heavy cream: Turns into that fluffy dream topping that makes this pie so special
- Powdered sugar: Melts perfectly into whipped cream without any grainy bits
- Toasted flaked coconut: Tops it all off with awesome crunch and nutty flavor - toast it just before serving for maximum impact
How to Make It
- Make the Coconut Custard:
- Mix sugar, cornstarch, and salt in a medium pot. Pour in the coconut milk and whole milk. Keep whisking over medium heat until everything thickens and starts to bubble. Cook and stir for two more minutes to get rid of that raw cornstarch taste. While that's happening, whisk your egg yolks in a separate bowl.
- Temper the Egg Yolks:
- Grab about a cup of your hot milk mixture and very slowly pour it into the egg yolks. Don't stop whisking as you pour - this gently warms the eggs without cooking them.
- Combine and Cook Again:
- Now pour those warmed egg yolks back into the pot with the rest of your milk mixture. Put it back on the heat and cook for another two minutes until it looks like thick pudding. Keep stirring the whole time so nothing burns on the bottom.
- Finish the Filling:
- Pull the pot off the heat. Right away, mix in the butter and vanilla. Fold in the sweetened coconut. Keep stirring until you've got a smooth, uniform mixture.
- Fill and Chill the Pie:
- Pour your hot filling into the pre-baked crust. Smooth it out and cover with plastic wrap pushed right onto the surface to stop a skin from forming. Pop it in the fridge for at least six hours so it can set up nicely.
- Whip the Cream:
- Stick a mixing bowl and beaters in the fridge to chill them. Beat the heavy cream with powdered sugar and vanilla until you get firm, smooth peaks. This usually takes just 2-3 minutes. Watch carefully - if you go too far, it'll get grainy.
- Toast Coconut and Decorate:
- Toss flaked coconut in a dry skillet over medium-low heat, moving it around constantly until it turns golden and smells amazing. Dump it onto a plate right away to stop the cooking. Once your pie is completely chilled, spread the whipped cream on top and sprinkle generously with your toasted coconut.
That crunchy toasted coconut layer on top is what I love most - it's always the first thing my family picks off before diving into their slices. When I'm toasting the coconut, the kitchen smells so good it feels like I'm baking on a beach somewhere, even during the coldest months.
Flavor Boosters
No coconut milk handy? You can use half and half instead, or just add less whole milk in a pinch, but your coconut flavor won't be as strong. For a dairy-free version, swap in coconut milk for the whole milk and use a plant-based butter alternative. Need gluten-free? Just grab a gluten-free crust. If you prefer things less sweet, unsweetened coconut works too - just toss in another tablespoon of sugar to balance things out.
Serving Suggestions
Keep your pie nice and cold until serving for the creamiest texture. Try adding an extra spoonful of whipped cream and some fresh pineapple or mango slices on each piece. Want to make it fancy? Drizzle with some dark chocolate sauce or sprinkle with a bit of lime zest for a pop of color.
Creative Twists
Coconut cream pie has been filling American diner cases for generations and remains a Southern favorite to this day. While it's popular in spring and summer, you can make it year-round since most ingredients come straight from your pantry. In winter, the warm scent brings a touch of sunshine indoors, while in summer, it's best served ice-cold after a backyard cookout.
Once you try this classic coconut cream pie, you'll understand why it keeps winning fans and creating special moments with every delicious spoonful.
Common Questions About This Recipe
- → Can I use store-bought pie crust?
Sure thing, a ready-made crust will do fine, but don't forget to blind-bake it first so it stays nice and crisp under the filling.
- → How do I toast coconut for the topping?
Just put sweetened flaked coconut on a baking tray and pop it in the oven at 350°F for about 5-8 minutes, making sure to stir it now and then until it turns golden.
- → Can I make the coconut cream filling ahead?
You bet. You can make the filling and keep it in the fridge for up to 2 days, then just add the whipped cream and toasted coconut right before you serve it.
- → Why is tempering eggs important?
Tempering warms up the egg yolks slowly, so they don't cook too fast and turn lumpy, giving you that perfectly smooth, creamy filling.
- → How do I avoid overbeating the whipped cream?
Just stop mixing as soon as you see stiff peaks form. If you keep going too long, your cream might end up turning into butter.