
 Pin
Pin
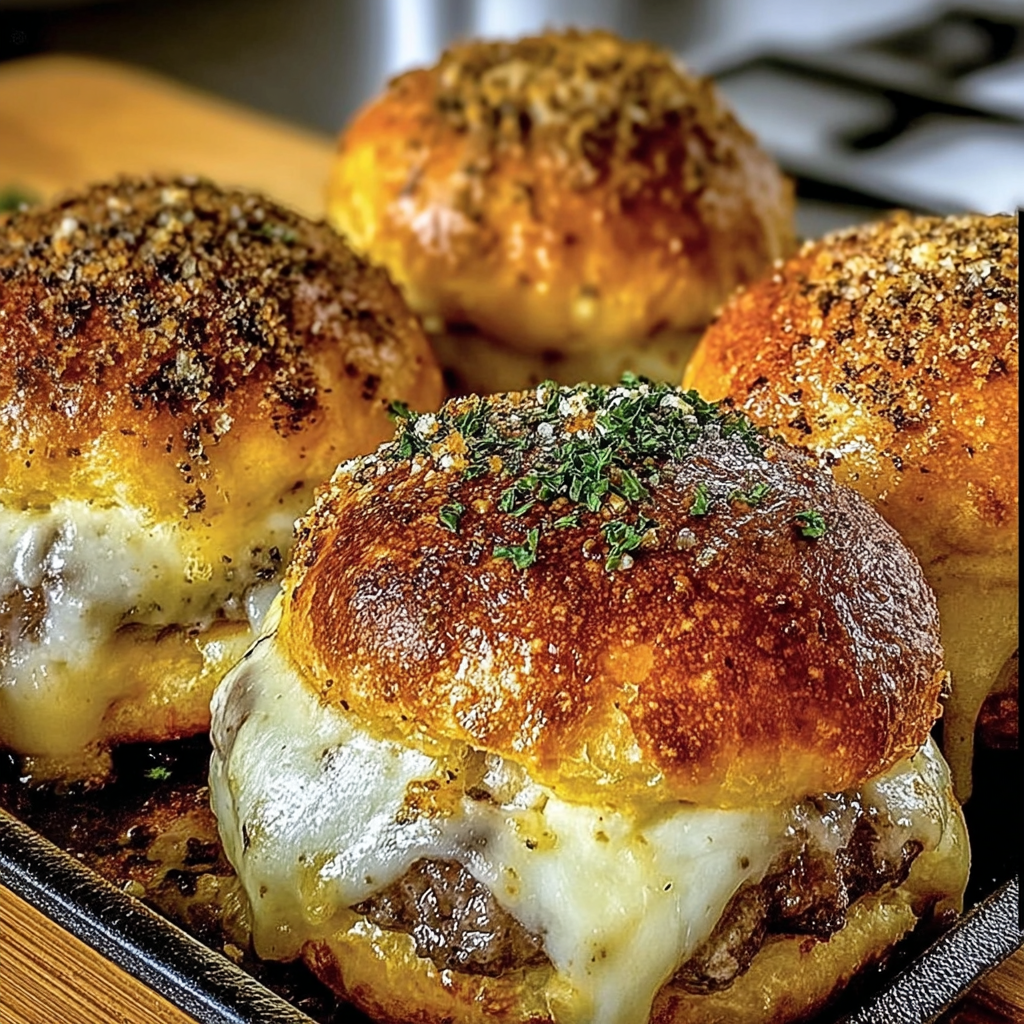
This garlic parmesan cheeseburger bomb recipe transforms classic burger flavors into delightful handheld treats perfect for any occasion. The combination of seasoned ground beef with melty cheddar and savory parmesan all wrapped in golden biscuit dough creates an irresistible bite that disappears quickly at gatherings.
I first made these bombs for my sons football team gathering and they vanished before any other dish. Now my family requests them regularly for movie nights where we can enjoy these handheld treats without interrupting the film.
Ingredients
- Ground beef: forms the hearty base choose 80/20 for best flavor and juiciness
- Fresh garlic: adds aromatic depth but garlic powder works in a pinch
- Parmesan cheese: brings nutty saltiness that elevates the filling
- Cheddar cheese: creates that classic gooey burger experience use sharp for more flavor
- Refrigerated biscuit dough: provides a convenient golden wrapper look for buttermilk variety
- Melted butter: creates a beautiful golden crust and adds richness
- Fresh parsley: brightens the final presentation and adds color contrast
- Salt and pepper: season the beef perfectly adjust to your taste preferences
Step-by-Step Instructions
- Prepare The Oven:
- Preheat your oven to 375°F and line a baking sheet with parchment paper for easy cleanup and to prevent sticking. This temperature creates the perfect environment for golden brown exteriors while fully cooking the dough.
- Cook The Beef Mixture:
- Brown the ground beef in a skillet over medium heat breaking it into small crumbles with a wooden spoon. Add the minced garlic when the beef is about halfway cooked to prevent burning. Season generously with salt and pepper then drain excess fat to prevent soggy bombs.
- Create The Cheesy Filling:
- Remove the skillet from heat and immediately stir in both cheeses. The residual heat will partially melt them creating a cohesive mixture while leaving some cheese pockets that will create delicious molten spots when baked.
- Prepare The Dough Circles:
- Open the can of biscuit dough and separate into individual pieces. Using your fingers or a rolling pin gently flatten each biscuit into a circle about 4 to 5 inches in diameter. Work from the center outward for even thickness.
- Assemble Your Bombs:
- Place a generous tablespoon of the beef and cheese mixture in the center of each dough circle leaving about an inch of border. Carefully fold the edges up and over the filling gathering at the top. Pinch firmly to seal completely preventing any leaks during baking.
- Final Preparation:
- Arrange the sealed bombs seam side down on your prepared baking sheet spacing them about 2 inches apart. Brush the tops liberally with melted butter which will promote browning and add flavor to the crust.
- Bake To Golden Perfection:
- Bake in your preheated oven for 12 to 15 minutes until the bombs have puffed significantly and turned golden brown. The internal temperature should reach 160°F for food safety.
- Serve And Enjoy:
- Allow the bombs to cool for 3 to 5 minutes before sprinkling with fresh parsley. This brief resting period prevents mouth burns from the molten filling inside while the herbs add a fresh finishing touch.
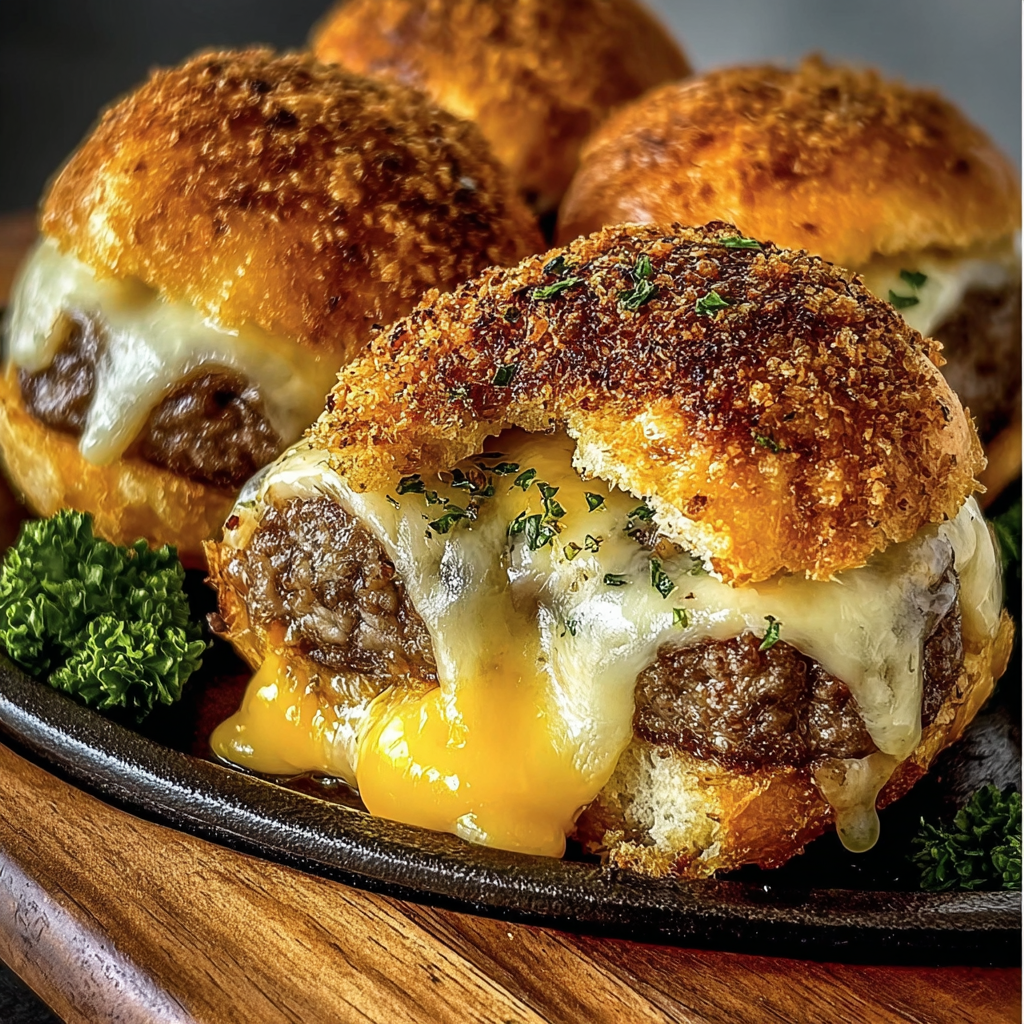
My absolute favorite part of this recipe is watching people take their first bite when the melted cheese stretches dramatically from the bomb. My daughter calls it the cheese pull moment and we always compete to see who gets the most impressive one.
Make Ahead Options
These cheeseburger bombs can be fully assembled up to 24 hours before baking making them perfect for planned gatherings. After assembling place them on a baking sheet covered loosely with plastic wrap in the refrigerator. When ready to bake remove them from the refrigerator while the oven preheats brush with butter and bake as directed adding about 2 minutes to the cooking time to account for the chilled dough.
Creative Variations
Transform this basic recipe into countless variations by adjusting the filling ingredients. For a spicy southwest version add diced jalapeños and pepper jack cheese. Create breakfast bombs by using breakfast sausage with scrambled eggs and cheddar. Pizza bombs work wonderfully with pepperoni Italian seasonings and mozzarella. The versatility of the dough wrapper means you can create almost any flavor combination your family enjoys.
Dipping Sauce Suggestions
While these bombs are delicious on their own serving them with dipping sauces elevates the experience. Try classic burger accompaniments like ketchup mustard or special sauce. For more sophisticated pairings offer ranch dressing garlic aioli or a spicy sriracha mayo. A simple marinara works beautifully especially with the parmesan component reminiscent of Italian meatballs.
Serving For A Crowd
When making these for larger gatherings consider preparing mini versions using half the dough per bomb. This creates perfect two bite appetizers that stretch the recipe further. For potluck events bake them at home then transport in an insulated carrier or wrapped in foil and a towel to maintain warmth. They retain their heat surprisingly well and are delicious even at room temperature making them ideal party food.
Common Questions About This Recipe
- → Can I prepare these bombs ahead of time?
Yes, assemble the bombs and refrigerate them on a baking sheet, covered, for up to 24 hours before baking. Add an extra 2–3 minutes of bake time from chilled.
- → What other cheeses can I use?
Feel free to swap cheddar or Parmesan for mozzarella, provolone, or pepper jack for a different taste and melt.
- → How do I store leftovers?
Once cooled, store in an airtight container in the fridge for up to 3 days. Reheat in the oven to crisp up the crust.
- → Can I add additional fillings?
Absolutely! Try adding cooked bacon, diced onions, or sliced jalapeños to the beef mixture for extra flavor and texture.
- → Is homemade biscuit dough an option?
Yes, homemade dough works great—just make sure to keep circles thin enough to fully enclose the filling without tearing.