
 Pin
Pin
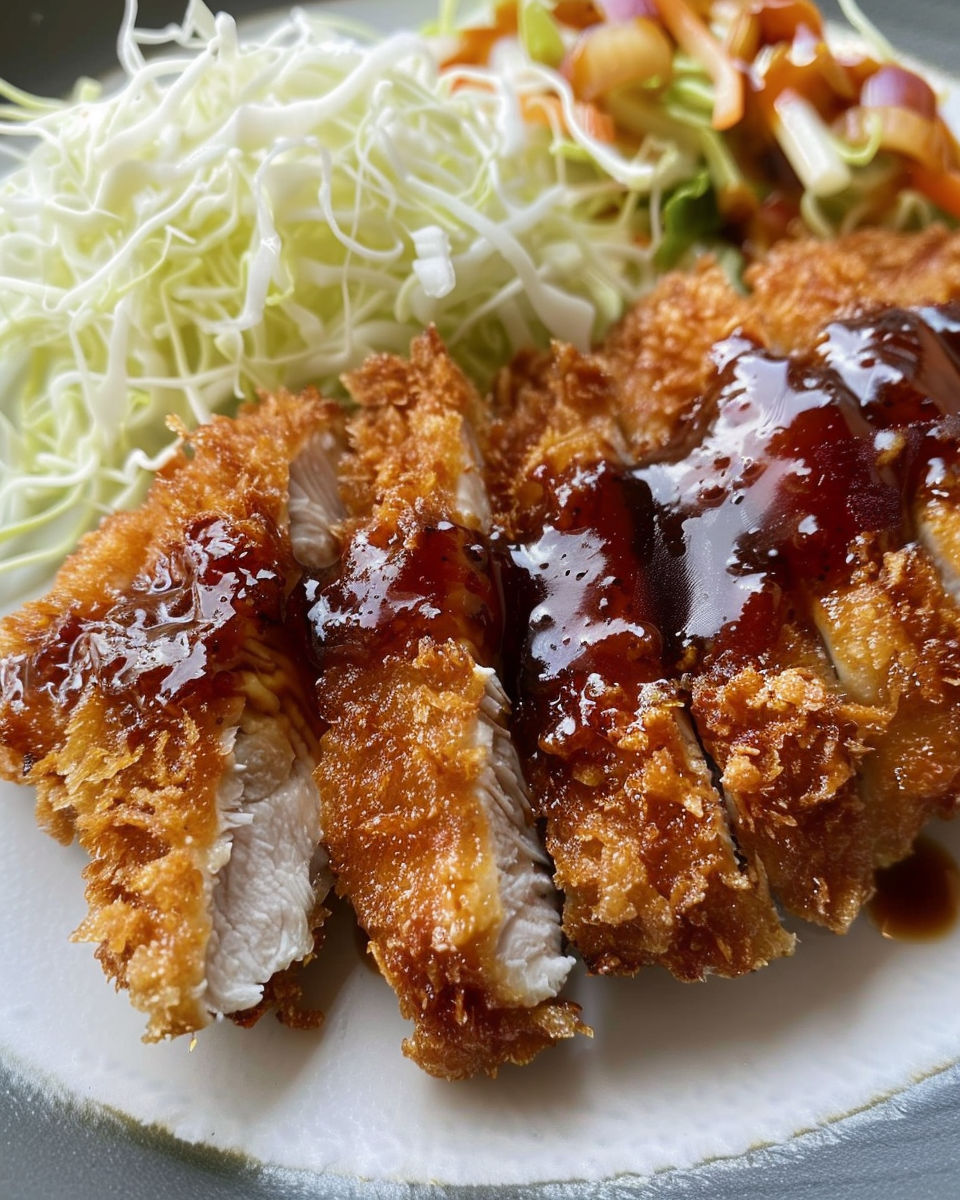
This crispy chicken katsu recipe delivers that irresistible Japanese comfort food crunch with tender juicy chicken inside, making it the perfect choice for an easy weeknight dinner in just 30 minutes. If you have ever searched for a quick chicken katsu recipe to satisfy family cravings or recreate your favorite restaurant style meal at home, this is the guide you need. Enjoy golden panko coated chicken katsu any night with minimal prep and maximum flavor.
I learned how to make homemade crispy chicken katsu many years ago when my husband and I missed our favorite Japanese restaurant's special. Recreating this dish at home instantly brought back those comforting flavors and memories, and now crispy chicken katsu is a frequent request from my kids. The crunch, the juicy chicken, and the simple technique have made this one of our favorite family meals for any occasion.
Gather Your Ingredients
- Boneless skinless chicken breasts (primary for crispy chicken katsu): Classic, juicy chicken texture and easy to prepare. For variation, thin-sliced breasts or skinless thighs work, just adjust cooking time for best doneness.
- Salt and black pepper: Essential for seasoning both the chicken and the layers, enhancing flavor throughout every bite. Always season at each stage.
- All-purpose flour: Helps egg adhere and creates that signature crisp shell. Use gluten free flour if needed for allergies.
- Large eggs: Build an even coating, making sure the panko sticks beautifully. For egg free, try aquafaba or vegan egg alternative, but classic egg is best for texture.
- Water: Thins the egg wash just enough for complete coverage and smoother breading.
- Plain panko breadcrumbs: Japanese panko delivers that light, shattering crunch—the real secret to perfect chicken katsu. Use regular if needed, but Japanese panko is unmatched for texture.
- Vegetable oil (frying essential): A high smoke point oil like canola, sunflower, or grapeseed is best to avoid burning and achieve an even crispy crust. If needed, peanut oil also works well.
How to Make Crispy Chicken Katsu
- Prepare and Pound the Chicken Breasts for Even Cooking:
- Place boneless skinless chicken breasts on a sturdy cutting board and cover with plastic wrap. Gently pound to about one half inch thick using a meat mallet or rolling pin. This step ensures uniform cooking so no part is overcooked or left raw. Season both sides generously with salt and black pepper.
- Set Up the Breading Station for Best Coating:
- Arrange three shallow bowls: one with all-purpose flour, one with beaten eggs (plus one tablespoon water), and one with plain panko breadcrumbs. Setting your assembly line makes the breading process cleaner and more efficient.
- Bread the Chicken Breasts Generously:
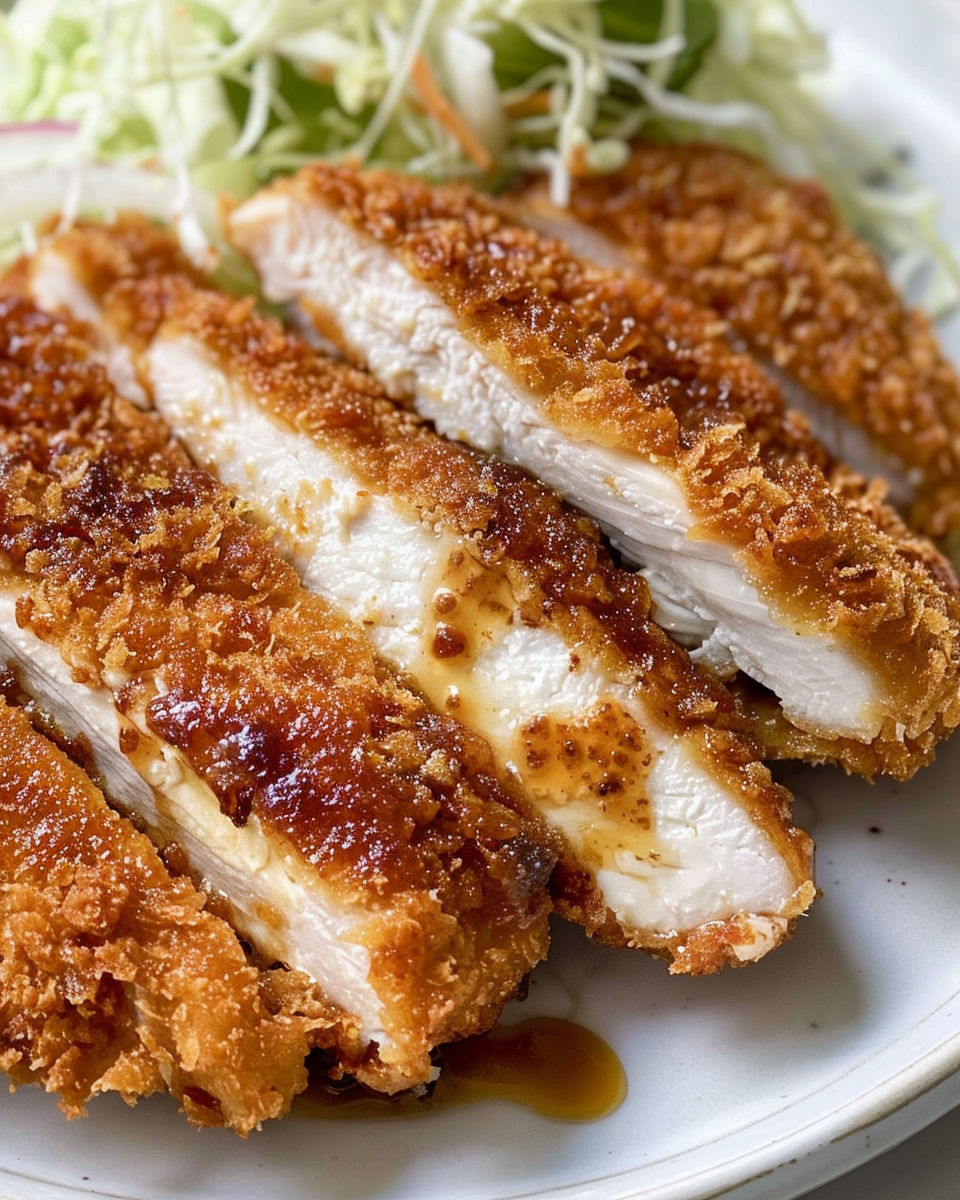
- Dredge each chicken breast first in the flour, shaking off excess. Dip in egg mixture, then press firmly into panko, packing coating on with your hands to cover completely. Thorough breading is key for the crispest fried chicken katsu.
- Heat the Oil to the Right Temperature:
- Pour vegetable oil into a large skillet to a depth of about one half inch. Heat over medium high until oil reaches 350°F. Test with a thermometer or by dropping a breadcrumb in—the oil should sizzle immediately for perfect frying conditions.
- Fry the Chicken to Golden Perfection:
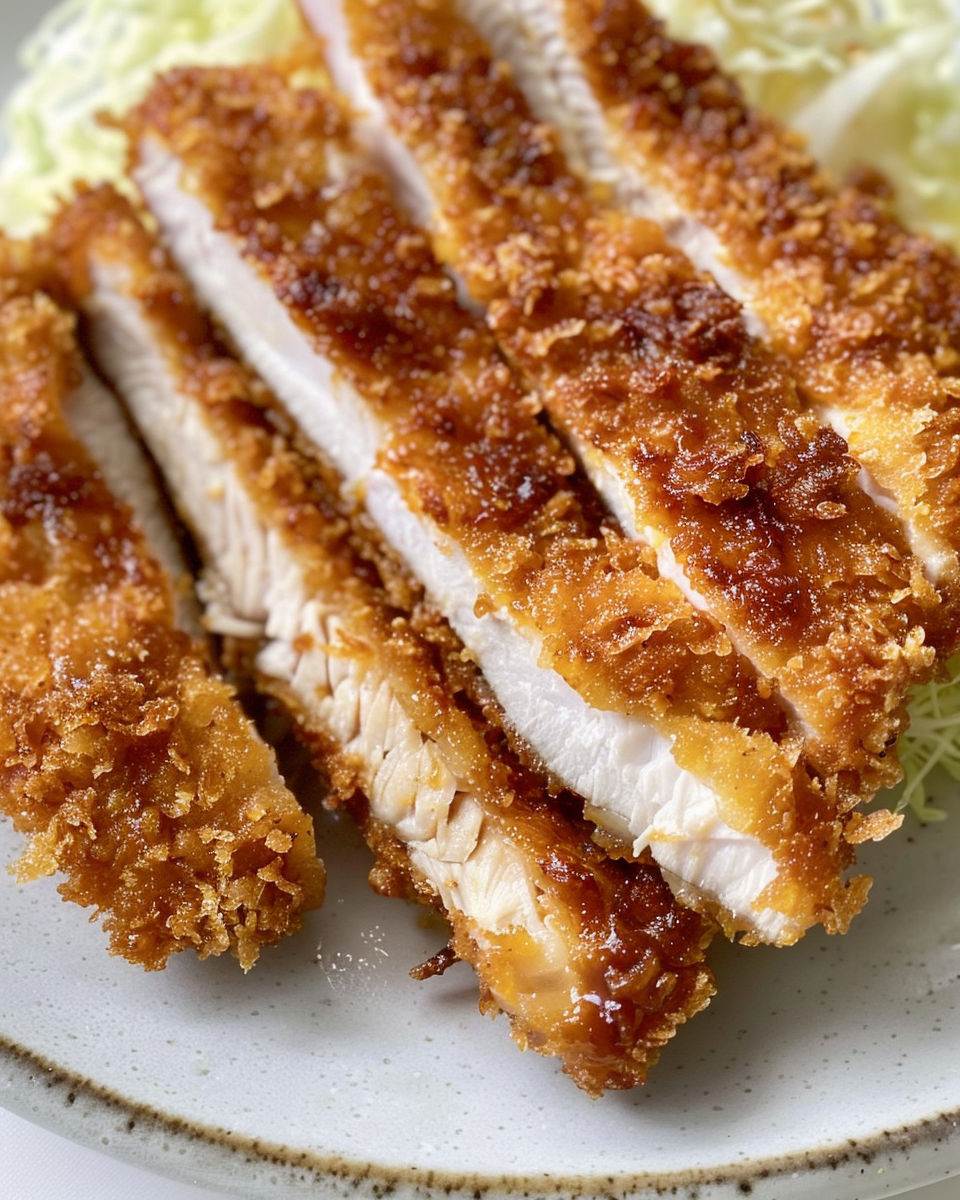
- Carefully add breaded chicken to the hot oil, frying in batches to avoid crowding. Cook each side for three to four minutes until the crust is deep golden and the center reads 165°F. Let drain on paper towels to keep the coating super crisp.
- Slice and Serve:
- Let fried chicken rest for one minute, then slice into strips. Serve chicken katsu over hot steamed rice, drizzled with tonkatsu sauce or your favorite barbecue sauce. Use leftovers for sandwiches or salads for meal variety.
Each time I make chicken katsu at home, I love to use fresh Japanese panko that I toast slightly in the oven before breading—the extra layer of crunch makes all the difference and brings out a wonderful nutty aroma. My kids always argue over who gets the crispiest piece on the platter and everyone asks for seconds, especially when it is served with plenty of sauce and hot steamed rice.
Smart Swaps and Variations
Crispy chicken katsu is flexible, so you can substitute turkey cutlets for a leaner version, or thin chicken thighs for extra juiciness. Gluten free katsu comes together easily with gluten free flour and panko, offering the same crisp bite. For an oven baked approach, place breaded cutlets on a rack and bake at 425°F for about eighteen minutes, flipping halfway through for even color. Add sesame seeds to panko or mix in a pinch of cayenne for a flavor upgrade that sets your recipe apart.
How to Store and Reheat Crispy Chicken Katsu
Store any leftover chicken katsu in an airtight container in the refrigerator for up to three days, layering parchment if needed to keep pieces from sticking. For longer storage, freeze cooked or uncooked breaded cutlets separated by parchment paper for up to two months. Reheat in a 350°F oven for about ten minutes or use an air fryer for maximum crispiness. Always pack sauce separately if portioning for lunches so the coating stays fresh and crunchy.
What to Serve with Crispy Chicken Katsu
Crispy chicken katsu pairs perfectly with fluffy steamed white rice and crunchy shredded cabbage salad for an authentic Japanese meal that pleases any crowd. Try serving your katsu with miso soup, pickled veggies, or a drizzle of tangy tonkatsu sauce for extra flavor. For variety, add to a bento box, pile onto a soft sandwich bun, or top with a light curry for an exciting twist on comfort food classics.
Nutritional Benefits
Chicken katsu offers a high protein main course thanks to lean poultry, with each serving packing a satisfying dose of muscle building nutrients. Using homemade panko and carefully controlled oil means you can moderate sodium and overall fat, supporting a well balanced meal. The dish is naturally dairy free, and with gluten free ingredients, it is suitable for many dietary needs while keeping comfort and satisfaction at the forefront.
Recipe Success Tips
If your chicken breading slips off or becomes soggy, always pat chicken dry before starting and let the breaded cutlets rest for five minutes before cooking. Keep the frying oil at a steady 350°F; anything cooler leads to more oil absorption and less crunch, while hotter oil can burn the panko. A sharp knife is essential for perfect slices and preserving the beautiful golden crust—do not rush this final step.
Crispy chicken katsu is always a winner whether for a speedy weeknight meal or a special comfort food treat. Give this easy recipe a try, and it is sure to become your go to for family dinners where everyone leaves the table happy and satisfied.
Common Questions About This Recipe
- → How do I achieve a crunchy coating?
Use panko breadcrumbs for extra crispiness, and make sure to press them firmly onto the chicken before frying.
- → Can I use a different type of meat?
Yes, pork or tofu can be substituted for chicken. Adjust frying time to ensure proper doneness.
- → What oil is best for frying?
Vegetable or canola oil works well due to their high smoke points, ensuring a crisp exterior without burning.
- → How do I know when the chicken is cooked?
The chicken should be golden brown and reach an internal temperature of 165°F for safe consumption.
- → Which sauces pair well with this dish?
Tonkatsu sauce is traditional, but BBQ sauce or a tangy mayo-based sauce are also delicious options.