
 Pin
Pin
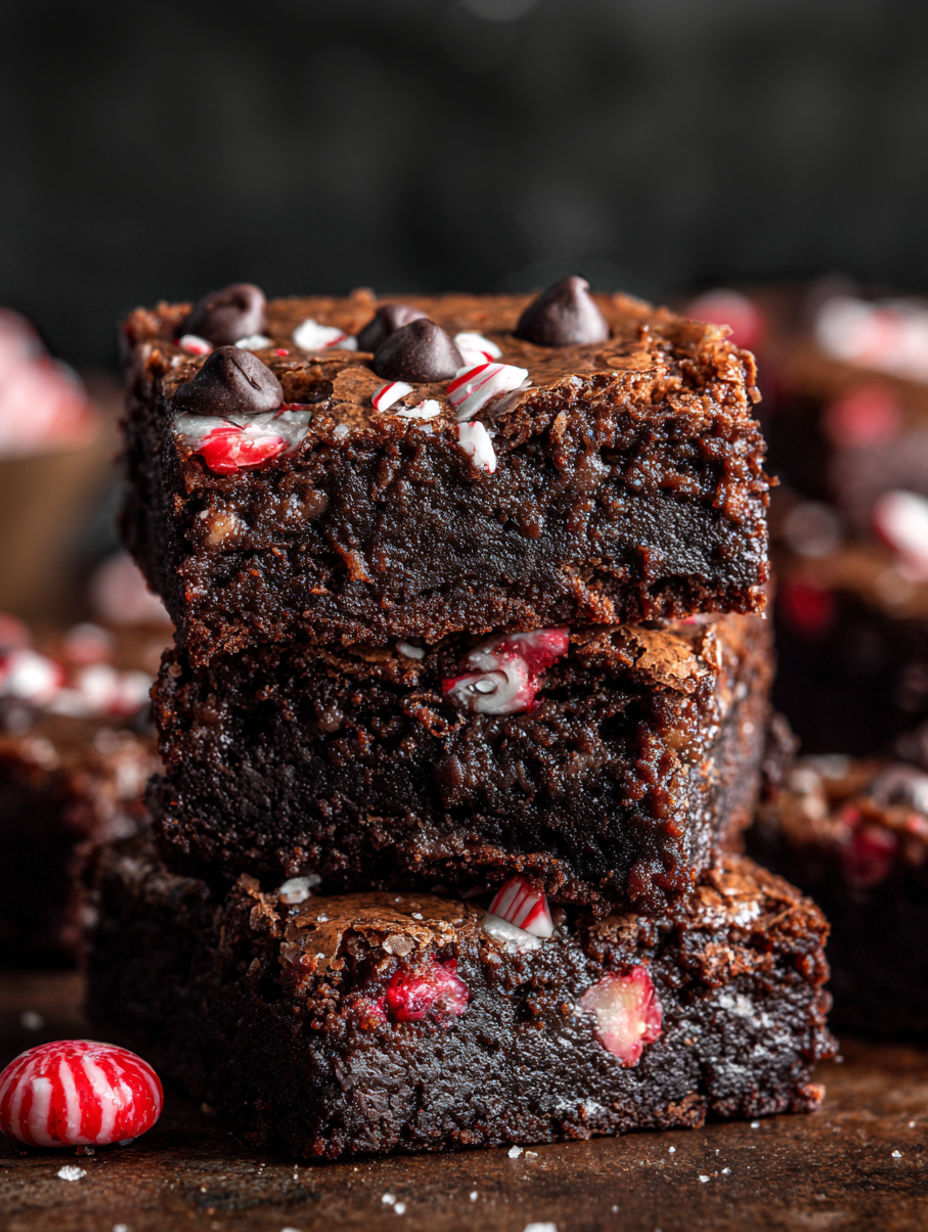
This classic peppermint brownies recipe instantly became my family's favorite holiday treat after just one bite, and it's your answer for a festive, crowd pleasing dessert in about an hour. With rich chocolate flavor balanced by a crisp peppermint finish and a fudgy interior, these peppermint brownies are ready in just twenty five minutes of prep and less than forty five minutes in the oven, making them perfect for both holiday parties and spontaneous sweet cravings. Whether you want an easy peppermint brownies recipe for Christmas gatherings or a quick chocolate fix, you will love how fast and foolproof this dessert is from start to finish.
I started baking these classic peppermint brownies last December for a holiday bake sale, and they immediately became the most requested treat for family gatherings and school events. Their moist, tender centers and bold peppermint spark make them absolutely irresistible for chocolate lovers and peppermint fans. Over the months, I have experimented with everything from different cocoa blends to various chocolate chip brands, and found that chilling these brownies overnight creates the silkiest texture and richest flavor—now it is my top tip for a bakery style result every time.
Gather Your Ingredients
- Semisweet chocolate chips for peppermint brownies: Deliver a deep, melty chocolate flavor that defines every bite of these brownies; choose the best quality chips for the most satisfying, rich result and you can swap for dark chocolate if you want an even bolder flavor
- Vegetable oil for fudgy brownies: Ensures the brownies stay moist and chewy instead of cakey; neutral tasting oils like canola are an ideal substitute for similar results
- Granulated sugar to create crackly tops: Provides the shiny, crisp brownie top and balances the dark chocolate flavor; do not reduce the amount for best texture
- Light brown sugar keeps brownies tender: Adds a subtle caramel note and moisture, making every bite extra soft; dark brown sugar can be used for deeper flavor
- Large eggs at room temperature: Build structure and add richness for that perfect chewy bite; let eggs sit out before baking for even blending
- Vanilla extract enhances chocolate and peppermint: Rounds out all the flavors; use pure vanilla if you can for a true bakery style taste
- All purpose flour for structure: Maintains moist, tender brownies without becoming dense or dry; for gluten free, use a one to one blend
- Dutch processed cocoa powder boosts chocolate intensity: Makes brownies darker and a little richer; you can swap with black cocoa for even more depth or use natural cocoa in a pinch
- Kosher salt for flavor balance: Brings out the sweetness and definition of the chocolate and peppermint; avoid table salt for less bitterness
- Peppermint candies finely crushed: Give a festive look and crunchy peppermint bursts on top; use peppermint bark for extra drama and color
How to Make Classic Peppermint Brownies
- Preheat and Prepare the Pan for Easy Removal:
- Set your oven to 350°F and line a 9 by 9 inch baking pan with parchment paper, leaving an overhang on both sides to act as handles. This paper lining prevents sticking and allows you to lift brownies out easily, guaranteeing neat square cuts and sharp, professional looking edges.
- Melt the Chocolate Chips with Oil:
- In a microwave safe bowl, combine half a cup of semisweet chocolate chips with the vegetable oil. Heat in fifteen second bursts, stirring well each time, until the chocolate is fully melted and glossy. Cool this bowl for at least five minutes so it does not cook the eggs in the next step.
- Whip Eggs and Sugars for Glossy Chewy Brownies:
- In a stand mixer with the whisk attachment, beat together the granulated sugar, light brown sugar, eggs, and vanilla extract for five to six minutes. The mixture should become pale, thick, and almost doubled in volume; this is the key to achieving shiny, crackly bakery style brownie tops.
- Blend in Melted Chocolate Mixture:
- With the mixer on low, slowly pour in the cooled chocolate and oil mixture. Mix only until incorporated; overmixing can create tough, dry brownies instead of a fudgy crumb.
- Combine Dry Ingredients for Consistent Texture:
- In a separate small bowl, whisk all purpose flour, Dutch processed cocoa powder, and kosher salt together. This step distributes cocoa evenly and breaks up any lumps, ensuring a dense, uniform chocolate crumb in every bite.
- Fold and Finish the Brownie Batter:
- Using a spatula, gently fold the dry ingredients into the wet mixture until just combined. Stir in the rest of the chocolate chips for scattered pockets of gooey melted chocolate throughout the brownies. The batter should look thick and glossy, similar to chocolate mousse.
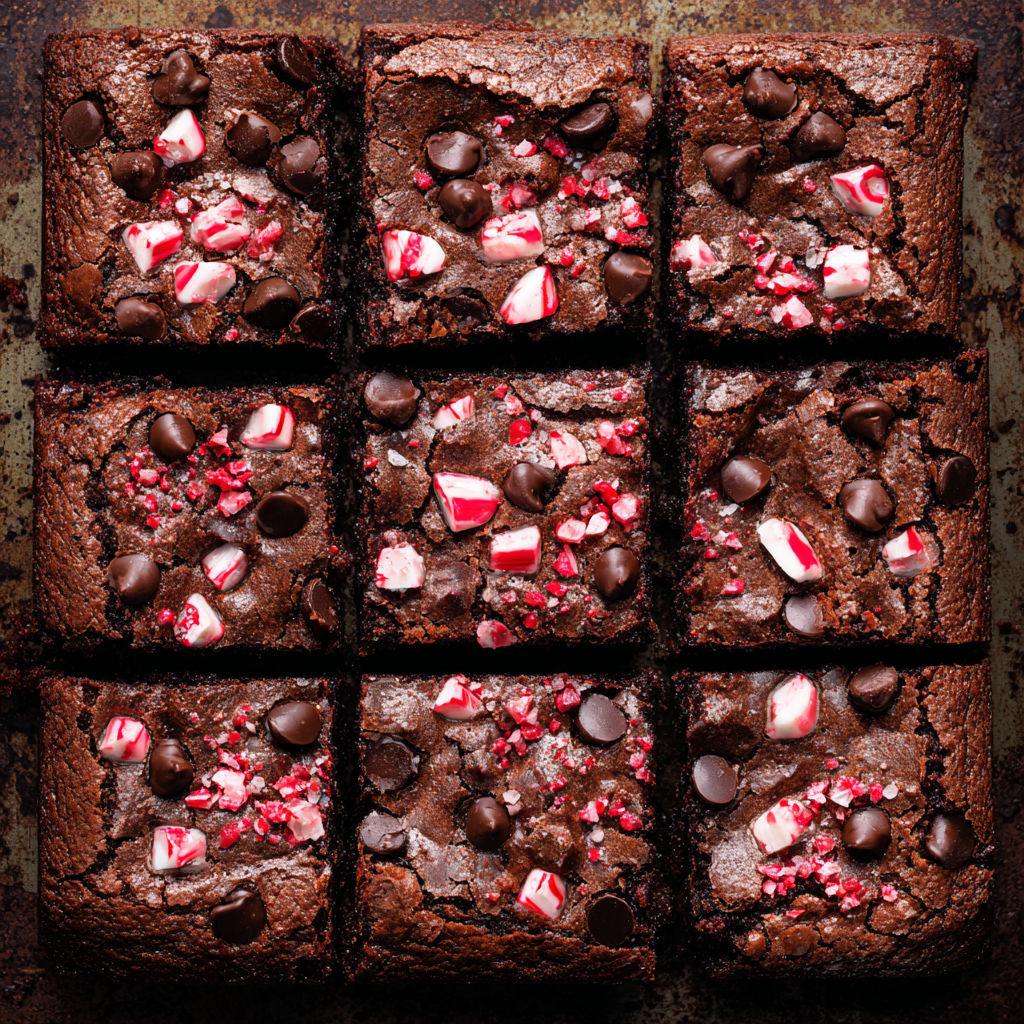
- Pour Batter into Pan and Sprinkle Peppermint Topping:
- Evenly spread brownie batter into the lined pan and smooth the surface for level bars. Scatter crushed peppermint candies or bark over the top to provide a festive look and a pop of color that stands out after baking.
- Bake Until Just Set for Fudgy Texture:
- Bake brownies on the oven's center rack for 30 to 45 minutes, testing after 30 minutes with a toothpick. The edges will look firm and set while the center should still be just a bit soft; aim for moist crumbs, not raw batter, to guarantee a fudgy brownie center.
- Cool Completely Before Cutting:
- Let the brownies cool in the pan on a wire rack for at least one hour. Use the parchment paper overhang to lift them from the pan, then slice into squares using a sharp knife once fully cooled for the cleanest, most even results.
I first discovered that adding Dutch processed cocoa powder takes these brownies from good to unforgettable, especially after tasting the ultra smooth texture following an overnight chill. Some of our most fun family moments involve sneaking chilled brownies straight from the freezer post movie night—a tradition even the kids always request! Packed with fiber from real cocoa and lower in saturated fat than conventional recipes, these classic peppermint brownies win rave reviews every time we share them at school functions or holiday parties.
Smart Swaps and Variations
For gluten free peppermint brownies, swap in your favorite cup for cup gluten free flour blend in place of all purpose flour. If you want a dairy free version, use dairy free chocolate chips and double check that your peppermint candies are milk free and safe for allergies. You can also add a swirl of peppermint frosting, sprinkle chopped peppermint bark into the batter, or drizzle with melted white chocolate for bakery style frosted peppermint brownies. Try folding in chopped Andes mints or adding a teaspoon of instant espresso powder to create mocha peppermint brownies for even more variety.
How to Store and Reheat Classic Peppermint Brownies
Store classic peppermint brownies in an airtight container at room temperature for up to five days, keeping them soft and moist. For longer storage, cool brownies fully, slice into bars, and wrap securely in plastic before placing in a freezer safe container—these brownies will stay delicious up to three months frozen. When ready to enjoy, reheat a single square on a microwave safe plate for about ten seconds to restore that gooey chocolate center and fresh peppermint pop, or let them thaw at room temperature for party serving.
What to Serve with Classic Peppermint Brownies
Serve classic peppermint brownies with a scoop of vanilla ice cream for the ultimate peppermint chocolate dessert experience, especially at winter parties. Pair with peppermint hot chocolate or freshly brewed coffee for cozy evenings at home or festive brunches. On holiday platters, dust extra crushed peppermint and cocoa powder over your serving tray for a dramatic finish—these bars also make excellent lunchbox treats or gifts when cut into bite sized squares and packaged with cookies, bark, or truffles.
Nutritional Benefits
Each serving of classic peppermint brownies provides about 430 calories, giving you a rich dessert with the benefit of cocoa flavonoids and chocolate antioxidants. These brownies are vegetarian friendly by default and easy to adapt for dairy free or gluten free needs using simple ingredient swaps. They're made with oil instead of butter for less saturated fat than traditional brownies and use real cocoa powder, which adds both dietary fiber and important minerals like iron for extra nutrition in every bite.
Recipe Success Tips
To keep your peppermint brownies fudgy, never overmix the batter after adding flour—just fold until combined for a tender crumb. Always check doneness starting at 30 minutes so you do not accidentally overbake; a toothpick should come out with moist crumbs. For the shiniest tops, ensure your eggs and sugars are fully whipped into pale, thick ribbons. If peppermint topping melts while baking, sprinkle a bit more as soon as brownies come out for festive crunch and presentation.

These classic peppermint brownies are the ultimate way to satisfy peppermint dessert cravings all year. Try them for your next holiday, and let me know if you create a new variation or serve them at your next celebration!
Common Questions About This Recipe
- → How do I keep brownies moist and fudgy?
To maintain moisture and fudginess, avoid overbaking. Check for doneness by inserting a toothpick—moist crumbs are ideal. The blend of oil and semisweet chocolate also helps retain richness.
- → Can I substitute peppermint extract with other flavors?
Yes, vanilla or almond extract can be used for a different twist, but classic holiday brownies shine with peppermint for that distinctive minty note.
- → Why use Dutch-processed cocoa in brownies?
Dutch-processed cocoa brings a deeper chocolate flavor and smoother texture. It also creates a rich color, enhancing the visual and taste appeal of your brownies.
- → Should I use parchment paper for baking brownies?
Yes, lining the pan with parchment makes lifting and slicing brownies much easier, while minimizing sticking and breakage.
- → How do I crush peppermint candies evenly?
Place candies in a sealed zip-top bag and gently crush with a rolling pin. For finer consistency, pulse briefly in a food processor.