
 Pin
Pin
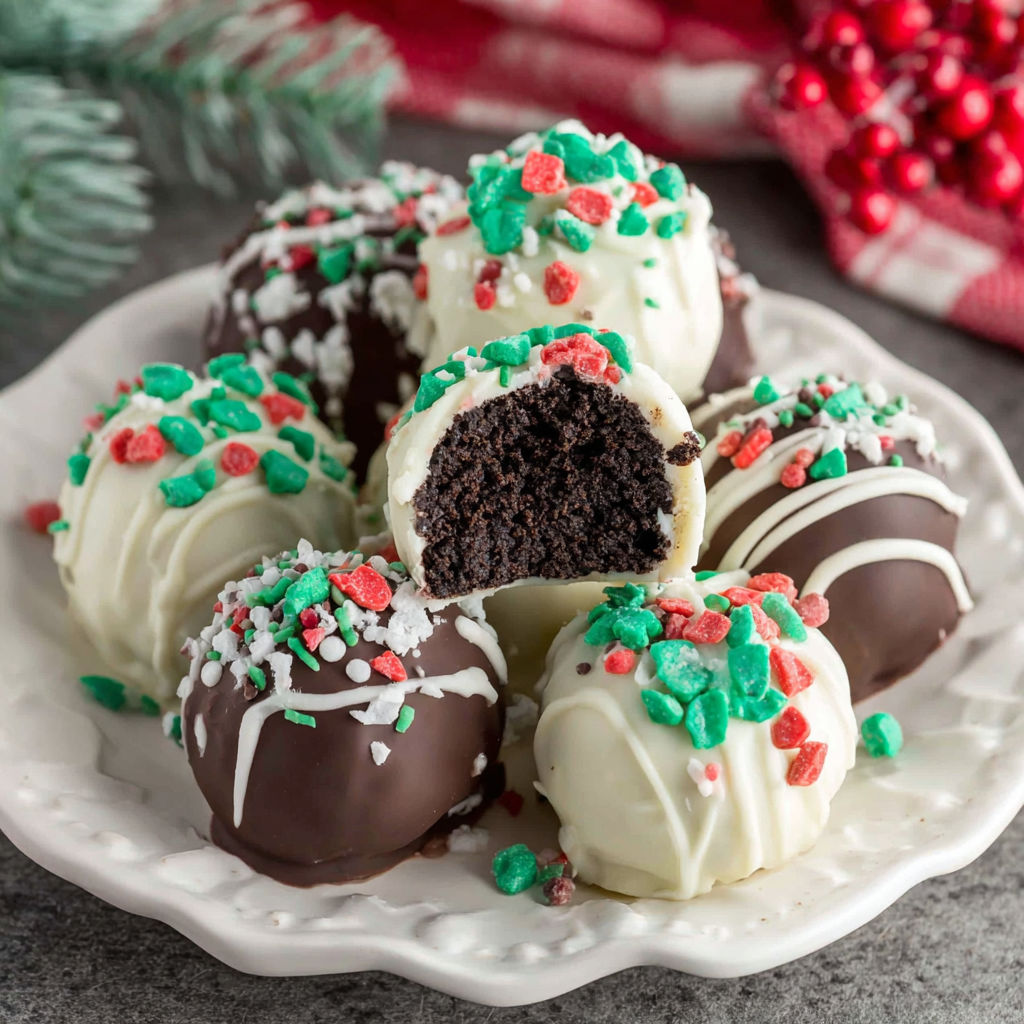
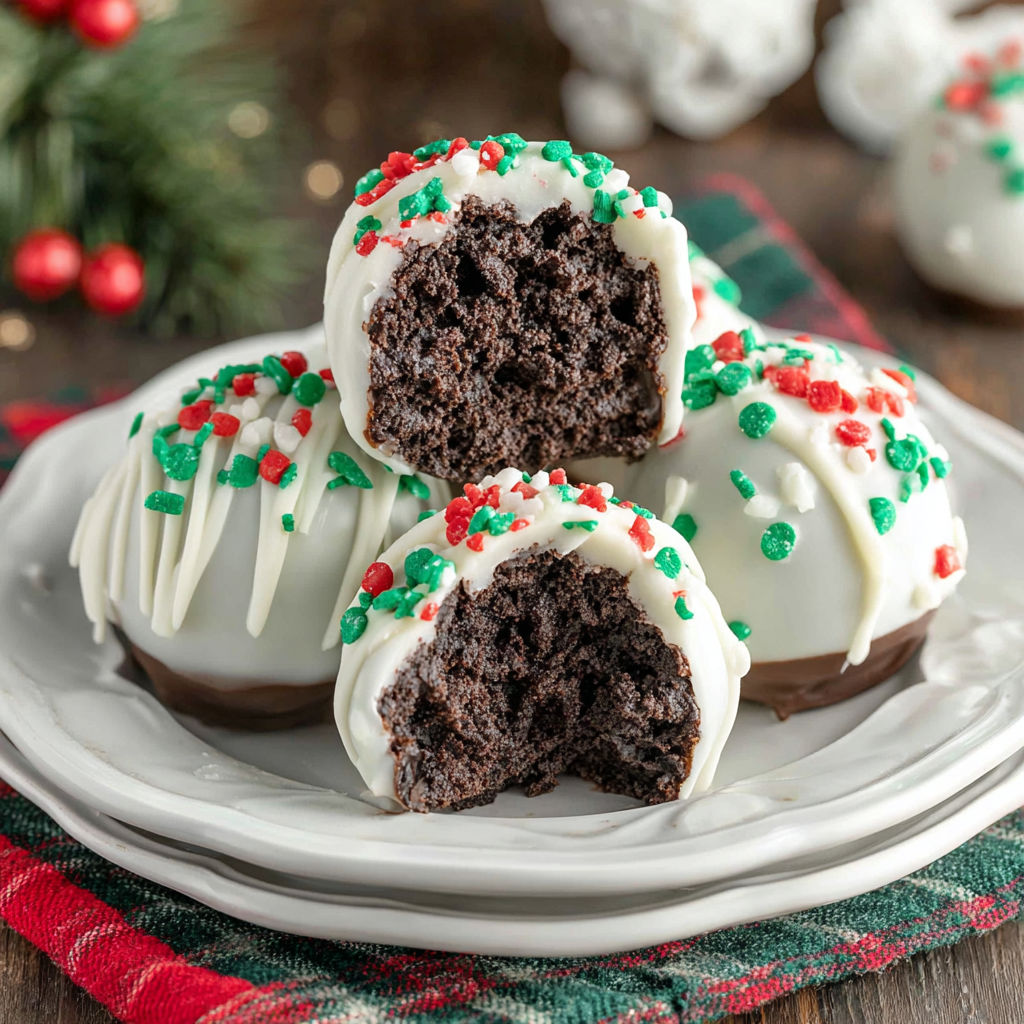
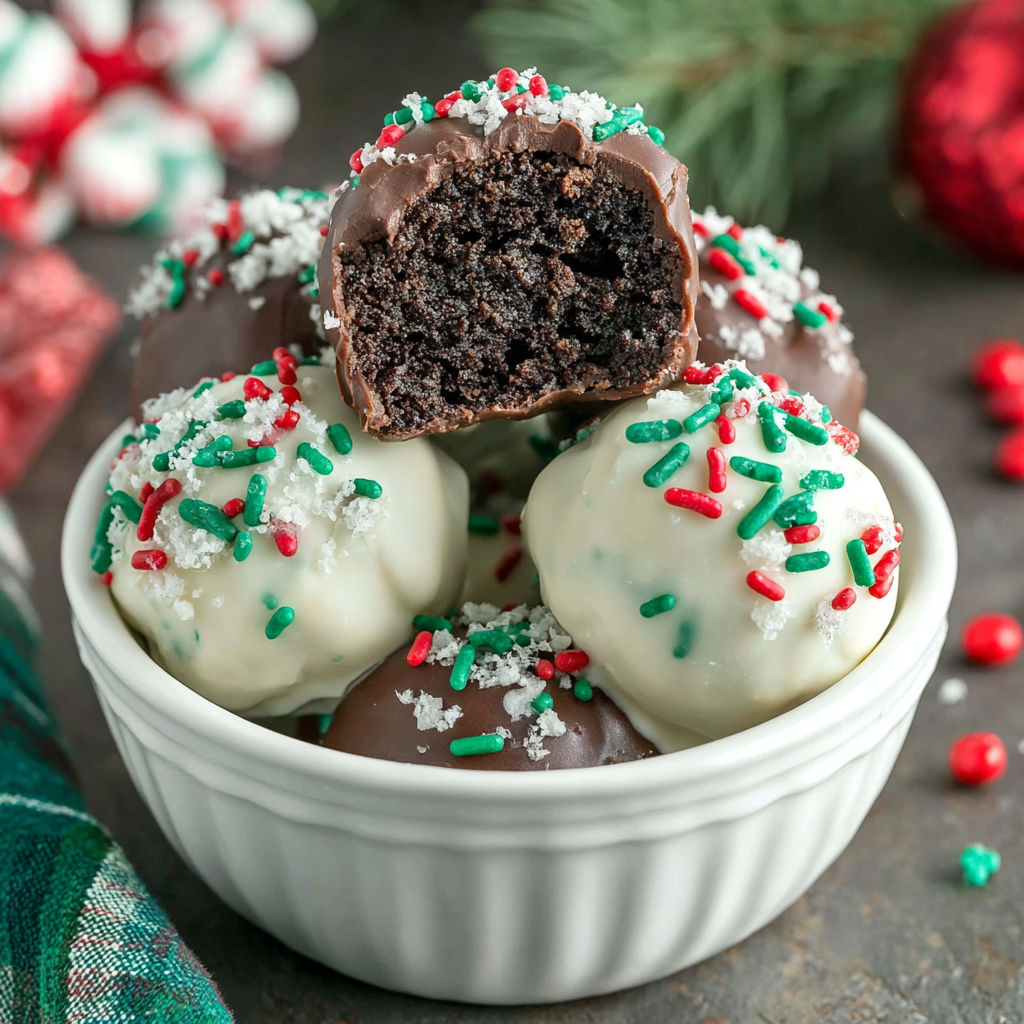
This holiday delight captures the magical Christmas spirit with only four key ingredients and a super simple no-bake method. Whether you're preparing for a festive gathering or just want something extraordinary with your afternoon tea, these Christmas Oreo balls come together quickly but impress with their rich taste and festive appearance.
I stumbled upon these sweets ages ago when my neighbor dropped some off as a gift. These days I whip them up every holiday season and end up sharing extras because everyone keeps asking how to make them.
Gather Your Ingredients
- Oreos: These form the rich chocolate base and give structure to your treats. Stick with regular Oreos for best outcomes and stay away from double stuffed versions which can throw off the texture.
- Cream cheese: Room temperature cream cheese works as the perfect binder while adding luxurious smoothness. Go for full fat for the richest flavor, and make sure it's completely softened for easy mixing.
- Ghiradelli Dark chocolate melting wafers: Perfect for a glossy coating with intense chocolate flavor. This brand melts smoothly and hardens nicely, making the dipping process much easier.
- Ghiradelli White vanilla melting wafers: Creates beautiful contrast and adds a sweet vanilla flavor. This specific brand helps achieve a creamy white finish that won't turn out too thin.
- Christmas sprinkles: Adds festive touch and holiday charm. Choose mixes featuring traditional reds, greens and golds for that Christmas vibe.
How to Make It
- Pulse the Oreos:
- Toss Oreos into your food processor and run until you get fine powder. Don't stop early or you'll have lumpy chunks in your mixture.
- Blend with Cream Cheese:
- Drop the softened cream cheese into your food processor. Give it several pulses until everything combines into a thick, smooth mix, scraping down sides as needed.
- Transfer and Finish Mixing:
- Empty the mixture into a big bowl and use a rubber spatula to mix thoroughly until you can't see any cream cheese streaks anymore.
- Form the Balls:
- Put parchment paper on a cookie sheet. Using a mini cookie scoop (around one and a half tablespoons), drop balls of mixture onto your lined sheet.
- Shape by Hand:
- Roll each scoop between your palms for a moment to create smooth, tight balls. This step helps them get coated more evenly.
- Chill Completely:
- Stick your tray of Oreo balls in the refrigerator or freezer for at least half an hour. This makes them firm so they won't break apart during dipping.
- Melt Dark Chocolate:
- Put dark chocolate melting wafers in a bowl and microwave in short intervals, stirring often until completely melted and runny.
- Dip in Dark Chocolate:
- Take half your chilled Oreo balls and dunk them one at a time in the melted dark chocolate, using a fork to let extra chocolate drip off. Quickly sprinkle with Christmas decorations before the coating hardens.
- Melt White Vanilla Wafers:
- Follow the same melting steps with white vanilla wafers until they turn completely smooth.
- Dip in White Chocolate:
- Dunk the remaining Oreo balls into the white coating and immediately add holiday sprinkles so they stick before the surface hardens.
- Final Chill:
- Place all coated Oreo balls back in the fridge until the outer layers become solid. This guarantees the right texture and prevents any smudging.
That bit of cream cheese really makes these stand out from other treats. Last year my children tried adding some peppermint extract for a cool twist and now we can't stop making them that way. Making these together as a family while we dip and decorate has become our official start to the holiday celebrations.
Flavor Boosters
You can store them frozen up to two months without losing any taste. When shopping for supplies, go for top-quality melting wafers since they harden properly and won't flake off. Always check that your cream cheese isn't expired and has a smooth consistency for perfect blending.
Serving Suggestions
They look amazing on a Christmas dessert platter alongside some peppermint bark and decorated sugar cookies. You might also try pushing a lollipop stick into each one before cooling for fun holiday cake pops. Make plenty for cookie exchanges because they'll vanish in no time.
Creative Twists
You can try using different brands of chocolate sandwich cookies if you can't find Oreos but keep the amounts the same. Switch to milk chocolate melting wafers for a sweeter outside layer or try using dairy-free cream cheese and gluten-free chocolate cookies if you need options for dietary restrictions.
Grab a small cookie scoop for balls that are all the same size which makes your finished treats look store-bought and ensures the chocolate coating covers everything evenly.
Common Questions About This Recipe
- → Can I use different chocolate for coating?
Sure, you can try milk chocolate, semisweet, or colored candy melts to cover your Oreo balls, depending on what you like or the holiday theme you're going for.
- → How do I store Oreo balls?
Keep your Oreo balls in a sealed container in the fridge. They'll stay good for about a week and can even be frozen if you want them to last longer.
- → Can I make Oreo balls ahead of time?
For sure, you can make Oreo balls a couple days before you need them and keep them cold until you're ready to serve them or give them as gifts.
- → What type of cream cheese works best?
Regular, block-style cream cheese makes Oreo balls taste the most delicious and gives them the best feel, but you can use reduced-fat if that's what you want.
- → Do I need a food processor?
A food processor makes crushing Oreos super fast, but don't worry if you don't have one - just put the cookies in a plastic bag and crush them with a rolling pin instead.