
 Pin
Pin
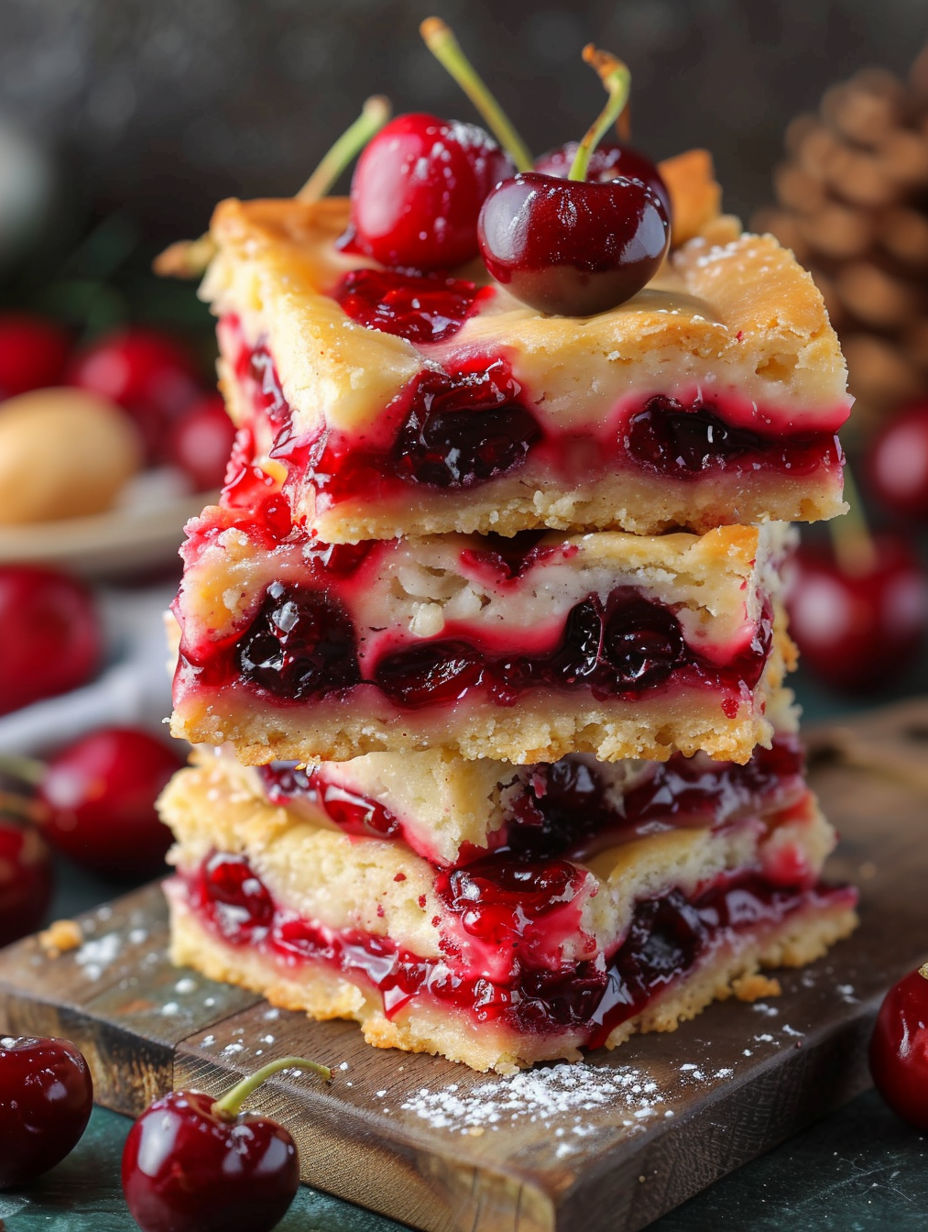
These festive Christmas Cherry Bars combine the richness of buttery shortbread with sweet cherry filling for the perfect holiday treat, delivering a vibrant dessert that's ready in under an hour. With only 20 minutes of prep and 40 minutes of baking time, these bars make holiday entertaining effortless while offering a gorgeous marbled effect that outshines traditional Christmas desserts. Ideal for serving a crowd, this cherry bar recipe ensures you can impress your guests with minimal fuss and maximum flavor during the busiest time of year.
I first baked these cherry bars for a hectic holiday potluck when I needed a showstopping dessert that would not keep me in the kitchen all day. The vibrant red cherry layer against the golden, buttery shortbread created such eye catching contrast that guests assumed they were bakery bought. Since then, these Christmas Cherry Bars are a must at every family event from Thanksgiving through New Year's, and requests for the recipe always follow every gathering.
Gather Your Ingredients
- Butter softened completely to room temperature: This is essential for proper creaming which ensures a tender, melt in your mouth texture; salted or unsalted both work, but unsalted gives more control
- Granulated sugar: Gives the dough structure and a delicate crispness; use fine sugar for best results and do not substitute brown sugar as it changes the texture
- Salt: Balances the sweetness and brings out the cherry and almond flavors; sea salt or kosher salt is recommended for clean taste
- Large eggs at room temperature: Room temperature eggs emulsify better, creating a smoother, aerated batter; for vegan adaptation, use a flax egg per standard ratios
- Vanilla extract: Adds warmth and depth; pure vanilla is preferable but imitation will suffice if needed
- Almond extract: Key for the classic cherry almond pairing; use sparingly, as it is very potent and skipping it will alter the holiday flavor profile
- All purpose flour: Accurate measurement by spooning into cups and leveling avoids dense or dry bars; a gluten free blend works well for substitutes
- Cherry pie filling (21 oz cans): Provides vibrant color and tart sweet contrast; choose tart cherry varieties for best flavor, or try homemade preserves if desired
- Confectioners' sugar: Essential for a smooth glaze; sift before using to avoid lumps and do not sub with granulated sugar
- Vanilla extract and almond extract for glaze: These echo bar flavors in the topping; keep measurement exact to avoid overpowering the sweetness
- Whole milk: Used to adjust glaze consistency; add one tablespoon at a time for a pourable but thick texture
How to Make Christmas Cherry Bars
- Prepare the Baking Pan:
- Preheat your oven to 350°F (175°C) and thoroughly spray a 15x10 inch sheet pan with baking spray, ensuring you cover all corners for easy removal. The specific pan size ensures the bars bake to the perfect thickness with a golden crust.
- Create the Buttery Base:
- In a large bowl, cream together room temperature butter, granulated sugar, and salt with an electric mixer for 3 to 4 minutes until light and fluffy. This step incorporates air, resulting in a soft, tender crust that stands up to the fruit filling.
- Add Wet Ingredients:
- Add eggs one at a time, mixing well after each so the batter stays smooth. Stir in vanilla and almond extracts, evenly combining gentle holiday flavor throughout the dough for balance with the cherries.
- Incorporate the Flour:
- Gradually add flour, mixing on low just until absorbed. Avoid over mixing, as this prevents tough, dry bars and ensures your dough stays soft and pliable for easy layering.
- Assemble the Layers:
- Press about 3 cups of dough evenly into the greased pan, creating a layer roughly 1/4 inch thick. Spread cherry pie filling carefully over the dough, keeping a small border along the edges for tidy presentation and less bubbling over.
- Add the Top Layer:
- Drop spoonfuls of the remaining dough gently over the cherry filling, spaced to allow streaks of red to show through after baking for the signature marbled festive look.
- Bake to Golden Perfection:
- Bake for 35 to 40 minutes, until the top is golden brown and a toothpick comes out clean from the crust only. Look for slightly darker edges and a gentle pull from the sides of the pan as key readiness cues.
- Cool Completely:
- Let the bars cool fully in the pan for 1 to 2 hours before glazing. This resting period helps the filling set for tidy slicing, and makes clean cuts much easier to achieve for serving.
- Prepare the Sweet Glaze:
- Stir together confectioners' sugar, vanilla, almond extract, and 2 to 3 tablespoons milk until smooth and pourable. Drizzle the glaze in zigzag lines across fully cooled bars, allowing at least 20 minutes for it to firm up before cutting.
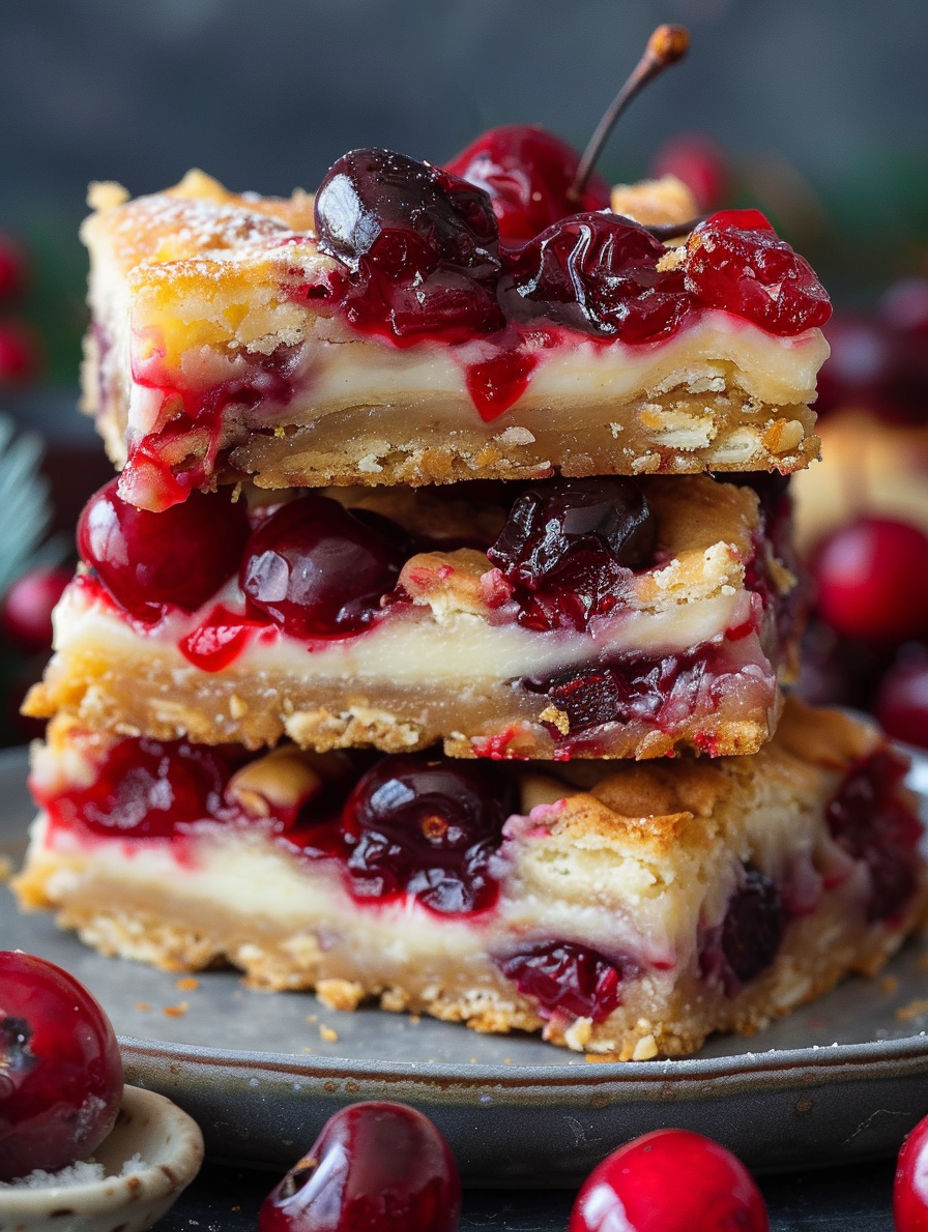
My grandmother used to make a version of these bars with homemade preserves from her backyard cherry tree, and every time I bake them now, I am transported back to her cozy kitchen filled with the aroma of almond and cherries during Christmas. Discovering that quality canned cherry pie filling works nearly as well means I can make these nostalgic bars even on my busiest winter days.
Smart Swaps and Variations
Experiment with the filling by swapping in blueberry, strawberry, or mixed berry pie fillings to create a colorful twist that still feels festive. For extra richness, fold in mini chocolate chips to the dough or drizzle chocolate ganache over the bars instead of glaze. Add orange zest to the batter and orange extract to the glaze for a lovely citrus lift, or give a cozy crunch by mixing oats into the dough for a streusel finish. These bars also adapt beautifully to gluten free flour blends, so everyone at the table can enjoy them without compromise.
How to Store and Reheat Christmas Cherry Bars
Store these bars in an airtight container at room temperature for up to 3 days to maintain moisture and tenderness, as the cherry filling helps keep them soft. For longer storage, refrigerate up to 1 week, returning bars to room temperature before serving for best flavor. To freeze, wrap individual bars in plastic wrap and foil, storing for up to 3 months; thaw overnight in the refrigerator and bring to room temperature before serving. If you enjoy your bars slightly warm, gently heat them in a 300°F oven for about 10 minutes or microwave each bar for 15 to 20 seconds to soften the glaze and refresh the shortbread.
What to Serve with Christmas Cherry Bars
Pair these cherry bars with warm spiced cider for a comforting holiday afternoon treat, or alongside classic vanilla bean ice cream for a stunning Christmas night dessert. Add them to a cookie platter with chocolate peppermint cookies and gingerbread for a medley of seasonal flavors and textures. Smaller portions with freshly whipped cream and crushed candy canes offer a festive brunch option, and they are just as delicious served next to a steaming mug of hot chocolate, where their sweet tart cherry notes balance rich cocoa drinks perfectly.
Nutritional Benefits
While an indulgence, these Christmas Cherry Bars offer some nutritional advantages compared to many heavier confections. Cherries are naturally rich in antioxidants and anti-inflammatory compounds, and using real butter instead of margarine supplies beneficial fat soluble vitamins and a more wholesome flavor. Eggs add a boost of high quality protein and micronutrients like choline, making each portion a little more balanced. By controlling glaze quantity, you can moderate sugar content while still achieving a festive finish.
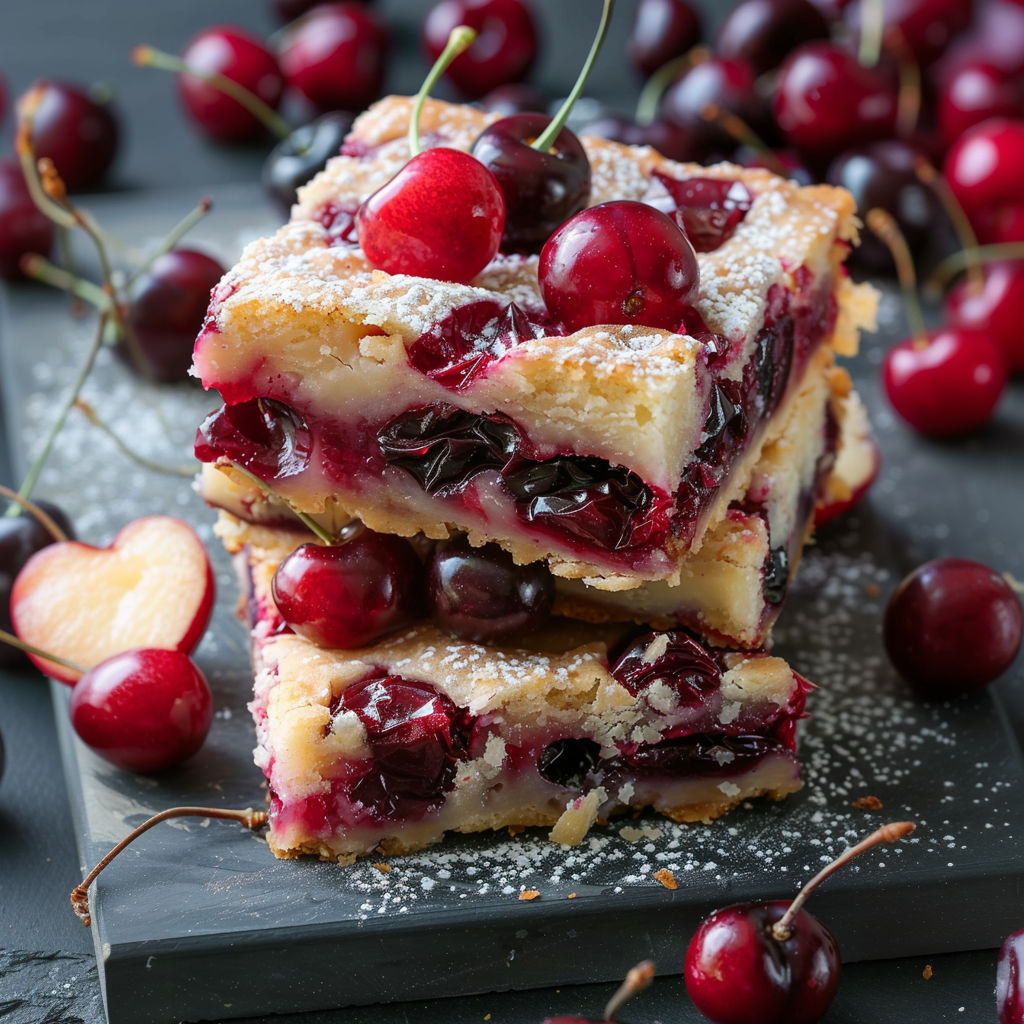
Recipe Success Tips
For maximum presentation, use cherry pie filling made with tart red cherries for the brightest color and strongest flavor. If your dough is difficult to handle, chill it for 15 to 20 minutes to make pressing easier and less sticky. An offset spatula sprayed with cooking spray can help spread the dough evenly without tearing. For tidy slices, refrigerate glazed bars for about 30 minutes before cutting with a sharp knife, wiping between each cut. Let eggs and butter come to room temperature before starting to ensure a smooth, cohesive dough for the perfect shortbread base every time.
These Christmas Cherry Bars have become my signature dessert each holiday season, offering a perfect balance of ease and festive flair for every party or family celebration. Enjoy sharing this crowd pleasing treat and let its cherry almond flavor bring a little extra magic to your own holiday traditions!
Common Questions About This Recipe
- → What makes these bars especially tender?
The creamy butter and careful mixing of ingredients create a soft, melt-in-your-mouth texture that sets these bars apart.
- → Can I use fresh cherries instead of pie filling?
Yes, fresh or homemade cherry compote can be substituted to give a more natural and tart cherry flavor.
- → How do I achieve the perfect glaze consistency?
Mix confectioners' sugar, milk, and extracts gradually until the glaze is smooth, pourable, yet not too runny.
- → What's the best way to serve these bars?
Slice them after completely cooling, and serve at room temperature for optimal flavor and texture.
- → Are there ways to customize the flavor?
Try almond extract for a richer taste, or swap in different fruit fillings for a seasonal twist.