
 Pin
Pin
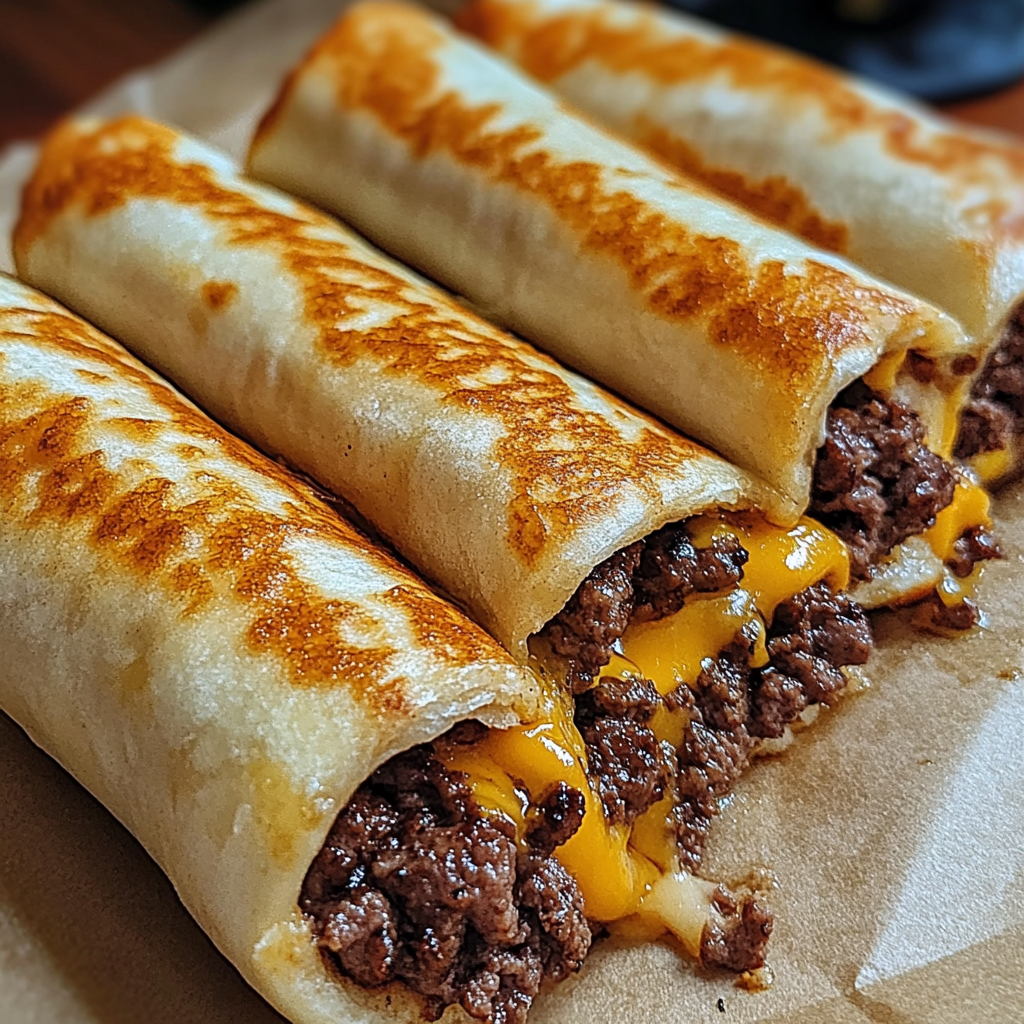
Crescent rolls get a major upgrade in this tasty mashup that's part cheeseburger, part portable snack. Buttery garlic boosts these beef and cheese pockets, giving them a shiny, crave-worthy crust that disappears fast at dinnertime.
These started as my way to throw dinner together after a rough shift. Now every Friday my crew waits by the stove, smelling the cheese as it heats up. It’s become our go-to way to kick off the weekend
Mouthwatering Ingredients
- The base is crescent dough. It bakes up flaky and buttery, with a hint of crunch.
- Loads of cheddar, shredded, for that signature stretchy, melted bite.
- Ground beef brings a bold, meaty center that really fills you up.
- Onions, diced, blend in a little sweetness and subtle bite with the meat.
- Melted butter brushed on top adds shine and that rich finish.
- Garlic powder boosts both the filling and topping with that warm, layered flavor.
Easy Step Guide
- Spread the Garlic Butter
- Mix garlic powder into the melted butter. Grab a pastry brush and slather the top of every rollup. Make sure they're totally coated for the best golden crust and that awesome scent.
- Seal Your Rollups
- From the wide end, roll dough triangles snugly around the filling toward the tip. Tuck in any stray beef or cheese. Lay them spaced out on a lined pan, tip down so they won't open up.
- Shape the Dough
- Lay out crescent triangles on a floured counter. Drop a big spoonful of your filling at the base, but keep a half inch border so nothing spills when baked.
- Mix Up Your Filling
- Once you've drained any fat, set the meat aside for five minutes. Gently toss in the cheese. Mixing at this stage keeps it from totally melting, so you get nice pockets of gooey goodness that stick together just right.
- Brown Up the Beef and Onions
- Break up your ground beef in a skillet with diced onions. Stir over medium heat for roughly 8 minutes, until all the pink is gone and onions look soft and clear. Add your spices during this so everything soaks up the flavor.
I’ll let you in on my magic trick—the butter mixed with garlic. One night with barely any groceries left, I brushed it on a whim and it totally changed everything. My kid swears these are better than any fast food burger. I can't argue, that garlicky finish is next level.
Prep Ahead Tips
You can put these together completely then keep them chill in the fridge, covered, for a full day. Wait to brush on the garlic butter right before they go in the oven. Great for prepping before guests show up or those nights you don’t want to do anything but bake and eat. If you bake them straight from cold, just tack on a couple extra minutes.
Ways to Make It Yours
Customize away! Toss in bacon bits for a bacon cheeseburger vibe. Add some chopped pickles or a spoon of relish into the mix for that classic burger zing. Love mushrooms? Sauté some finely chopped ones with the onions before the beef hits the pan. You’ll get new flavors but still keep all that cheesy burger goodness.
How to Serve
Set up dips galore—have little bowls of ketchup, creamy ranch, and mustard so everyone can dunk as they eat. Want a balanced meal? Throw together a quick side salad with vinaigrette. Or make it a fake-out burger night with crispy fries or sweet potato wedges on the side.
Save and Warm Up
Your rollups keep nicely in the fridge for 3 days, as long as you pop them into a container that seals tight. When ready to eat, use a 325°F oven for 10 minutes so they get hot again without losing crispness. Not a fan of rubbery, soggy dough? Skip the microwave and reheat on a rack over a pan so they stay crunchy outside.
Common Questions About This Recipe
- → Is it possible to use a different kind of dough?
Sure! Puff pastry, homemade dough, or biscuit dough can be swapped in. Just tweak the baking duration based on your choice.
- → What dips go well with these wraps?
Try zesty options like garlic aioli, barbecue sauce, or honey mustard. Classics like ranch, spicy mayo, or ketchup also pair great.
- → Can I get these ready ahead of time?
Definitely! Prep and assemble the wraps beforehand, store them raw in the fridge, and cook when needed for fresh results.
- → Are these wraps freezer-friendly?
Yes! Once they're baked and completely cooled, pop them into a freezer-safe bag or container. Heat them up in the oven at 350°F to serve again.
- → Can I toss in extra ingredients?
For a personal touch, add diced veggies like bell peppers, mushrooms, or even crispy bacon pieces for more flavor and crunch.
- → How can I keep the filling from falling out?
Roll the dough snugly, beginning at the wider end and pinching the seams closed. Placing the wraps seam-side down on the tray helps lock it in place.