
 Pin
Pin
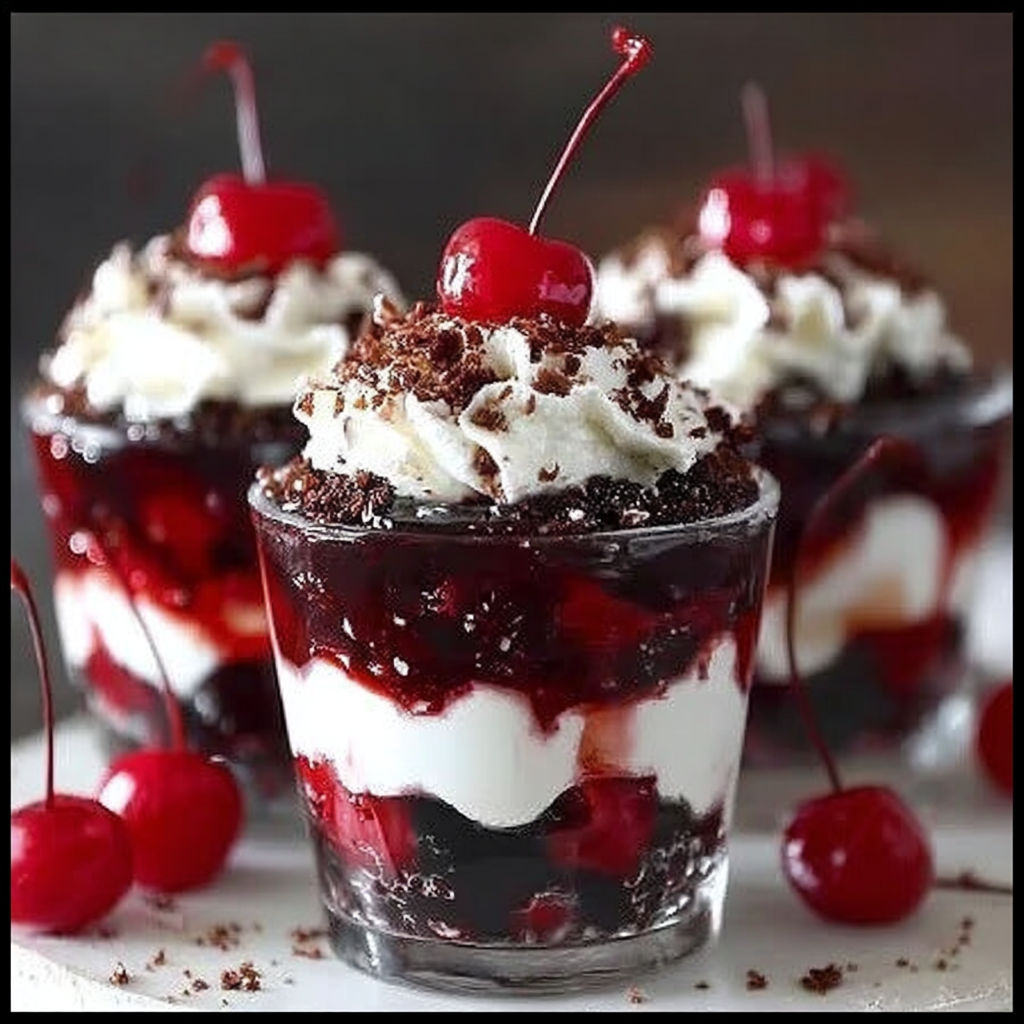
This easy black forest cups recipe is my go to dessert hack for parties and quick weeknight cravings, serving up rich layers of chocolate pudding, whipped topping, and tangy cherry pie filling in just fifteen minutes prep and twenty five minutes cook time. For anyone searching for a fast, crowd pleasing, and elegant chocolate cherry dessert, these black forest cups check every box with virtually zero hassle and maximum showstopper factor.
I first made these black forest cups for my daughter's birthday party, and they instantly became a family favorite—every cup disappeared within minutes of hitting the dessert table. The irresistible combo of creamy pudding, bold cherry flavor, and chocolate cookie crunch keeps everyone coming back for seconds, and now these cups are my reliable sweet treat for any celebration, potluck, or lazy evening at home.
Gather Your Ingredients
- Chocolate instant pudding mix: Provides rich cocoa flavor and a creamy, luscious base in minutes. Opt for quality brands for the best depth, or use homemade pudding for extra indulgence.
- Cold milk: Essential for setting the pudding to silky perfection; whole milk gives the creamiest result, but any milk—including almond, oat, or soy—works for dietary needs.
- Whipped topping: Adds a light, airy texture that balances the chocolate layer's richness. Store bought brands work for speed; fresh whipped cream gives a luxurious, homemade touch.
- Cherry pie filling: The signature sweet and tangy layer with striking ruby color relies on whole cherries for texture. For more fruit and less syrup, choose pie filling with whole fruit or use fresh, stewed cherries.
- Chocolate sandwich cookies: Crushed cookies bring a necessary crunch and deep chocolate note. Adjust crush size for your preferred bite; gluten free or cream filled types are easy swaps for diet or budget.
How to Make Black Forest Cups
- Assemble the Chocolate Pudding Mix:
- Whisk one box of chocolate instant pudding with two cups of cold milk in a medium bowl for about two minutes, until glossy and thickened to almost milkshake consistency. Let it set for three to five minutes for a sturdy base and richer chocolate impact.
- Fold in the Whipped Topping for Airy Texture:
- Using a flexible spatula, gently fold one cup whipped topping into the pudding, moving in circular, lifting strokes to keep layers light and fluffy. Avoid over mixing for that mousse like, cloud soft chocolate finish that defines the dessert.
- Prepare the Layering Components:
- Crush fifteen chocolate sandwich cookies in a zip top bag with a rolling pin or glass bottom until fine with some small chunks. Set out cherry pie filling, ensuring you have both fruit and syrup for lush layering, and ready your serving cups or jars.
- Layer the Black Forest Cups for Visual Appeal:
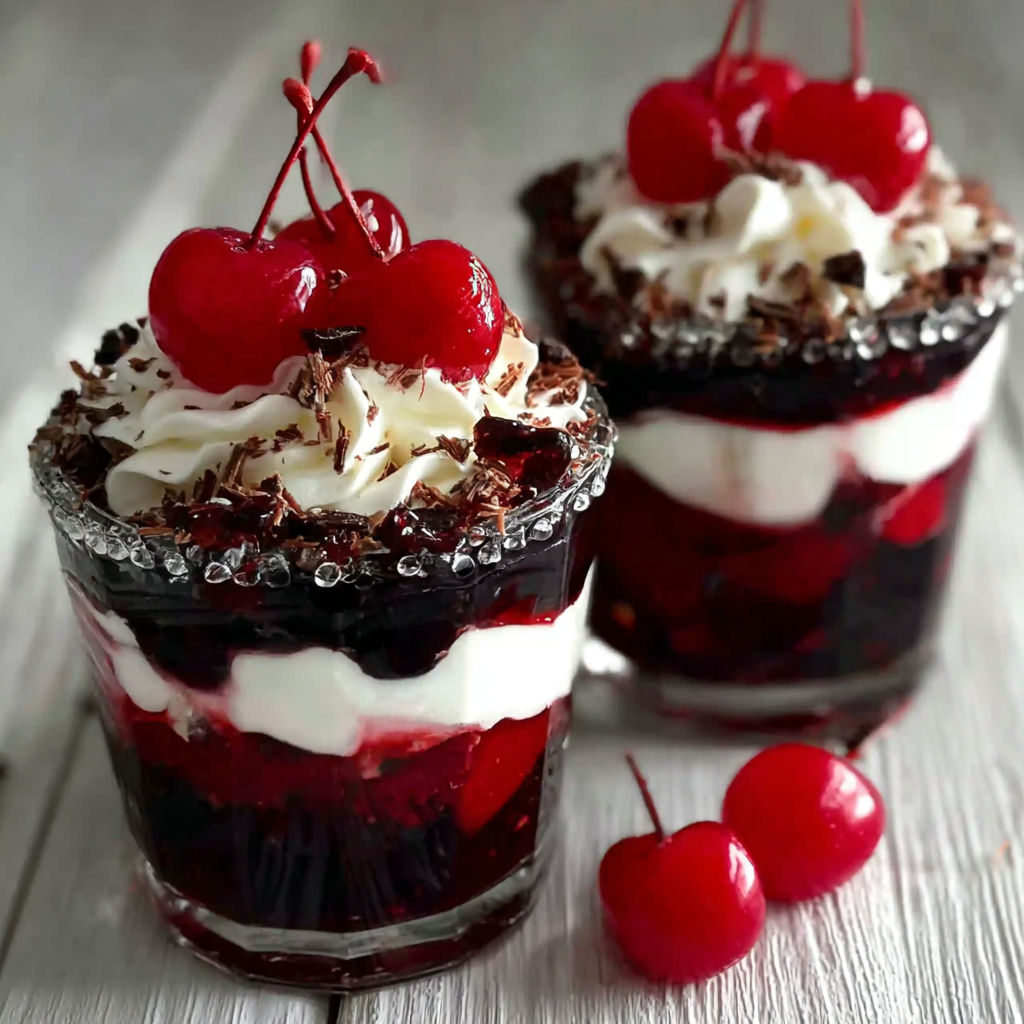
- Spoon crushed cookies into each cup for the first layer, smoothing slightly. Add a thick chocolate pudding layer, followed by a heaping spoonful of cherry pie filling so every serving gets whole cherries. Repeat layers for taller cups to amp up decadence and show off those beautiful striations.
- Finish and Garnish for Special Touches:
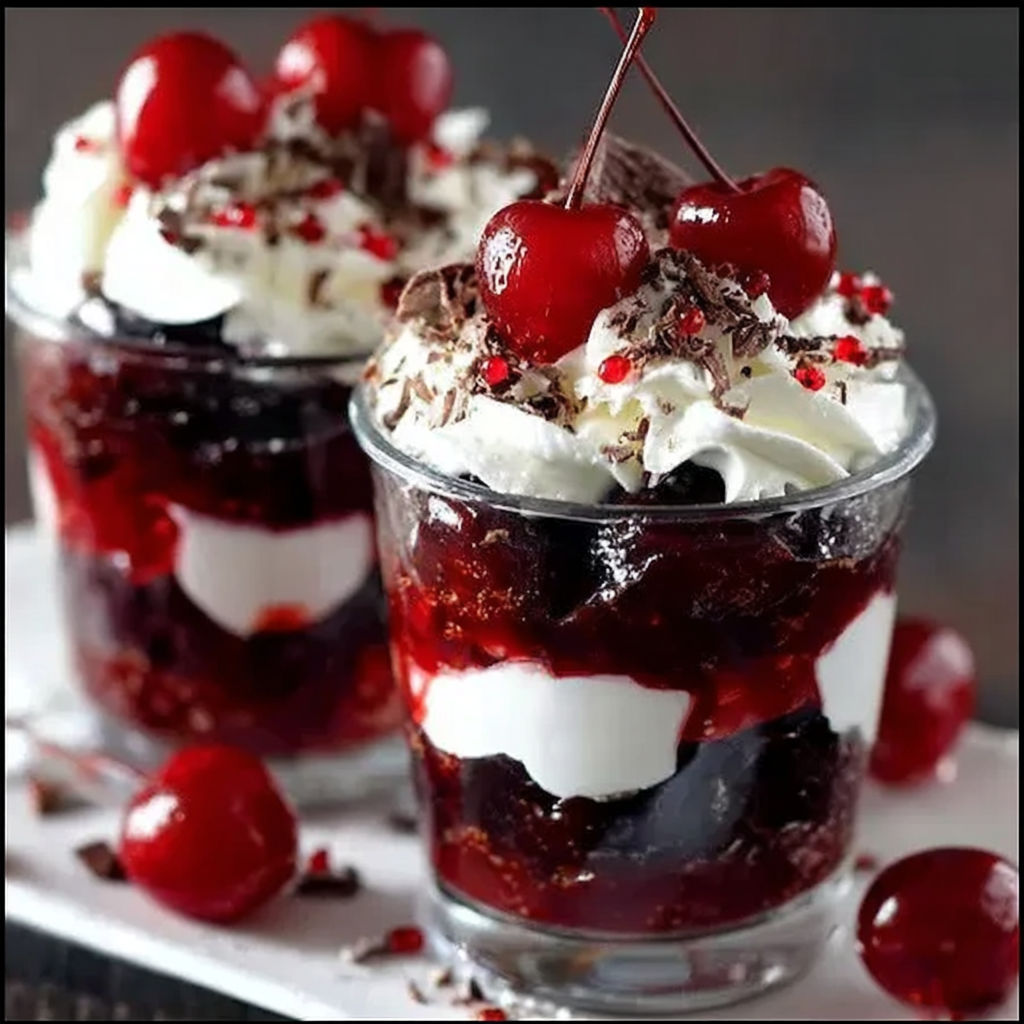
- Top each cup with a swirl of whipped topping, a whole cherry, and a sprinkle of crushed cookies or chocolate shavings. Serve immediately for maximum crunch, or refrigerate up to an hour for a chill, ultra creamy texture that impresses at any event.
I discovered that doubling the cookie layer for extra crunch transforms these cups into a showstopping trifle for family gatherings. My kids love discovering the bold cherry pieces hidden in every layer, and seeing the fridge lined with ready to eat dessert cups always gets everyone excited for dessert time!
Smart Swaps and Variations
For allergy friendly black forest cups, switch out standard cookies and whipped topping with certified gluten free or dairy free versions—no one will notice the difference. Substitute fresh cherries and homemade whipped cream for a seasonal, less processed twist, or try espresso or almond extract in the pudding for a grown up flavor. You can also use chocolate graham crackers or even brownie chunks for the cookie layer, and finish with mini chocolate chips or toasted nuts to diversify textures and make these cups your own.
How to Store and Reheat Black Forest Cups
Store black forest cups tightly covered in the refrigerator for up to three days to keep the layers creamy and the cherry flavor bright. For longer storage, freeze assembled cups in an airtight container for up to one month and thaw overnight in the fridge for best results. If you enjoy a colder, firmer dessert texture, let them rest at room temperature for ten minutes before serving after chilling or freezing; always keep covered to avoid fridge odors and maintain luscious layers.
What to Serve with Black Forest Cups
Black forest cups pair beautifully with a hot cup of coffee or herbal tea for a cozy dessert moment. They shine alongside fresh fruit salads or citrus bars at a dessert spread, balancing the indulgent chocolate. For special occasions, serve with crisp white wine or espresso, and top each with a fresh mint sprig or a ribbon tied jar to make dessert extra festive for showers or parties.
Nutritional Benefits
These black forest cups provide a satisfying balance of protein from milk, antioxidants and vitamins from cherries, and quick energy from their creamy pudding base. Their customizable recipe allows for healthier swaps, like reduced sugar or low fat milk, and the addition of real fruit boosts both nutrition and flavor. Naturally egg free, and easily turned gluten free or dairy free, they offer accessible desserts for many dietary needs without sacrificing taste.
Recipe Success Tips
If your pudding is not thickening, double check that your milk is cold and allow enough resting time for a firm set. For the best crunch in your cookie layer, assemble cups just before serving or keep cookies and fillings separate until ready to eat. When folding whipped topping, use a gentle motion to keep it fluffy and avoid a dense or flat mousse texture—these extra steps ensure bakery worthy results every time you make black forest cups.
These creamy, quick black forest cups make every occasion sweeter with minimal prep and unforgettable chocolate cherry flavor. Whip up a batch tonight—family and friends will rave, and you will discover just how easy dessert excellence can be!
Common Questions About This Recipe
- → Can I make these cups ahead of time?
Yes, assemble the cups a few hours in advance. Add the whipped topping just before serving for freshness.
- → What type of cookies work best for layering?
Chocolate sandwich cookies add a rich, crunchy base, but chocolate wafers or digestive biscuits are great options too.
- → Is it possible to use homemade cherry filling?
Absolutely! Substitute canned cherry filling with homemade for a fresher, more intense fruit flavor.
- → Can I make it dairy-free?
Use plant-based milk and a non-dairy whipped topping for a dairy-free alternative that still tastes delicious.
- → How do I get the best layered effect?
Assemble in clear cups and use a piping bag or spoon to layer evenly. Repeat layers if space allows for visual appeal.