
 Pin
Pin
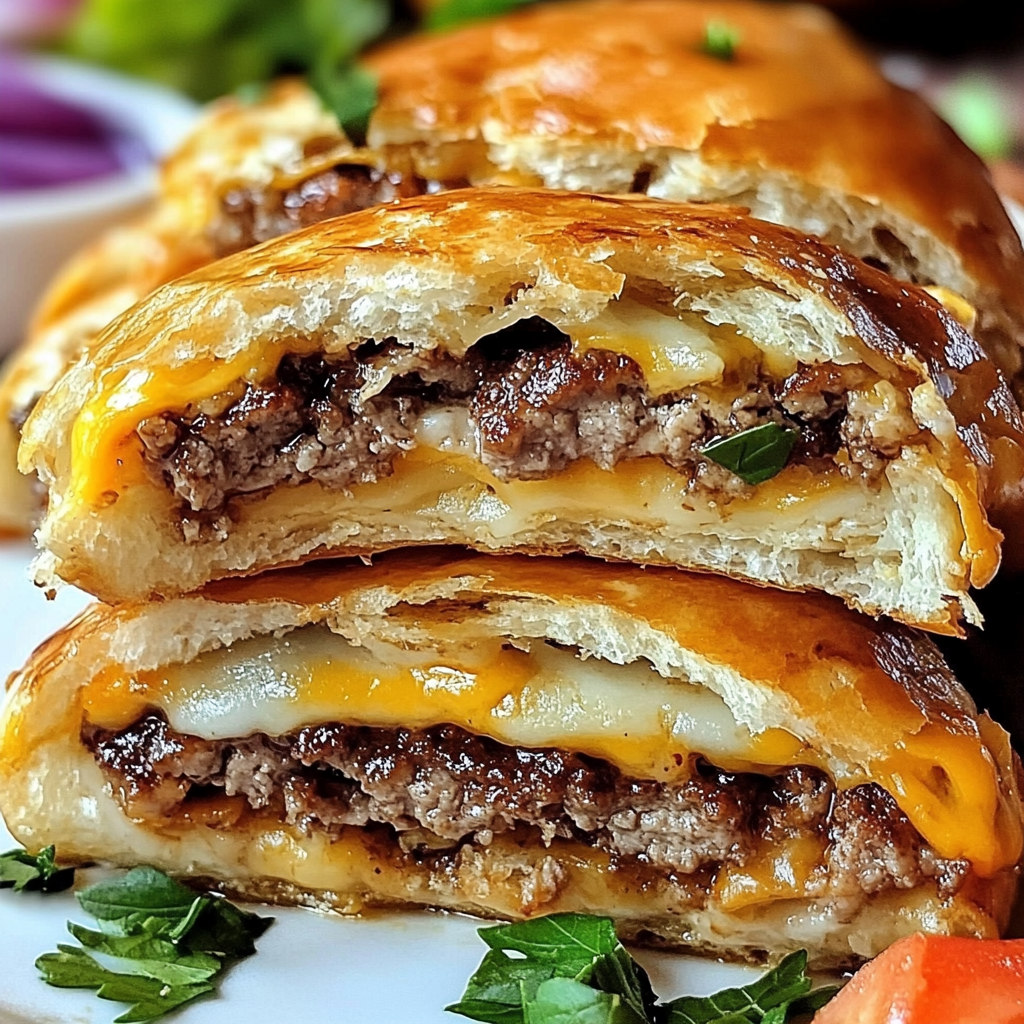
Turn classic burger magic into little snackable bites with these cheeseburger bombs. You've got a flaky biscuit wrap around an ooey-gooey beef and cheese middle. They're easy to grab, fun to eat, and hit all the best burger notes.
The first time I made these was a total spur-of-the-moment thing for a football crowd. They vanished quick—way faster than anything else! Now, my teens always ask for them on movie marathons, and the leftovers never make it past lunch the next day.
Essential Ingredients
- Refrigerated biscuit dough saves you time and makes prep a breeze
- Cheddar cheese for melty, creamy pockets inside every bite
- Diced pickles add that zingy taste that just says "burger"
- Sesame seeds for topping, they look like little buns and toss in a nutty touch
- Melted butter for brushing, so you get that shiny gold crust
- Ground beef is your meaty, juicy core
- Diced onions cook up sweet and soft for extra flavor
- Onion powder and garlic powder add classic burger tastes without peeling or chopping fresh cloves
Simple How-To
- Give Them a Little Rest
- Once you pull 'em from the oven, let the cheeseburger bombs chill for five minutes so you don't burn your tongue and the cheese sets up a bit.
- Bake Until Hot and Golden
- Pop your tray in the hot oven for 15–18 minutes. You're aiming for a rich golden brown top. If you check the inside, it should read 160°F—that way, your meat's cooked safely.
- Final Toppings
- Brush melted butter on each dough ball and sprinkle with sesame seeds for that burger look just before baking.
- Close Them Up
- Pinch the biscuit dough around your stuffing, sealing it at the top so nothing leaks. Place your bombs seam-side down on your lined tray.
- Shape Your Bombs
- Flatten each biscuit—about a 4-inch circle should do it. Drop in a couple of spoonfuls of beef mixture right in the center before wrapping it up.
- Mix in the Good Stuff
- After browning, toss in your chopped pickles. Let the pan cool a minute, then mix in your shredded cheese so it doesn't melt out before they bake.
- Sizzle the Filling
- Brown the ground beef and onion together in a pan until the beef isn't pink and onions look soft. Add in your seasonings during this time to blend the flavors. Pour off any extra grease so you don't end up with soggy bottoms. This usually takes 8–10 minutes.
- Get Set Up
- Switch your oven to 375°F and put parchment on a baking tray. Set out all your goodies so assembly goes fast.
We're hooked on the version that stuffs the filling with dill pickles. My son said a hard "no" to pickles at first, but after his first taste, he changed his mind fast and now always wants the pickle kind anytime these get made.
Make-Ahead Hacks
You can totally assemble these cheeseburger bombs up to a day before you bake. Just arrange them on your baking sheet, wrap them with plastic, and keep in the fridge. When it's time, let them sit on the counter while your oven heats, swipe on some butter, toss on sesame seeds, and pop them in. Add a couple extra minutes bake time if they're cold.
Fun Twists
Switch things up to match your burger faves. Want a bacon version? Crumble in 1/4 cup cooked bacon with the beef. Big on mushroom-Swiss? Grab Swiss cheese instead of cheddar and stir in a handful of sautéed mushrooms. If you like a little heat, mix in a shot of sriracha or a dash of cayenne when you cook the meat.
How to Serve
Put out sauces for dunking—ketchup, mustard, ranch, even burger sauce all work. Add crispy fries, veggie sticks, or a garden salad. If you want it to look extra nice, plate with cherry tomatoes, pickle spears, and lettuce leaves for full burger vibes.
Keep Them Fresh
You can stash leftovers in a sealed container in the fridge for up to three days. To bring them back to life, heat them in the oven at 350°F for around ten minutes. Microwaving is fast but makes the outside kinda soft. Air frying gives you back that crunchy outside if you’ve got one—same temp, just a few minutes does the trick.
Common Questions About This Recipe
- → What kind of dough should I use?
Pre-made canned biscuit dough works best. It's easy to roll out and bakes into a perfectly crispy and golden shell. Choose one that's plain, not sweetened.
- → Can I prepare them beforehand?
Yes, you can make them up to a day ahead! Assemble the biscuit wraps and store them in the fridge for up to 24 hours. Brush with melted butter and sprinkle seeds on top just before baking.
- → Is freezing Cheeseburger Melts an option?
Definitely! After baking, allow them to cool completely, then freeze in a sealed container for up to 3 months. To reheat, bake at 350°F till they're nice and hot.
- → What other cheeses can I try?
Cheddar is a classic, but you could switch it up with mozzarella, spicy pepper jack, or a cheese blend for variety.
- → What goes well with Cheeseburger Melts?
Serve them with classic condiments like ketchup, yellow mustard, or even ranch dressing. Pair them with crispy fries or a side salad for a complete snack meal.