
 Pin
Pin
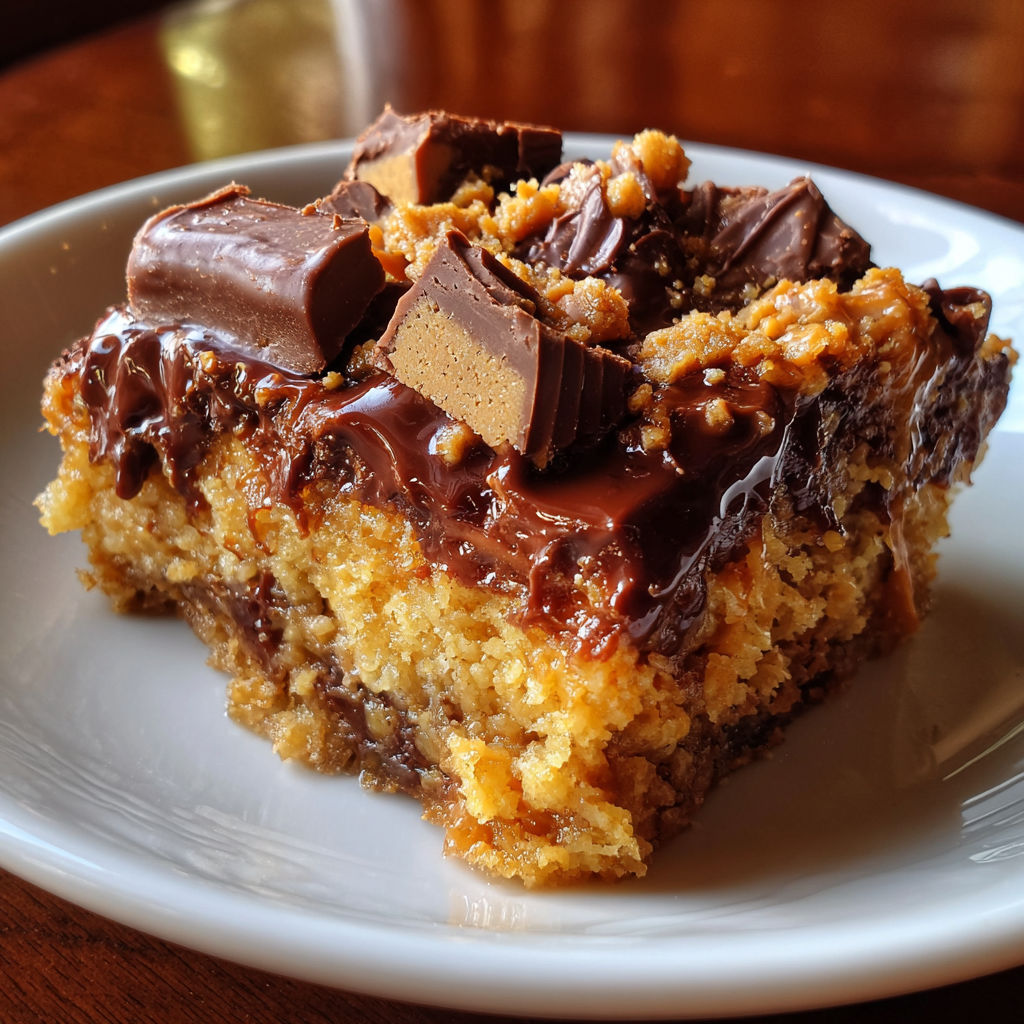
This Peanut Butter Cup Dump Cake recipe instantly became my shortcut for satisfying a sweet craving without any fuss. This quick and decadent dessert layers creamy peanut butter, gooey chocolate, and tender cake for the ultimate treat that bakes up warm and melty in under an hour. Whether you need a last minute crowd pleaser or a weeknight indulgence, you can have this peanut butter cup dump cake prepped in just 10 minutes and served straight from the oven.
I first threw together this peanut butter cup dump cake on a hectic weeknight when unexpected guests showed up, and it was a lifesaver. Watching the layers of peanut butter and chocolate cake melt together into a fudgy, irresistible treat had everyone grabbing seconds, and cleanup was a breeze. Now, friends and family ask for it at birthdays and game day gatherings because it tastes indulgent yet comes together so quickly, instantly delighting anyone who loves chocolate and peanut butter desserts.
Gather Your Ingredients
- Boxed chocolate cake mix: Forms the rich cocoa base with a moist crumb. Use your favorite brand for best results—devil’s food cake mix brings extra bold chocolate flavor. If needed, opt for gluten free cake mix to modify the dessert.
- Instant chocolate pudding mix: Provides a fudge like, dense layer. Classic 3.9 ounce box ensures proper texture and fast thickening, so be sure to use instant not cook and serve.
- Whole milk: Blends smoothly with the pudding mix for an ultra creamy center. Unsweetened almond or oat milk works for dairy free needs, but avoid sweetened versions for best flavor.
- Creamy peanut butter: Adds sweet and nutty notes throughout the cake. Use a classic, no stir peanut butter for easy drizzling, or stir natural peanut butter thoroughly to substitute.
- Mini peanut butter cups: Brings chewy, salty peanut butter and real chocolate in every bite. Individually wrapped minis are easy to chop, but regular peanut butter cups cut into quarters work well too.
- Chocolate chips (optional): Create gooey, melty chocolate pockets within the cake. Choose semi sweet or milk chocolate chips to match your preference, or swap with butterscotch or white chocolate chips for a unique twist.
How to Make Peanut Butter Cup Dump Cake
- Preheat and Prepare the Baking Dish:
- Set your oven to 350°F and generously grease a 9x13 inch glass or ceramic baking dish using nonstick spray or softened butter. This prevents sticking and makes for easy cleanup, while glass lets you monitor the layers as they bake. If using a metal pan, check for doneness two to three minutes before the timer.
- Whisk the Pudding Layer:
- In a large mixing bowl, combine the instant chocolate pudding mix with two cups of cold milk. Whisk briskly for about two minutes until it thickens to a glossy, custard like texture. This sets up a luscious fudgy foundation for your dump cake.
- Spread Pudding Evenly:
- Pour the pudding mixture into the greased pan, then use a wide spatula to spread it smoothly out to every edge of the dish. This ensures even coverage and a decadent middle layer.
- Sprinkle Dry Cake Mix:
- Open the boxed chocolate cake mix and sprinkle it in an even layer directly on top of the pudding—do not mix it in. The separation is what creates the classic dump cake texture, with a tender crumbly topping.
- Warm and Drizzle Peanut Butter:
- Place the creamy peanut butter in a microwave safe bowl and warm for twenty to thirty seconds until pourable. Drizzle the softened peanut butter across the entire cake mix layer in ribbons, aiming for coverage in every bite for balanced flavor.
- Top with Peanut Butter Cups and Chocolate Chips:
- Evenly scatter the chopped mini peanut butter cups all over the top, pressing a few into the corners. If using, add chocolate chips for extra gooey bites. Well distributed toppings create the signature chocolate peanut butter experience.
- Bake to Melted Perfection:
- Slide the baking dish into the preheated oven and bake thirty five to forty minutes. Look for a dry, lightly cracked top and gentle spring at the center to indicate the cake is ready. Bubbling at the edges is normal as the peanut butter melts in.
- Cool and Serve Warm:
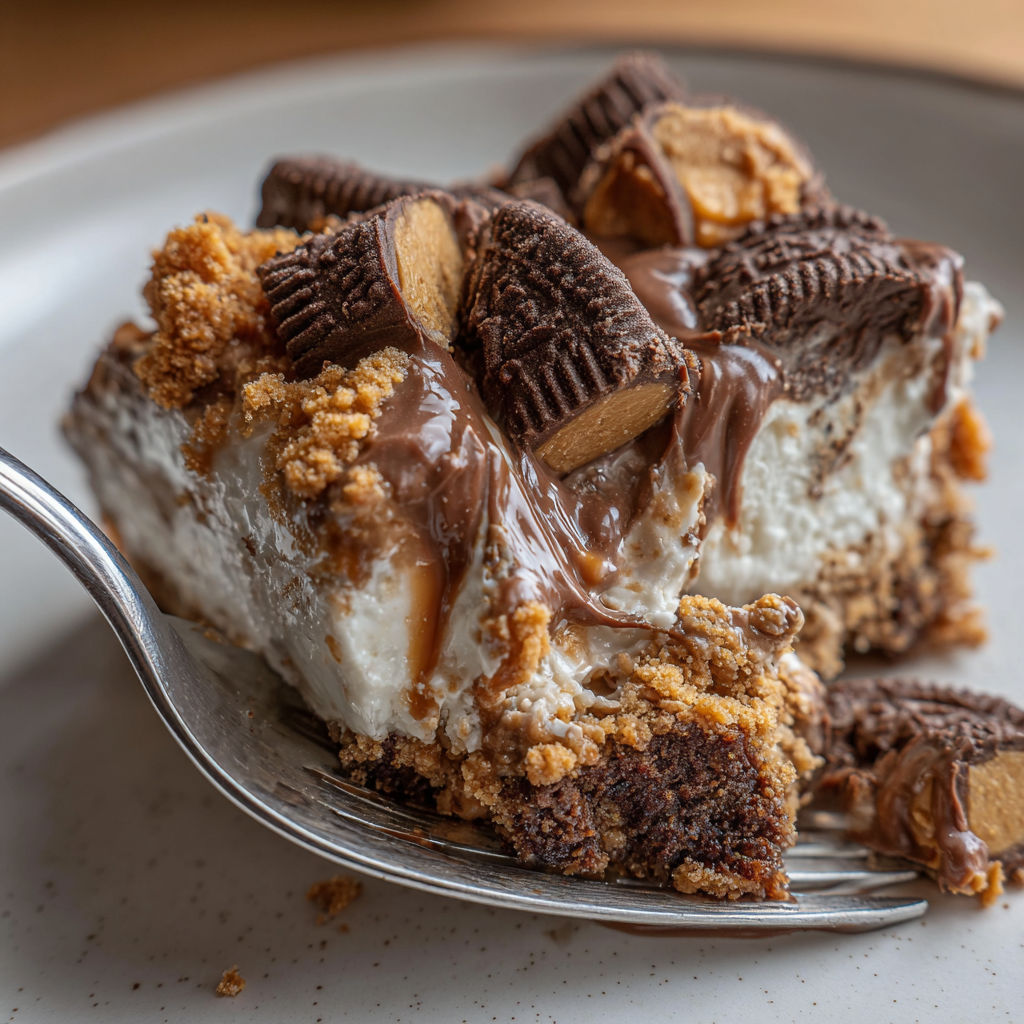
- Let the dump cake rest for ten minutes to set before scooping. Serve warm directly from the dish, topping with whipped cream or ice cream if desired. For an extra touch, add more chopped peanut butter cups before serving for a pretty finish and added texture.

My favorite discovery was experimenting with crunchy peanut butter for more texture and toasted notes, making each bite extra special. When my nephews help sprinkle chopped peanut butter cups on top, they are always eager to scoop it out while it is still warm and melty. It has quickly become our family’s favorite easy baking project, delivering comfort in every spoonful.
Smart Swaps and Variations
This peanut butter cup dump cake is endlessly adaptable—try it gluten free by swapping in a certified cake mix and ensuring your pudding and peanut butter are labeled gluten free. For a lighter option, use reduced fat milk or try almond butter instead of peanut butter for a unique twist. If making it dairy free, opt for plant based milk and seek out vegan chocolate or skip the chocolate chips altogether. For a seasonal touch, swirl pumpkin puree into the pudding or add fall candy on top before baking.
How to Store and Reheat Peanut Butter Cup Dump Cake
Store leftover peanut butter cup dump cake right in the baking dish, using plastic wrap or foil to keep it airtight in the fridge for up to four days. For freezing, scoop portions into sealed containers or wrap squares individually to prevent dryness and freezer burn. Warm up individual servings in the microwave for thirty to forty five seconds, or reheat larger portions in a 325°F oven until heated through. You can assemble the cake up to a day ahead, store unbaked in the fridge, and bake fresh before serving for ultimate convenience.
What to Serve with Peanut Butter Cup Dump Cake
Because this dessert is so rich and full of bold peanut butter chocolate flavors, it pairs well with simple, refreshing sides. Serve your warm dump cake with scoops of vanilla, coffee, or chocolate ice cream for a classic comfort finish. Lighten things up with a tart berry salad or spoonful of tangy Greek yogurt to offset the sweetness. At special events, try a drizzle of homemade chocolate sauce and fresh berries for color and an elevated presentation.
Nutritional Benefits
While peanut butter cup dump cake is truly an indulgence, it does offer some nutritional upsides thanks to the protein and heart healthy fats in the peanut butter and the calcium and trace minerals from milk and cocoa. The recipe is vegetarian friendly and can easily adapt for gluten free or dairy free diets with proper ingredient swaps. Each serving averages around 350 calories, providing a balanced mix of carbs, protein, and fat for lasting satisfaction with every bite.
Recipe Success Tips
Common issues with dump cake are easy to fix: always ensure the cake mix layer is even and undisturbed so it bakes into a fluffy topping instead of staying powdery in places. If your cake seems dry on top, a splash of milk can help keep things moist during baking. For serving, dip your spoon or scoop in hot water before digging in for extra clean, attractive portions. If the center is too soft, just let the cake cool fifteen minutes more—it will set up perfectly for easy serving.
This easy peanut butter cup dump cake delivers bold chocolate and creamy, melt in your mouth peanut butter with minimal effort. Enjoy a relaxing baking experience and treat your family to a dessert that is guaranteed to please every chocolate peanut butter lover.
Common Questions About This Recipe
- → Can I use crunchy peanut butter instead of creamy?
Yes, crunchy peanut butter adds extra texture and works well in this dessert. Just drizzle it carefully for even coverage.
- → Should I mix the cake mix into the pudding?
No, simply sprinkle the dry cake mix evenly on top of the pudding without mixing for the signature layered texture.
- → Is it necessary to include chocolate chips?
Chocolate chips are optional and add extra gooeyness. The dessert is delicious even without them.
- → How can I make this nut-free?
Substitute sunflower butter and nut-free chocolate candies for a similar flavor and texture without peanuts.
- → Can this be made ahead of time?
While best served warm, it can be baked ahead and gently reheated before serving for optimal flavor and texture.
- → What toppings pair well with this dessert?
Whipped cream, vanilla ice cream, or an extra sprinkle of peanut butter cups make wonderful toppings.