
 Pin
Pin
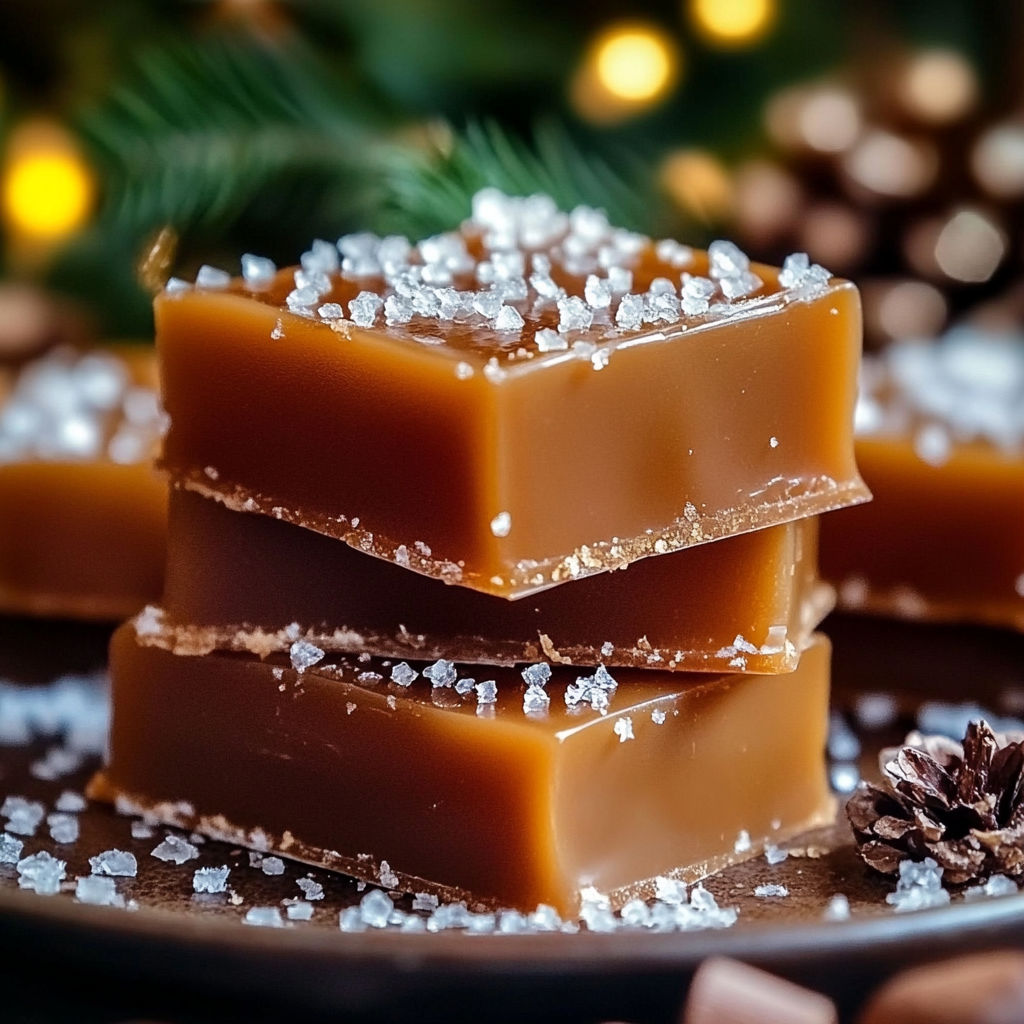
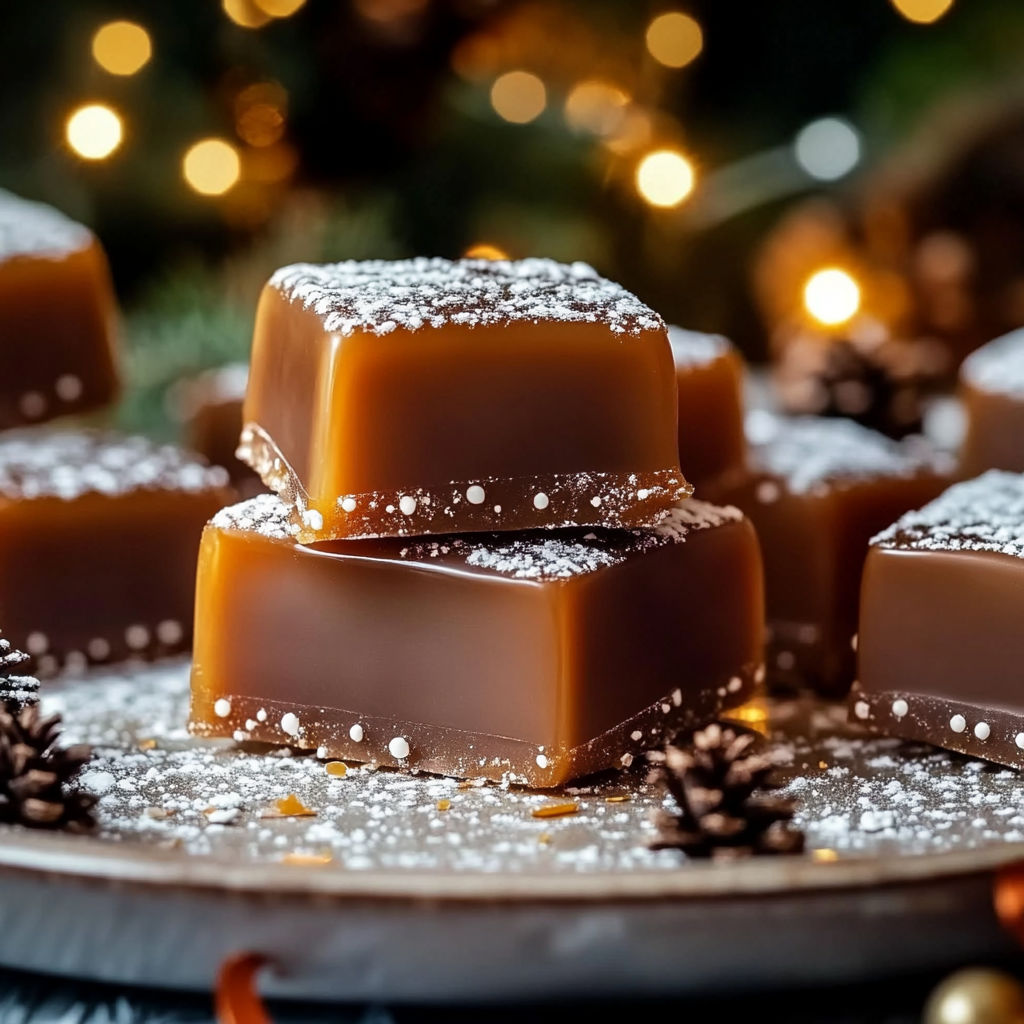
Gooey, buttery homemade caramels are one of those nostalgic treats that make every occasion feel extra special. This homemade caramels recipe is perfect for anyone searching for an easy, indulgent candy that is ready in under an hour with just 15 minutes of prep and a handful of pantry staples. The combination of creamy caramel texture and pure, rich flavor makes this recipe a must for holiday gifts or simple weeknight cravings.
I made these homemade caramels for the first time with my kids last winter, and it quickly turned into our go to sweet treat when we wanted something delicious and comforting. The buttery aroma that fills the kitchen is unforgettable, and wrapping each caramel in crisp waxed paper has become one of our favorite rainy day traditions. They taste even better the next day, with a melt in your mouth chew that never lasts long in our house.
Gather Your Ingredients
- Unsalted butter for homemade caramels: Provides a rich, creamy base essential for silky texture. Choose high quality butter for best taste and texture, and avoid salted brands which can alter the flavor. Plant based butters can be swapped for a dairy free version.
- Dark brown sugar for deep caramel flavor: Its high molasses content creates a luxurious, complex flavor in your caramels. Light brown sugar can substitute, but the flavor will be lighter and milder.
- Light corn syrup prevents crystallization: Essential for that signature shiny, smooth finish. Agave syrup or golden syrup work for slight differences in flavor and are great natural alternatives.
- Sweetened condensed milk for creaminess: Gives that classic caramel chew and velvety mouthfeel. Use top brands for best results, as cheaper options may separate or lack real dairy taste. Coconut condensed milk is a solid vegan swap.
- Pure vanilla extract for aroma and flavor: Rounds out the taste with a warm, fragrant finish. Flavored extracts like almond or bourbon can be used to create custom twists.
How to Make Homemade Caramels
- Sauté the Butter for a Creamy Base:
- Line a nine by nine inch pan with parchment and butter it thoroughly. Melt the unsalted butter in a heavy saucepan over medium low heat, letting it bubble gently for a minute or two to release aroma and smooth the start of your caramel base.
- Blend in Brown Sugar and Syrup for Deep Flavor:
- Add the dark brown sugar and mix until lumps dissolve, then pour in the light corn syrup and stir well. Let this cook on medium low for about three minutes, stirring constantly, until everything is glossy and thick. This prevents grainy texture by fully dissolving the sugar.
- Stir in Condensed Milk to Build Creaminess:
- Gently add the sweetened condensed milk and raise the heat to medium. Stir nonstop as the mixture thickens and deepens in color over several minutes, keeping everything integrated and creamy. Small bubbles will begin to appear steadily across the surface.
- Cook to the Perfect Temperature for Chewy Caramels:
- With a candy thermometer clipped to the pan, simmer the mixture, stirring constantly, until it reaches 238 to 240 degrees Fahrenheit. This can take twenty to thirty minutes. Be patient and do not increase the heat, so the caramel sets up chewy but not hard. If you lack a thermometer, test by dropping a bit in cold water to form a soft, stable ball.
- Finish with Vanilla for Rich Aroma:
- Immediately take the pan off heat once at temperature. Stir in the pure vanilla extract quickly so the aroma blooms and the mixture is still pourable. This deepens flavor at just the right moment.
- Pour and Cool for the Best Texture:
- Pour the hot caramel into your lined pan, avoiding scraping the sides to prevent crystallized bits. Let it cool at room temperature uncovered for three to four hours, until totally firm and set.
- Cut, Wrap, and Enjoy:
- Lift the slab with parchment, then slice with a buttered sharp knife into squares. Wrap each piece in waxed paper to keep them soft and separated for the perfect homemade candy experience.
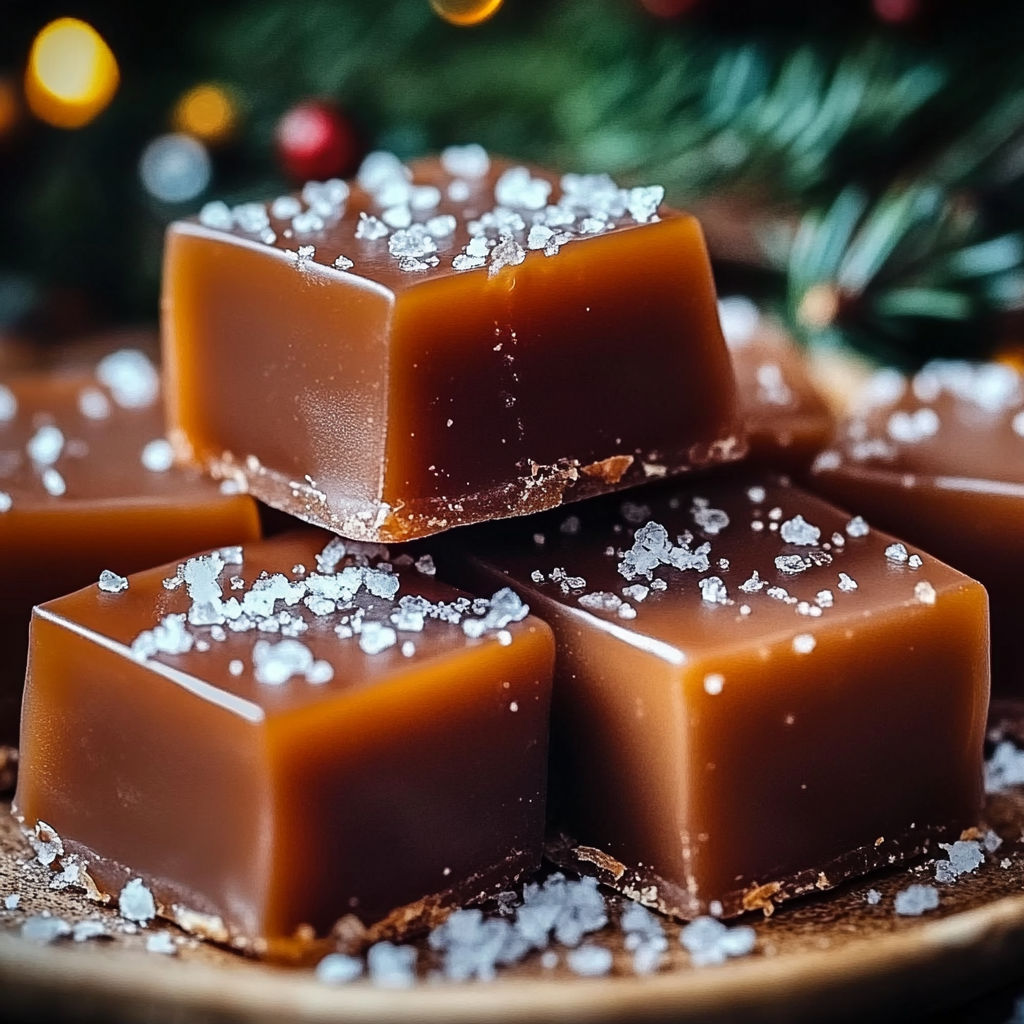
When I switched from light to dark brown sugar, I was amazed by how much richer and more savory my homemade caramels became. My youngest child loves wrapping each one in wax paper, transforming an afternoon kitchen session into both a sweet treat and a fun creative project. The caramels always set perfectly when we stick to the exact temperature and use real vanilla extract for depth.
Smart Swaps and Variations
Homemade caramels can be tailored for nearly any taste or dietary need. For a dairy free batch, swap regular sweetened condensed milk and butter for coconut condensed milk plus vegan butter—the result stays creamy, though with a slight coconut note. If you are out of corn syrup, try using Lyle's Golden Syrup or agave, both of which stop crystallization while bringing unique flavor undertones. Add mix ins like flaky sea salt or toasted nuts just before pouring into the pan for a gourmet touch, or swirl in cinnamon for a comforting twist.
How to Store and Reheat Homemade Caramels
Proper storage means your homemade caramels stay soft and flavorful for days. Once cooled and sliced, place each piece in waxed paper and store in an airtight container at room temperature for up to a week. For longer freshness, refrigerate wrapped caramels for up to two weeks, or freeze in a well sealed bag for up to three months. When ready to enjoy, thaw frozen caramels at room temperature for thirty minutes. If the pieces ever feel firm, a quick five second spin in the microwave softens them perfectly without melting the candy.
What to Serve with Homemade Caramels
Homemade caramels shine as both a stand alone treat and part of a festive dessert spread. For parties and holiday gifting, pair them with roasted nuts, dark chocolate truffles, or crisp cookies to create an irresistible candy platter. Serve alongside hot apple cider or coffee for a warming contrast, or top a scoop of vanilla ice cream with a caramel square for a simple and nostalgic sundae at home.
Nutritional Benefits
While homemade caramels are a sweet indulgence, they are naturally gluten free and nut free, making them a safer dessert for families with allergies. Each serving contains about 430 calories plus a touch of calcium and protein from real dairy, and the slow digesting carbohydrates and fats offer a satisfying energy boost. With simple, honest ingredients and no preservatives, these caramels are a treat you can feel good about sharing in moderation.
Recipe Success Tips
If you struggle with grainy or too hard caramels, check your cooking temperature and make sure all sugar is dissolved before adding condensed milk. Always use low to medium heat and stir constantly, which ensures a smooth finish without burning. Clean sticky pans by soaking them with hot soapy water after pouring the caramel, and never rush the cooling step—waiting for caramels to fully set is the key to easy slicing and even shape.
These homemade caramels are the ultimate easy candy project for beginners and seasoned cooks alike. Enjoy the rich, creamy flavor and discover how simple it is to make nostalgic, melt in your mouth sweets at home today.
Common Questions About This Recipe
- → What kind of pan should I use for homemade caramels?
A heavy-bottomed saucepan helps prevent uneven heating and scorching during cooking. Line your baking pan with parchment for easy removal.
- → How do I know when the caramel is ready?
Use a candy thermometer to reach the right temperature, typically between 238°F and 240°F. This ensures a soft yet firm, chewy texture.
- → Should the caramels be refrigerated after making?
They can stay at room temperature in an airtight container for several days. For longer storage, wrap individually and refrigerate or freeze.
- → Why use sweetened condensed milk in caramels?
Sweetened condensed milk adds creaminess and sweetness, contributing to a smooth, rich caramel rather than a grainy one.
- → Can I add flavors or toppings to these caramels?
Yes, you can sprinkle sea salt, dip in chocolate, or add flavored extracts after cooking for unique variations on the classic caramel.