
 Pin
Pin
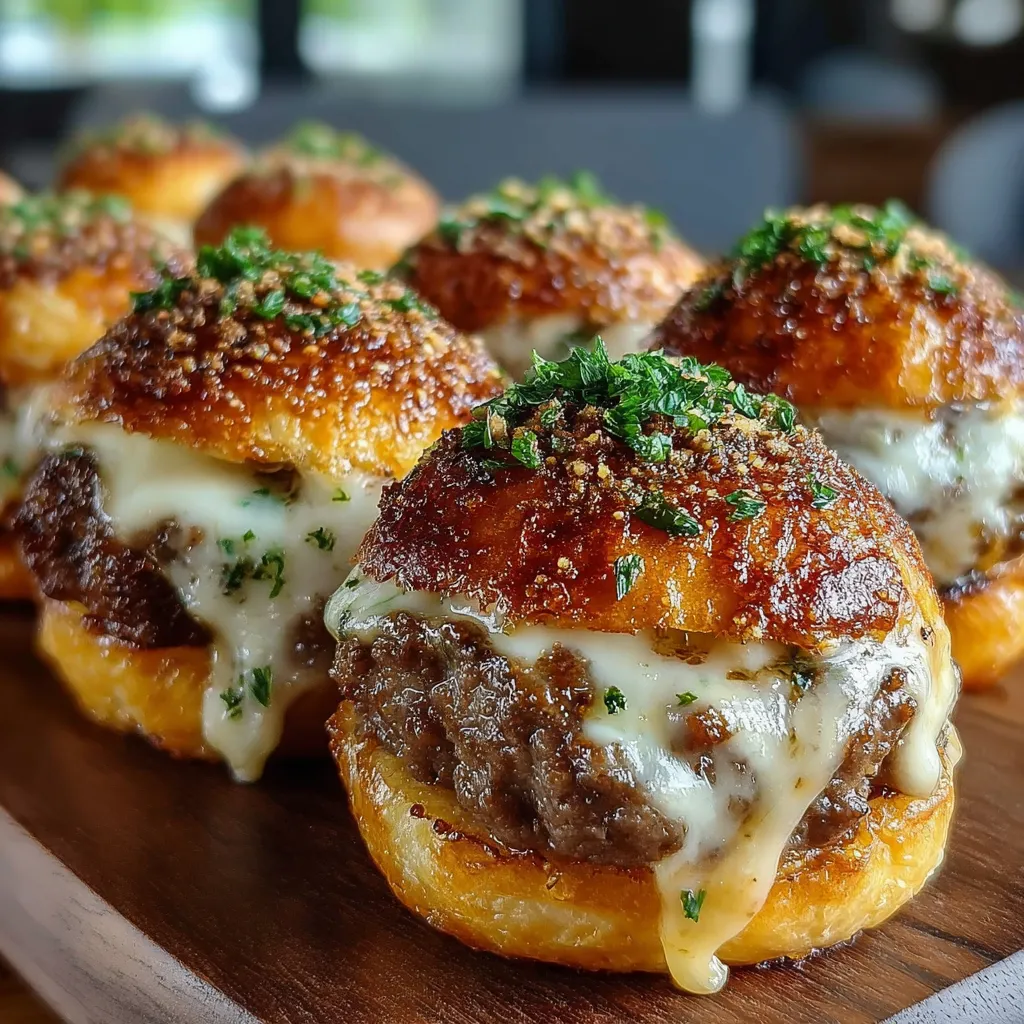
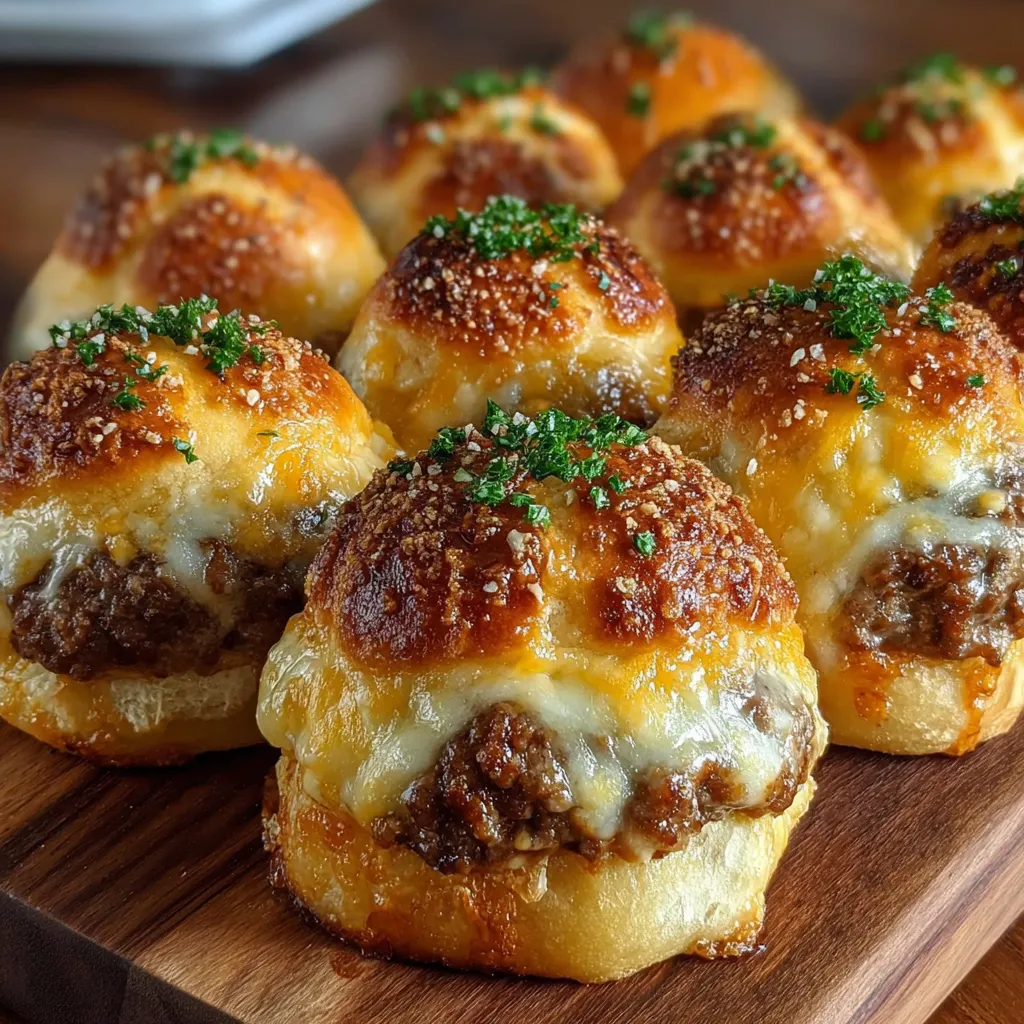
This garlic Parmesan cheeseburger bomb recipe transforms classic burger flavors into irresistible handheld bites perfect for any occasion. The combination of seasoned beef and melty cheese wrapped in flaky dough creates an explosion of flavor that will have everyone reaching for seconds.
I first made these bombs for a last minute Super Bowl party when I was stuck for ideas. They disappeared faster than any other dish on the table and now my friends demand them at every gathering we have.
Ingredients
- Ground beef: forms the hearty base of these bombs choose 80/20 for best flavor
- Salt, pepper, garlic powder, and onion powder: create the classic burger seasoning profile
- Worcestershire sauce: adds that umami depth that makes burgers irresistible
- Shredded cheese: binds everything together and creates the molten center when baked
- Refrigerated biscuit dough: provides convenience and the perfect flaky exterior
- Melted butter: creates that golden crust and carries the garlic flavor
- Freshly grated Parmesan cheese: adds a nutty salty finish that elevates these bombs
Step-by-Step Instructions
- Brown the Beef:
- Cook ground beef over medium heat until completely browned breaking it up with a wooden spoon as it cooks. This takes about 5 minutes. Drain excess fat which prevents soggy bombs and season thoroughly with your spices and Worcestershire. Allow mixture to cool completely which prevents the dough from becoming soggy when assembling.
- Prepare the Dough:
- Take each piece of refrigerated dough and flatten into approximately 4 inch circles using your hands or a rolling pin. Work on a lightly floured surface to prevent sticking. The thickness should be about 1/4 inch for the perfect ratio of dough to filling.
- Fill and Seal:
- Place 1 to 2 tablespoons of cooled beef mixture in the center of each dough circle leaving about an inch of border all around. Carefully bring the edges up and pinch firmly to create a tight seal. Roll gently between your palms to form a smooth ball shape ensuring no filling is exposed.
- Apply Garlic Butter:
- Mix melted butter with minced garlic or garlic powder until well combined. Using a pastry brush generously coat each sealed dough ball with this mixture which creates flavor and helps achieve golden browning. Sprinkle with Parmesan cheese which will form a delicious crust during baking.
- Bake to Perfection:
- Place bombs on a parchment lined baking sheet with at least 2 inches between each one to allow for expansion. Bake in a preheated 375°F oven for exactly 15 to 18 minutes until deeply golden brown. The bottoms should be crisp and the tops beautifully bronzed.
The secret to these bombs is definitely the garlic butter finish. My grandmother taught me that brushing pastry with butter twice once before baking and once immediately after creates that bakery quality shine and flavor that makes people think you spent hours in the kitchen.
Make Ahead Magic
These cheeseburger bombs can be fully assembled up to 24 hours before baking. Simply prepare through the sealing step place on a baking sheet cover with plastic wrap and refrigerate. When ready to bake remove from refrigerator brush with garlic butter add Parmesan and bake as directed adding 2 to 3 minutes to account for the chilled dough.
Dipping Sauce Suggestions
While these bombs are incredible on their own they reach new heights when paired with the right dipping sauce. My personal favorite is a simple mix of mayo ketchup and a dash of hot sauce for a quick burger sauce. Other excellent options include ranch dressing garlic aioli honey mustard or even marinara for an Italian twist.
Creative Variations
Transform this recipe by experimenting with different fillings. Try pizza bombs with pepperoni and mozzarella buffalo chicken bombs with shredded chicken hot sauce and blue cheese or breakfast bombs with scrambled eggs cheese and breakfast sausage. The technique remains the same only the filling changes making this a versatile recipe template for countless delicious creations.
Common Questions About This Recipe
- → How can I keep the cheeseburger bombs from opening while baking?
Ensure the dough edges are firmly pinched and fully sealed around the filling. Chilling the assembled bombs briefly before baking can also help maintain their shape in the oven.
- → Can I use different types of cheese?
Yes! Cheddar, mozzarella, provolone, or pepper jack all work well, offering different melt and flavor profiles. Mix or match according to your preference.
- → Is it possible to make these ahead of time?
Definitely. Assemble the bombs and refrigerate them until ready to bake. For longer storage, freeze and bake directly from frozen, adding a few extra minutes to the baking time.
- → What are the best dipping sauces for serving?
Popular choices include ranch, garlic aioli, spicy mayo, or classic ketchup and mustard. Feel free to serve with your favorite sauces for variety.
- → Can I customize the filling?
Absolutely. Try adding crispy bacon, caramelized onions, pickles, or even jalapeños for extra zip. Swapping the beef for cooked turkey or sausage is another tasty variation.