
 Pin
Pin
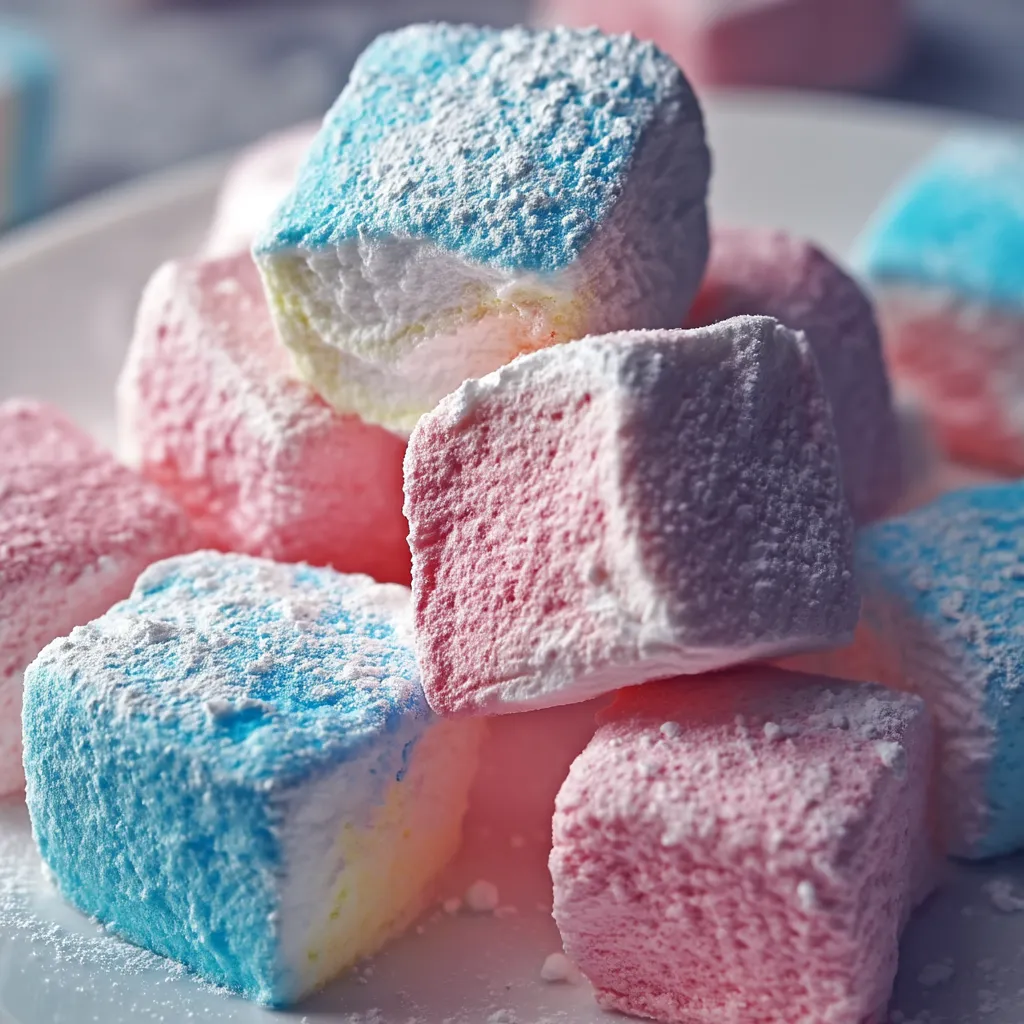
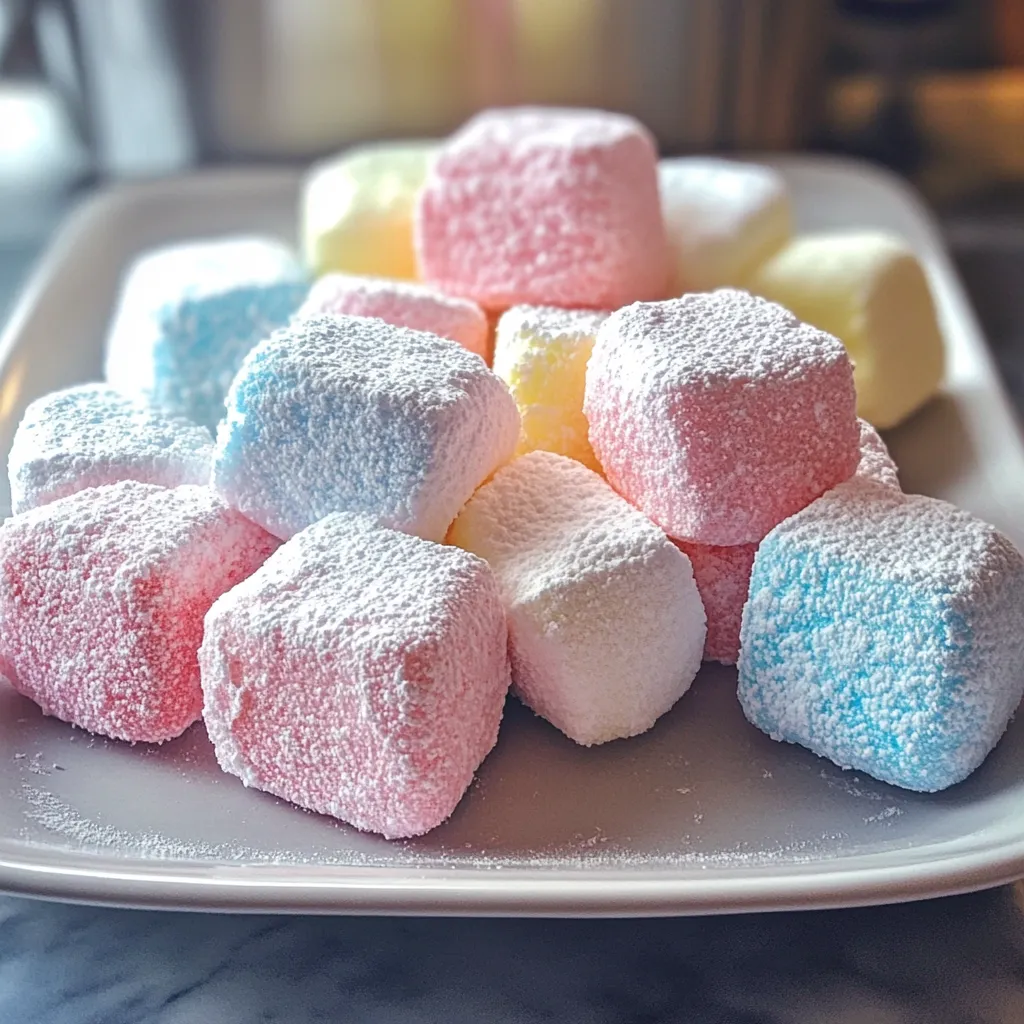
This homemade cotton candy marshmallow recipe transforms ordinary ingredients into delightful, melt-in-your-mouth treats that capture the nostalgic taste of carnival cotton candy. These pillowy confections bring joy with every bite and add a touch of whimsy to dessert tables or gift boxes.
I first made these for my niece's birthday party, and the look on the children's faces when they bit into these cloud-like treats was priceless. Now they're requested at every family gathering, no matter the season.
Ingredients
- Water divided into portions to properly activate the gelatin and create the right consistency
- Unflavored gelatin provides the perfect bouncy texture that defines a quality marshmallow
- Granulated sugar forms the base sweetness needed for authentic cotton candy flavor
- Light corn syrup creates that signature smooth marshmallow texture and prevents crystallization
- Salt balances the sweetness and enhances the cotton candy flavor
- Cotton candy flavoring gives that authentic fairground taste that makes these marshmallows special
- Gel food coloring allows you to create vibrant colors without adding excess moisture
- Powdered sugar prevents sticking and adds a delicate sweetness to the exterior
- Cornstarch works with the powdered sugar to create the perfect non-stick coating
Step-by-Step Instructions
- Prepare the Pan
- Line your baking pan with parchment paper and lightly grease it. This crucial first step ensures your marshmallows will release easily after setting. Make sure the parchment extends up all sides of the pan to create handles for easy removal later.
- Bloom the Gelatin
- Combine cold water and gelatin in your stand mixer bowl and let it sit undisturbed. This blooming process is essential for proper gelatin activation. Watch as the mixture transforms from a liquid to a thick, spongy texture which will eventually provide the structure for your marshmallows.
- Cook the Sugar Syrup
- Combine your sugar, corn syrup, salt, and remaining water in a saucepan. Heat this mixture carefully until it reaches exactly 240°F. This precise temperature known as soft-ball stage is absolutely critical for properly set marshmallows. Use a candy thermometer for accuracy and avoid stirring once the mixture begins to boil to prevent crystallization.
- Whip the Marshmallow Mixture
- With your mixer on low speed, slowly pour the hot syrup into the bloomed gelatin. Gradually increase speed to high and beat for a full 10 to 12 minutes. During this transformation, you'll watch the mixture expand dramatically, turning white, fluffy, and glossy. Add your cotton candy flavoring and food coloring in the final minute of mixing.
- Transfer to the Pan
- Working quickly before the mixture sets, pour the marshmallow fluff into your prepared pan. Use a greased spatula to smooth the top into an even layer, pushing the mixture into the corners. This is your opportunity to create beautiful swirls of color by gently running a knife through the mixture if using multiple colors.
- Cut and Coat the Marshmallows
- After waiting patiently for your marshmallows to set completely, dust your work surface with the powdered sugar and cornstarch mixture. Turn out your marshmallow slab, remove the parchment, and thoroughly coat all surfaces. Cut with a well-greased knife or fun cookie cutters, then toss each piece in more coating to prevent sticking.
The cotton candy flavoring is truly the star of this recipe. I discovered it while browsing a specialty baking store and immediately knew I wanted to create something that would bring back memories of summer carnivals. The first time I served these at a family gathering, my grandmother's eyes lit up as she shared stories of taking my father to county fairs as a child.
Troubleshooting Common Issues
Sticky Marshmallows
If your marshmallows remain sticky even after coating, they likely need more time to set. The humidity in your kitchen can significantly impact setting time. In humid environments, consider allowing an extra 4 hours of setting time or even placing them in a dehumidified space. Another solution is to increase your cornstarch ratio in the coating mixture for extra absorption power.
Creating Perfect Swirls
For beautiful color swirls, divide your whipped marshmallow mixture between two bowls before adding different colored gel food coloring to each. Pour alternating spoonfuls into your prepared pan, then use a butter knife to gently swirl the colors together. Avoid over-swirling, which can create a muddied appearance rather than distinct color patterns.
Serving Suggestions
These cotton candy marshmallows transform ordinary hot chocolate into a carnival-inspired treat. Try floating them in warm milk for children or adding them to cookies and brownies before baking for pockets of fluffy sweetness. They also make charming additions to dessert boards or can be packaged in cellophane bags tied with ribbon for homemade gifts that delight recipients of all ages.
Common Questions About This Recipe
- → Can I use different flavors instead of cotton candy?
Yes! While the cotton candy flavor creates the signature carnival taste, you can substitute with vanilla, strawberry, or any flavor extract you prefer. Just use the same amount (1 teaspoon) as called for in the original instructions.
- → Why do my marshmallows need to set for 6-8 hours?
The extended setting time allows the gelatin to fully stabilize, giving the marshmallows their characteristic soft yet firm texture. Rushing this process may result in marshmallows that are too soft to cut cleanly or hold their shape.
- → How can I create marbled or tie-dye marshmallows?
For a marbled effect, divide the whipped marshmallow mixture into two portions after beating. Add different food coloring to each portion, then swirl them together in the pan before setting. Alternatively, add two different colors to the main mixture and give it just a few gentle stirs to create a streaked appearance.
- → Can these marshmallows be toasted?
Yes! These homemade marshmallows toast beautifully over a fire or under a broiler. They will melt a bit more quickly than store-bought varieties, so watch them carefully. The cotton candy flavor adds a unique twist to classic s'mores.
- → What's the best way to cut marshmallows without sticking?
For clean cuts, lightly coat your knife or cookie cutters with cooking spray or a neutral oil before each cut. You can also dip the cutting edge in the powdered sugar-cornstarch mixture between cuts to prevent sticking.
- → Where can I find cotton candy flavoring?
Cotton candy flavoring is available at specialty baking stores, craft stores with baking sections, or online retailers like Amazon. Brands such as LorAnn Oils and Amoretti offer high-quality cotton candy flavor concentrates that work well in this application.