
 Pin
Pin
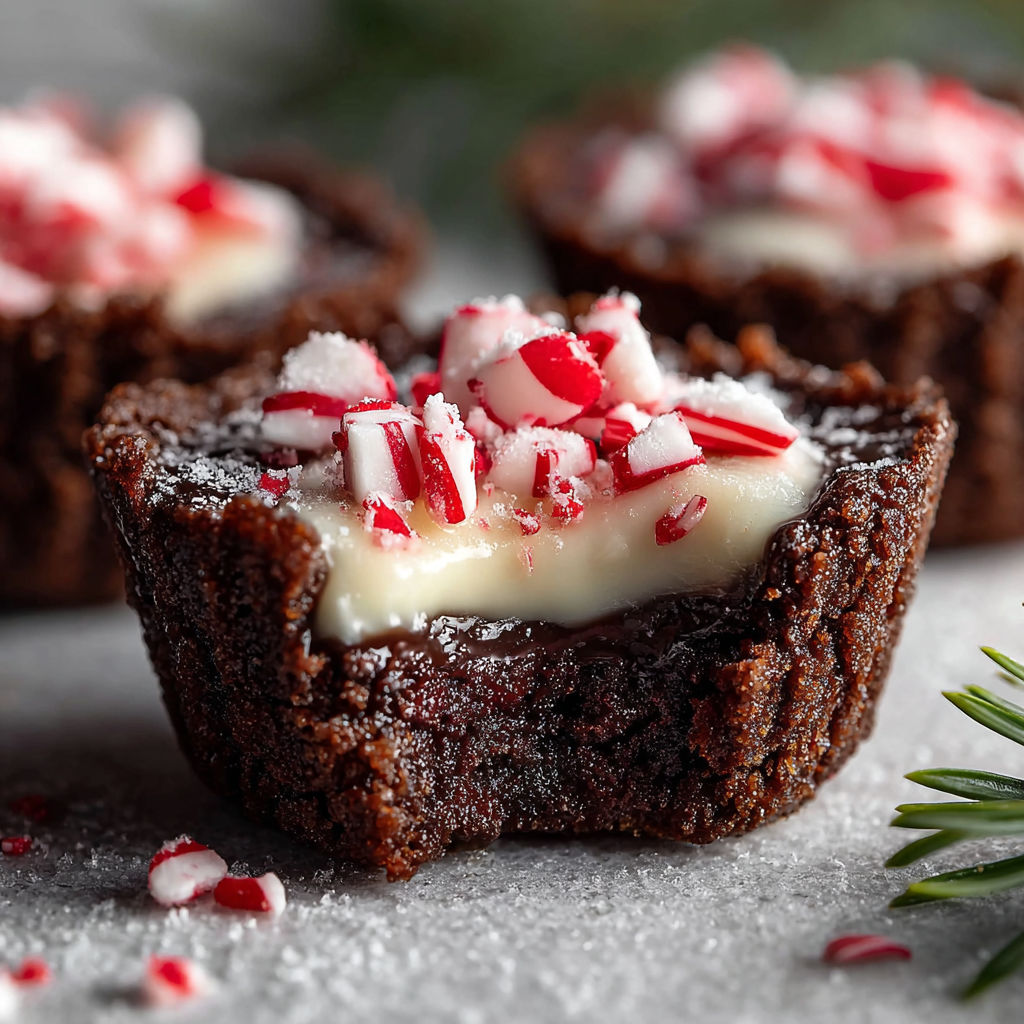
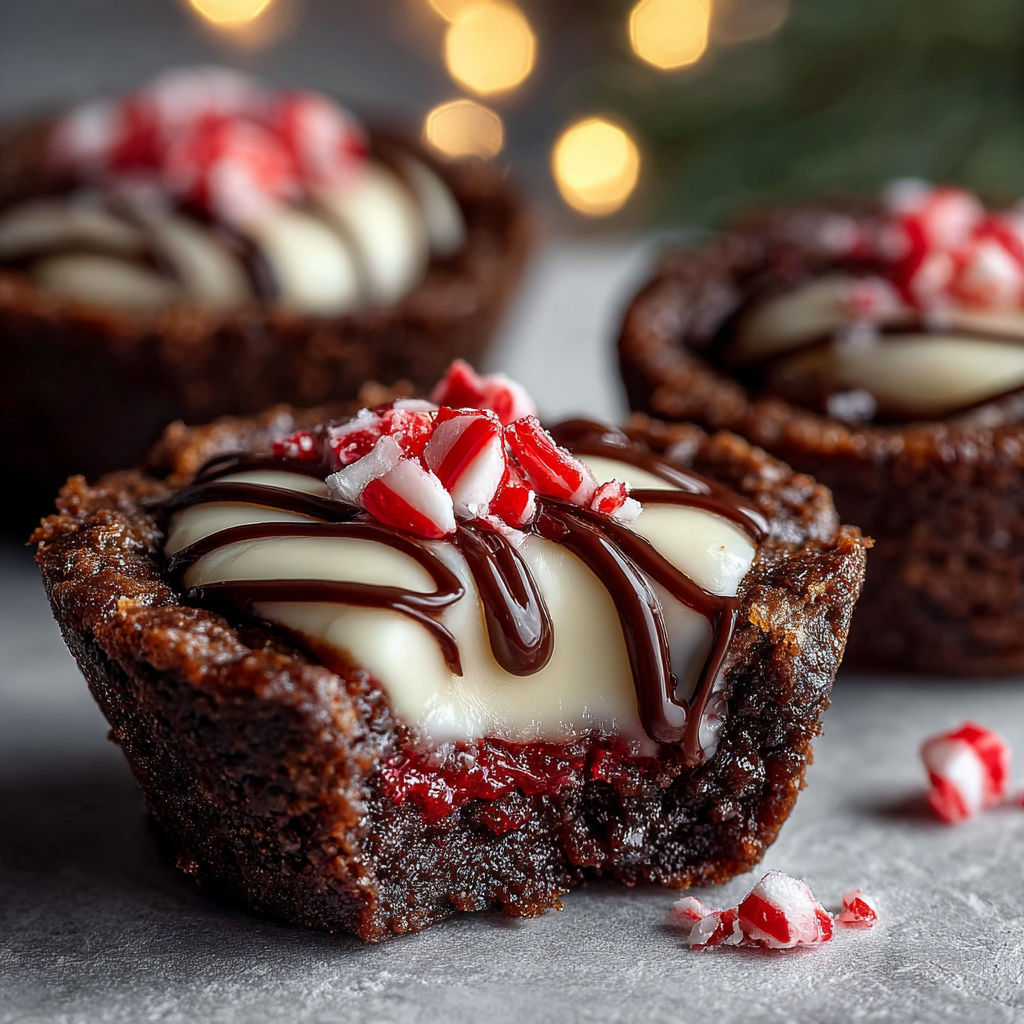
These peppermint chocolate cookie cups mix rich cocoa taste with a cool peppermint twist, making a perfect festive treat. The cookie part is soft and chocolaty, and the creamy peppermint filling adds a fresh, smooth touch. Whether you’re having holiday get-togethers or a cozy night, this dish uses simple baking tricks for an easy, fun bake.
I tried these on a cold December day and they quickly became a holiday hit in my house. Every year since, my family asks me to whip them up as part of our winter celebrations.
Gather Your Ingredients
- All-purpose flour: gives the cookies a firm base use fresh flour for best result
- Black cocoa powder: boosts the intense dark chocolate taste choose a good brand for rich color and flavor
- Dutch-processed cocoa powder: adds smooth cocoa flavor be sure to sift before measuring to dodge lumps
- Baking soda: gently lifts the cookies for a tender bite
- Salt: enhances chocolate and balances the sweetness
- Unsalted butter at room temp: important for creamy dough don’t use melted butter or the texture changes
- Granulated sugar and light brown sugar: mix for just the right sweetness and a hint of caramel from the brown sugar
- Large eggs at room temperature: hold everything together and add moisture
- Vanilla extract: warms up and deepens the dough flavor
- Heavy whipping cream chilled: whips up stiff and fluffy to lighten the filling
- Full fat cream cheese: makes the filling tangy and smooth soften a bit before mixing
- Granulated sugar for filling: sweetens without being grainy
- Peppermint extract: packs the festive mint punch add a small amount since it’s strong
How to Make It
- Preheat and prep:
- Turn your oven to 350°F (175°C). Spray two standard cupcake pans with nonstick spray so the cookie cups come out easy. This makes the removing step smooth.
- Mix your dry stuff:
- Put the flour, Dutch-processed cocoa, black cocoa, baking soda, and salt in a bowl and whisk them together. Sifting everything helps get rid of lumps and mixes the flavors well. Set this aside.
- Beat butter and sugars:
- In a big bowl, whip the softened unsalted butter with both sugars on medium-high for 2-3 minutes. You want the mix fluffy and light since that’s what helps the cookies be tender.
- Add eggs and vanilla:
- Slow the mixer down to low and add eggs one by one. Doing this slowly keeps the batter stable. Toss in the vanilla last and beat it all until blended.
- Mix dry and wet:
- Slowly add your dry mix to the butter mixture. Stir just until you see the flour mostly blended in. Don’t overdo it or your cookies will get chewy.
- Bake your cookie cups:
- Divide the dough evenly into cupcake pans and bake 10 to 13 minutes. The centers should be mostly set but still a bit soft so you can shape them.
- Create filling spots:
- As soon as you pull pans from the oven, press down each cookie center with a small jar or cup. This makes a nice spot for your peppermint cream cheese filling.
- Cool them down:
- Let cookie cups sit in pans 10 minutes. Then twist each gently to loosen before moving them to a wire rack to cool another 5 minutes. Cooling outside pans keeps their shape.
- Whip the cream:
- Using a chilled bowl and whisk, beat the cold heavy cream until stiff peaks form. This adds lightness and fluff to your filling.
- Make the peppermint filling:
- In another bowl, beat the cream cheese with sugar and peppermint extract until smooth and creamy. This mix is rich and minty.
- Fold whipped cream in:
- Carefully fold the whipped cream into the cream cheese mix until even. This makes the filling nice and airy for piping.
- Put it together and chill:
- Fill each cooled chocolate cookie cup with a generous swirl of peppermint cream cheese. Chill in the fridge for 1 or 2 hours so the filling firms up before serving.
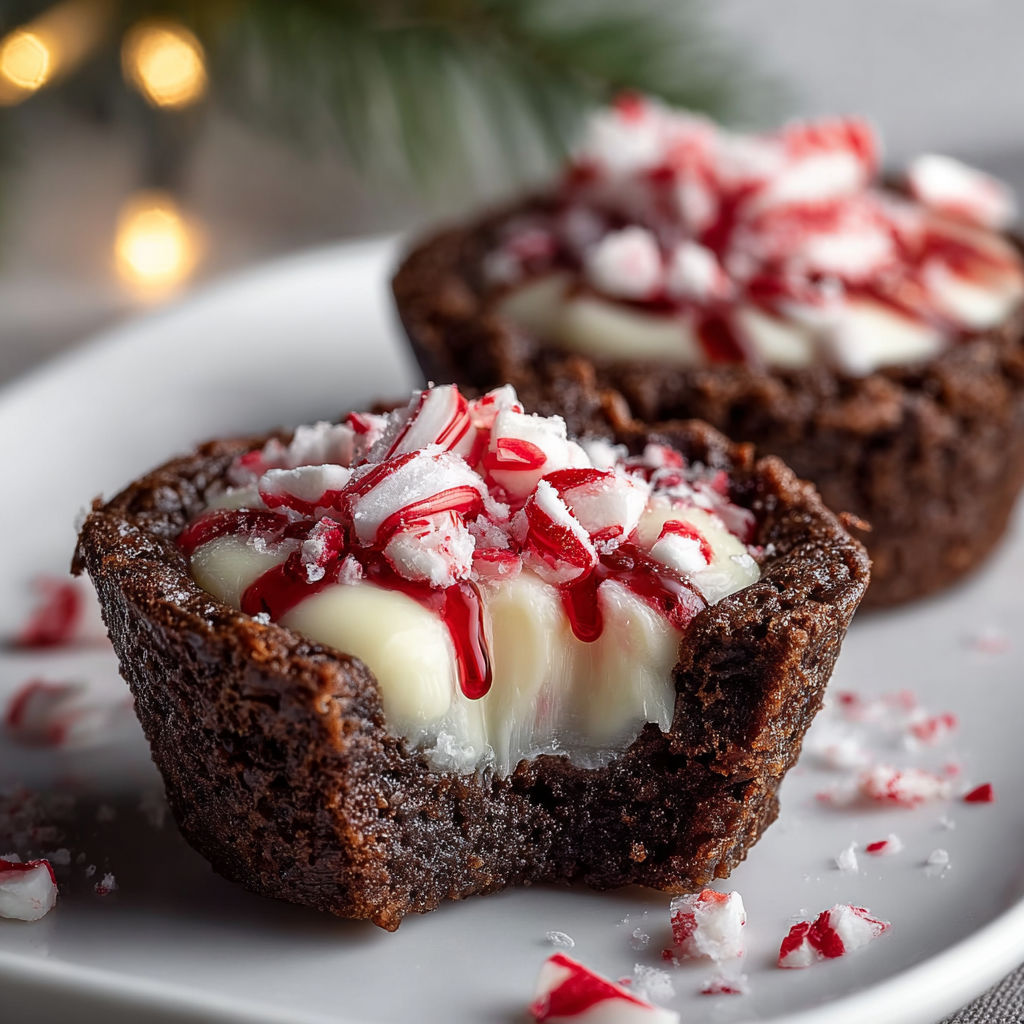
The cream cheese peppermint filling is my favorite because it cuts through the rich chocolate and adds a fresh zing. One holiday, I brought these to my neighbors and seeing how happy they were made baking them even more rewarding.
Flavor Boosters
Keep your cookie cups in a sealed container in the fridge for up to three days to keep the filling fresh and the cookies soft. If you want them to last longer, freeze the unfilled cookies for up to four weeks. When ready, thaw at room temp, then fill with fresh peppermint cream cheese.
Serving Suggestions
These taste great cold with a hot mug of cocoa or coffee to bring out the chocolate and mint. Sprinkle some crushed candy canes or dark chocolate flakes on top for a festive look. They also go great with a scoop of vanilla ice cream on the side.
Creative Twists
In warmer months, swap peppermint extract for orange or lemon zest to brighten flavors and keep that rich chocolate base. In colder months, add a pinch of cinnamon or nutmeg to the dough for cozy spice vibes. These swaps make this treat fun all year long.
This festive treat will surely become a favorite for all your seasonal get-togethers.
Common Questions About This Recipe
- → How do I create the well in the cookie cups?
While the cookies are still warm from the oven, press down the center of each one using a small jar or container to make space for the filling. Let them cool completely before adding the cream.
- → Can I prepare the cookie cups ahead of time?
Definitely, you can bake and fill these cups in advance. Keep them chilled for 1-2 hours so the filling firms up. If you want, freeze them without the topping for up to a month.
- → What makes these cookie cups soft inside?
They bake quickly, usually 10-13 minutes, so the middle stays soft while the edges get a little firmer, which makes the perfect base for the filling.
- → How is the peppermint flavor incorporated?
The peppermint extract is mixed right into the cream cheese filling to add a fresh minty kick that works beautifully with the chocolate.
- → What is the best way to serve these cups?
Chill them before serving and, if you like, top with crushed candy canes for some crunch and holiday vibes. They really shine during the holiday season and colder months.