
 Pin
Pin
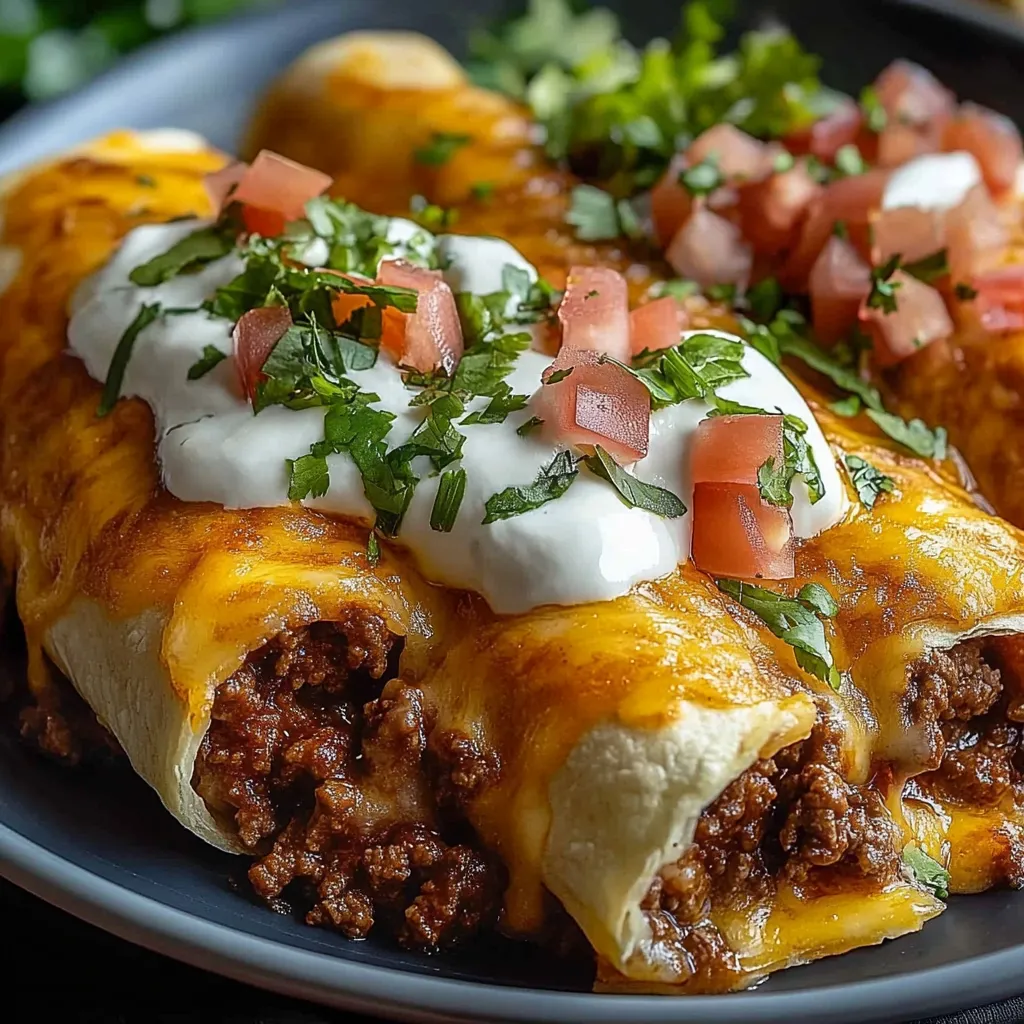
Shake up dinnertime with these crispy beef cheese wraps. They take basic stuff from your fridge and turn it into a meal you'll crave every week. Savory beef, oozy cheese, and a perfectly crunchy tortilla—it doesn't get much better.
I came up with this dish ages ago when I needed something fast that would win over my toddler and my husband at the same time. These have turned into our stand-by meal when we want something that feels extra without tons of work.
Tasty Ingredients
- Butter brushed on the outside is what turns them super crunchy
- Fresh cilantro livens things up and makes everything look good
- Sour cream balances with coolness and tang on top
- Big flour tortillas are tough enough to handle all the filling—no rips
- Monterey Jack melts smooth and helps hold the wrap together
- Cheddar cheese is sharp enough to match the beef
- Taco seasoning packet keeps seasoning easy and on-point
- Onion and garlic boost all the savory flavors
- Ground beef gives you the filling protein—go for at least 85% lean if you can
Easy Steps to Follow
- Time to Serve
- Once they're hot and golden, enjoy right away. Grab your favorite salsa and pile on cilantro and sour cream for a perfect combo of cool and crispy.
- Ready to Bake
- Slide the wraps onto your sheet, seam down so they stay put. Brush on melted butter or oil all over for crunchy shells.
- Make the Wraps
- Spoon about half a cup of mix into each warm tortilla, folding in the sides first then rolling up tight. How you fold matters so the filling doesn't sneak out.
- Prep Your Tortillas
- Nuke the tortillas for about 10 seconds or toss them on a dry skillet to get them soft. You'll find it way easier to fold them while they're still warm.
- Add Those Cheeses
- Give the beef a few minutes to cool first so your cheese doesn’t turn greasy. Mix both cheeses in and stir until the whole thing is covered in cheesy goodness.
- Spice It Up
- Once the meat's cooked through and you've drained the fat, add that taco seasoning with a splash of water. Let it bubble for a couple of minutes so the flavors really come together—it should be moist, not soupy.
- Browning the Beef Mix
- Cook onions and garlic with the ground beef over medium, breaking up any clumps. You want the onions to go see-through and no bits of pink left. Drain off extra fat or you'll have soggy wraps.
- Heat the Oven
- Crank the oven to 400°F, put some parchment or a bit of oil on your baking sheet. This keeps the wraps from sticking and gets that outside extra crisp.
- Flip for Golden Goodness
- Bake those bundles about 20–25 minutes. Turn them over halfway so every side gets brown. You'll know they're done if they look deeply golden and sound hollow when tapped.
The best part has to be when they come out of the oven looking gorgeous and crunchy. The first crispy bite totally brings me back to sharing these with my family for the first time—everyone grinning at the table.
Prep Ahead Ideas
These beef cheese wraps are lifesavers for busy nights because you can get a jump on them. Make the beef filling up to two days early and tuck it in the fridge. Just warm it a bit when you're ready to use it. You can even completely assemble the wraps ahead and chill for up to four hours—just add five extra minutes to the baking time straight from the fridge.
Ways to Mix It Up
This basic version is great, but you can totally get creative. Swipe in some refried beans under the beef for more creaminess. Try tossing in chopped bell peppers or jalapeños for veggies and heat. Swap in ground turkey or chicken if you want something lighter. Even a swoosh of guacamole at the end gives you a cool, creamy twist.
How to Serve It
Make a whole meal out of these wraps by adding easy sides. A fresh salad with a squeeze of lime keeps things bright. Whip up some Spanish rice for a classic touch. Or, go big with a toppings bar—set out chopped tomatoes, sliced olives, lettuce, and all kinds of hot sauce so everyone can build their own plate.
Help! My Wraps Aren't Crunchy
If your wraps turn out kind of soggy, check that you drained the beef mix well and didn't add the cheese too early. For extra leak protection, sprinkle a tiny layer of cheese right onto the tortilla first—the melted cheese creates a seal. If tortillas split when rolling, they're too cold, so give them a good warm-up before filling.
Common Questions About This Recipe
- → What’s the best way to make sure they’re crispy?
For that perfect crunch, generously brush the wraps with melted butter or oil before tossing them in the oven. Flip them halfway so they brown evenly.
- → Can I swap the beef for another protein?
Definitely! Ground turkey, chicken, or plant-based meat options all work great depending on your preferences.
- → How do I stop the tortillas from breaking?
If your tortillas tear, try warming them briefly in the microwave or heating them on a skillet. They’ll be more flexible and easier to wrap.
- → What can I use instead of Monterey Jack cheese?
No Monterey Jack? No problem. Mozzarella or any other mild, melty cheese works as a good replacement.
- → Can I prep these ahead of time?
Yep! Assemble the wraps, pop them in an airtight container, and refrigerate. When it’s time to serve, just bake them fresh.