
 Pin
Pin
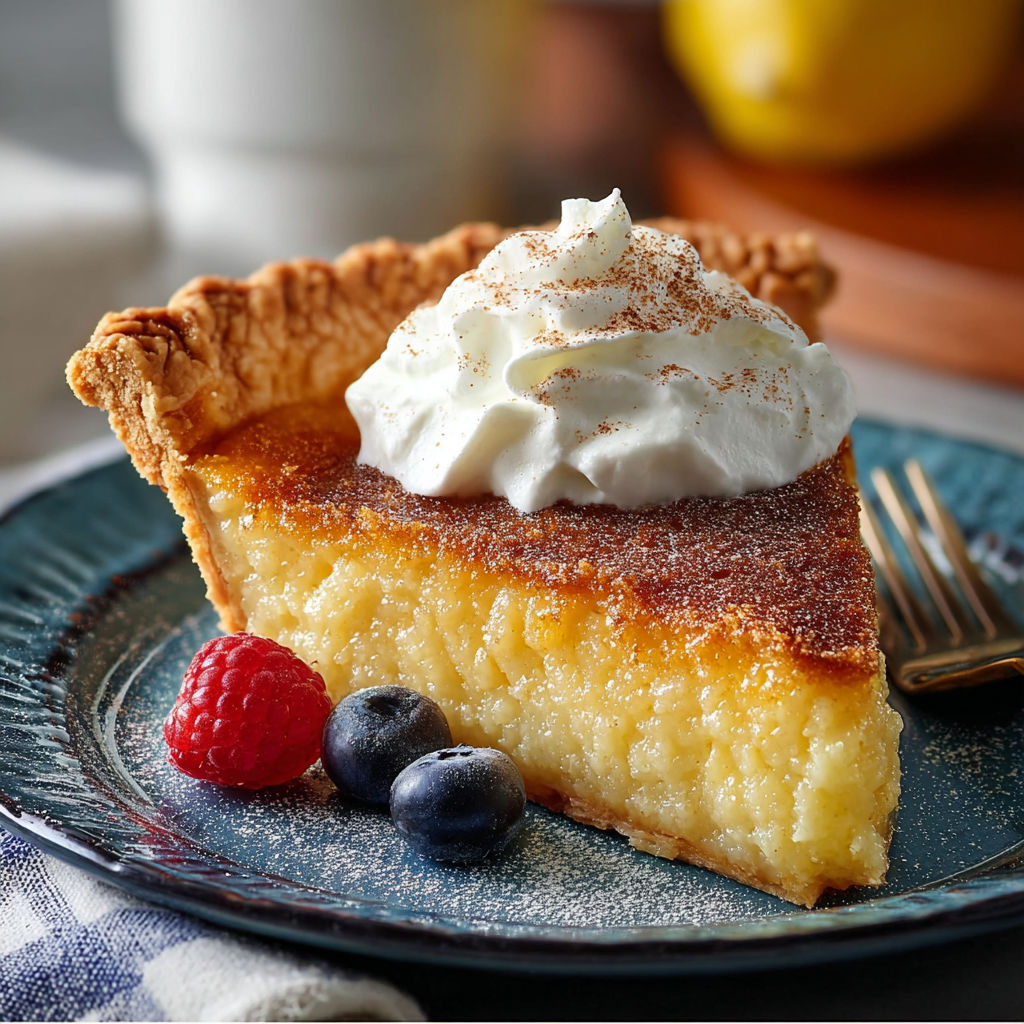
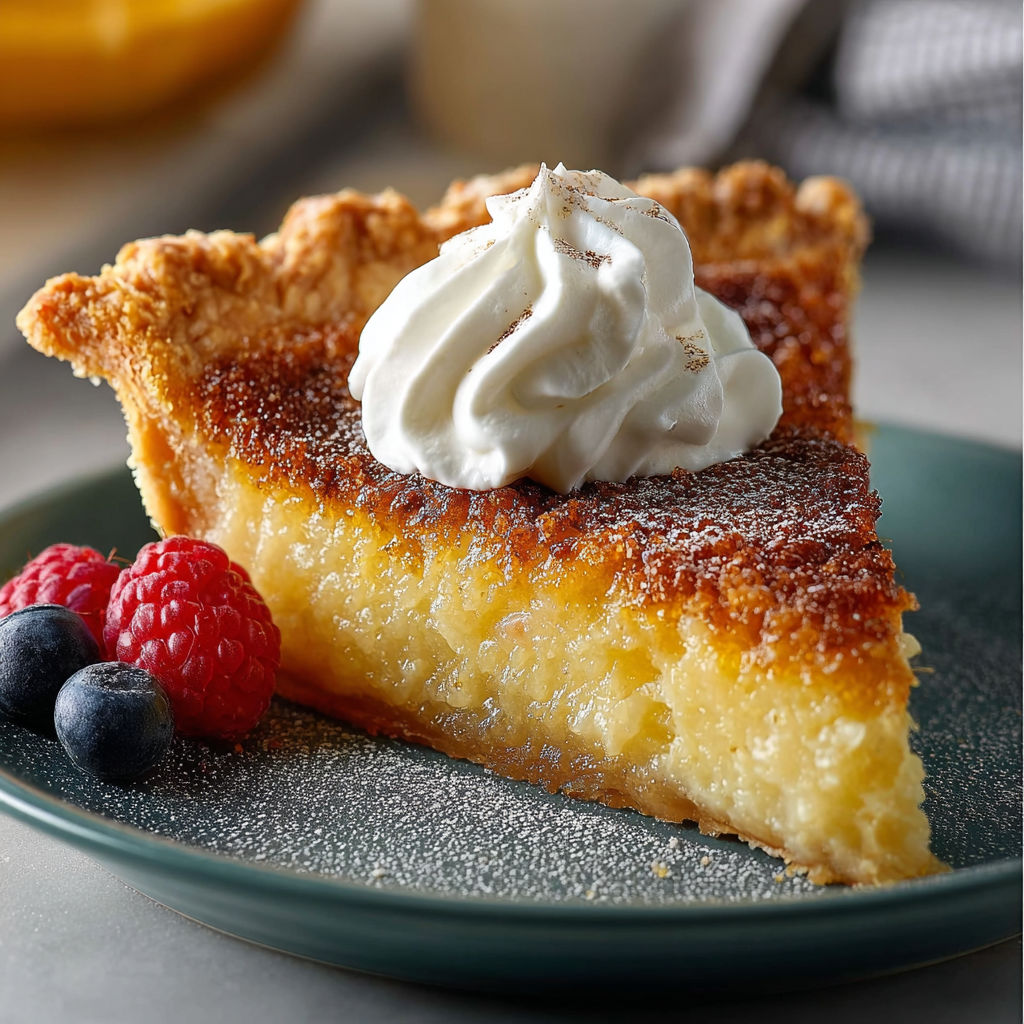
This classic Southern buttermilk pie recipe is beloved for its silky, custard like filling and the perfect sweet tangy balance that truly transports you right to grandma's kitchen. Ready in just over an hour including 35 minutes of hands on prep and 45 minutes of baking, this old fashioned buttermilk pie is the ultimate make ahead Southern dessert. With its velvety texture, subtle vanilla lemon aroma, and heritage flavor, it's a show stopping treat you'll love for both special occasions and easy weeknight endings.
I first found this old fashioned buttermilk pie recipe handwritten in my grandmother's cookbook more than two decades ago, when I was searching for a way to use up extra buttermilk. Since then, it has become the most requested dessert at our holiday table, and sometimes the only pie my family asks for. I love how it's simple to make, yet never fails to deliver the nostalgic flavor and creamy, satisfying texture of truly timeless Southern baking.
Gather Your Ingredients
- All purpose flour for the crust: Choose unbleached flour for the best flaky structure in the pie crust, and measure by spooning and leveling for precision. You can substitute with a gluten free 1 to 1 blend for a dietary friendly alternative.
- Salt: Essential for enhancing both crust and custard flavors. Fine sea salt offers clean, even seasoning but table salt works in a pinch.
- Shortening: Creates a classic, tender Southern pie crust. Use high quality vegetable shortening for best results, or swap with cold unsalted butter for richer flavor.
- Cold 2 percent milk: Binds the crust dough without toughening it. Use ice cold milk for maximum tenderness; non dairy milk also works if needed.
- Large egg for crust: Adds richness and helps with binding the dough together. Use at room temperature for even mixing; can be replaced with a flax egg for plant based needs.
- Butter, softened: The creamy foundation of the custard filling. Always use real unsalted butter softened for 1 hour at room temperature, and avoid margarine for the purest taste.
- Sugar: Granulated sugar sweetens and balances the buttermilk tang. Cane sugar is ideal, but you can substitute up to one quarter cup with honey for a floral note.
- All purpose flour for custard: Thickens the filling to perfect consistency. Sift it before adding to avoid lumps, and use gluten free flour if needed.
- Large eggs for filling: Three large eggs give the custard structure, richness, and a silky finish. Fresh farm eggs offer the brightest color and best flavor.
- Buttermilk: The essential ingredient for authentic tangy flavor and signature thickness. Use real cultured buttermilk instead of milk with lemon juice for the best results.
- Vanilla extract: Adds warmth and aromatic depth to the filling. Use pure vanilla for richer flavor or bourbon vanilla for a subtle twist.
- Ground cinnamon: Imparts gentle spice and warmth. Use high quality ground cinnamon—freshly opened—for the best aroma, and feel free to increase for more complexity.
- Lemon juice: Brightens the pie and lifts the tang, while enhancing the overall balance of flavors. Fresh squeezed juice works best, and a little grated lemon zest is a lovely optional addition.
How to Make Old Fashioned Buttermilk Pie
- Prepare the Pie Crust:
- Preheat your oven to 350°F. In a large bowl, whisk the flour and salt to blend. Cut the shortening into the mixture with a pastry cutter until it resembles coarse crumbs with visible pea sized bits for maximum flakiness. Slowly incorporate the cold milk and beaten egg, using a fork to mix until just combined. Shape into a disk, wrap in plastic, and chill for fifteen minutes for easier rolling and tenderness.
- Roll and Form the Crust:
- On a lightly floured surface, roll the chilled dough to a 12 inch circle about 1/8 inch thick. Gently transfer to a 9 inch pie plate, folding in quarters and then unfolding. Trim the edges to a one half inch overhang, fold under, and crimp for a decorative finish. Refrigerate the crust for ten minutes before filling to help prevent sogginess during baking.
- Create the Custard Filling:
- Cream the softened butter and sugar together in a large bowl with a hand or stand mixer at medium speed until pale and fluffy, about three to four minutes. This step aerates the butter for a lighter filling. Blend in the flour until just no streaks remain. Beat in the three eggs, one at a time, allowing each to fully incorporate for about thirty seconds.
- Blend in Remaining Ingredients:
- Stir in the buttermilk, vanilla, cinnamon, and lemon juice until just combined. The mixture may look slightly curdled; this is normal and will bake out. Pour the custard into the chilled crust, filling about three quarters full to account for puffing during baking.
- Bake to Perfection:
- Bake in your preheated oven for forty five to fifty minutes. The filling should be set with a gentle center jiggle and a golden top, registering 165°F if checked with an instant read thermometer. If the edges brown too quickly, shield them with foil after twenty five minutes. Remove the pie and let cool completely to room temperature for at least two hours for the custard to set.
- Cool and Serve:
- Let the pie cool on a wire rack. For optimal flavor and structure, refrigerate overnight, then bring to room temperature before slicing and serving with toppings of your choice. Your buttermilk pie is now ready for sharing and enjoyment.
I learned to fold a pinch of cinnamon into buttermilk pie one summer while baking with my Aunt in Georgia, who swore by the extra layer of warmth it gives the custard. Her secret touch turned out to be a game changer—now every guest asks for the recipe and tries to guess what gives it that memorable undertone. Those little discoveries, handed down through family or found by happy accident, make each bake truly special and unique.
Smart Swaps and Variations
Old fashioned buttermilk pie is wonderfully adaptable, and you can create exciting new flavor twists with a few strategic changes. For a bright citrus version, increase the lemon juice and add lemon zest, which makes the pie extra refreshing for summer gatherings. Swap in bourbon paired with reduced vanilla for a more complex, grown up dessert. If you’re baking gluten free, a 1 to 1 gluten free flour blend works beautifully in place of regular flour for both the crust and the filling, so nobody misses out on this Southern classic.
How to Store and Reheat Buttermilk Pie
Buttermilk pie stores very well, making it an ideal make ahead dessert option. Cover the entire pie or individual slices loosely with plastic wrap or place in an airtight container in the refrigerator for up to four days. For longer storage, wrap slices or the whole pie tightly in both plastic wrap and aluminum foil, then freeze for up to two months. To enjoy leftovers, thaw overnight in the refrigerator and bring to room temperature before serving, or gently reheat slices in a 300°F oven for five to ten minutes for a just baked experience.
What to Serve with Buttermilk Pie
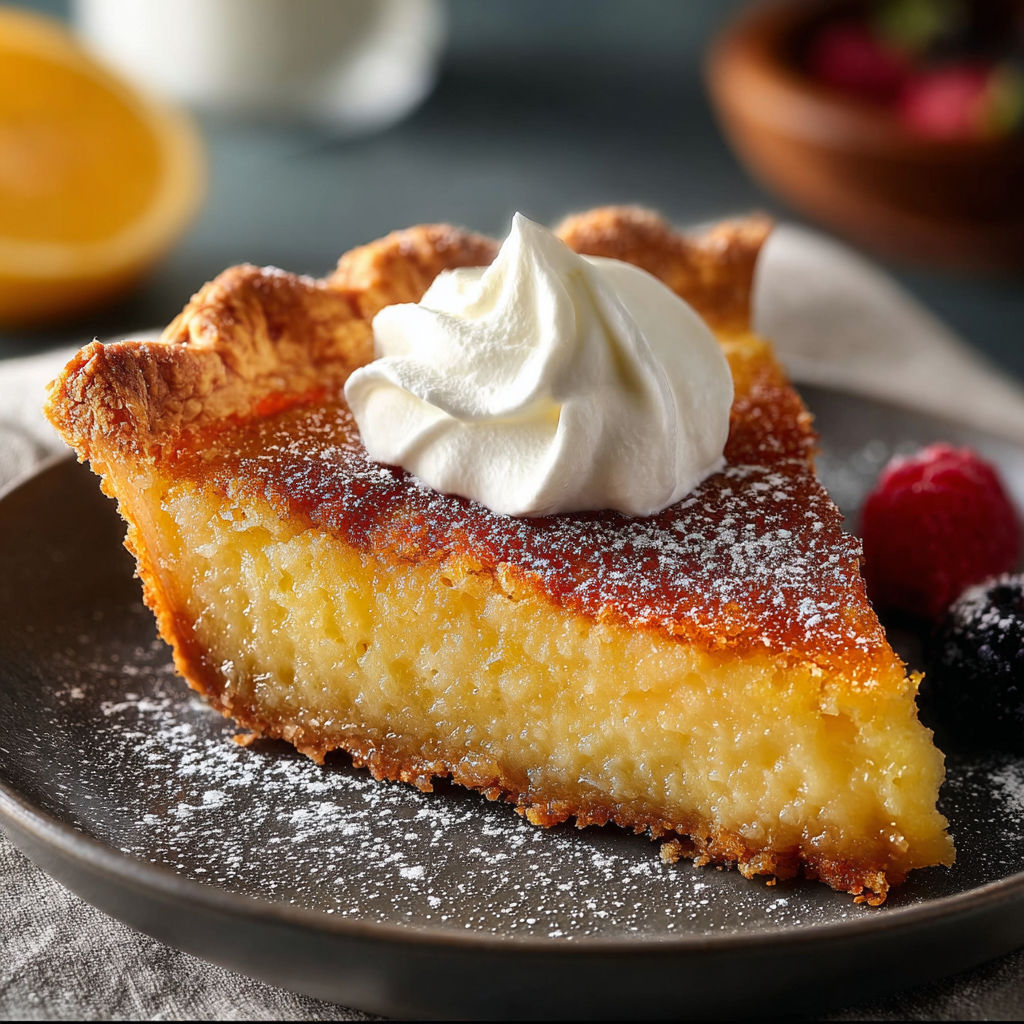
Enhance your buttermilk pie experience with thoughtfully chosen accompaniments. Fresh berries such as strawberries, raspberries, or blueberries provide a pop of color and tartness to balance the sweet, creamy custard. Top with homemade softly whipped cream, lightly sweetened and flavored with a touch of vanilla or bourbon, for a cloud like finish. For an indulgent touch, drizzle with warm caramel sauce or serve alongside strong coffee or a scoop of vanilla bean ice cream for a decadent and memorable dessert pairing.
Nutritional Benefits
Even as a classic treat, buttermilk pie offers several nutritional perks compared to richer desserts. Cultured buttermilk supplies calcium, probiotics, and protein without the excess fat of heavy cream, while contributing its characteristic fresh tang. Eggs in the recipe boost protein content and add vitamins including D and choline, important for muscle and brain health. For a slightly lighter option, you can reduce the sugar by up to a quarter cup without sacrificing structure, making the recipe more flexible for different dietary needs.
Recipe Success Tips
To get a flawless buttermilk pie every time, avoid overmixing after adding the buttermilk; a gentle hand preserves the air in the batter for a light, creamy texture. Always test for doneness by gently shaking the pie: the center should jiggle slightly but not be liquid, and residual heat will finish the interior perfectly. If you see deep cracks on top, the pie likely baked a few minutes too long or at too high a temperature, so next bake, check five minutes early or lower the oven by 25°F for a gently set custard.
This old fashioned buttermilk pie is the heart of many family celebrations in my home, earning its title as our all time favorite dessert. Try it for your next special gathering—you’ll understand why this Southern classic continues to inspire joyful traditions generation after generation.
Common Questions About This Recipe
- → What type of buttermilk is best for buttermilk pie?
Use full-fat or low-fat cultured buttermilk for a creamy texture and subtle tang, enhancing the overall richness.
- → How do I know when the pie is fully baked?
The pie is done when the center jiggles slightly but is mostly set. A knife inserted near the center should come out clean.
- → Can I make buttermilk pie crust ahead of time?
Yes, prepare the crust in advance and refrigerate or freeze until ready to fill and bake for added convenience.
- → Are there any topping suggestions for serving?
Top with whipped cream, fresh berries, or a light dusting of powdered sugar for an elegant finish.
- → What’s the best way to store leftovers?
Cool the pie fully and refrigerate covered for up to three days to maintain freshness and texture.