
 Pin
Pin
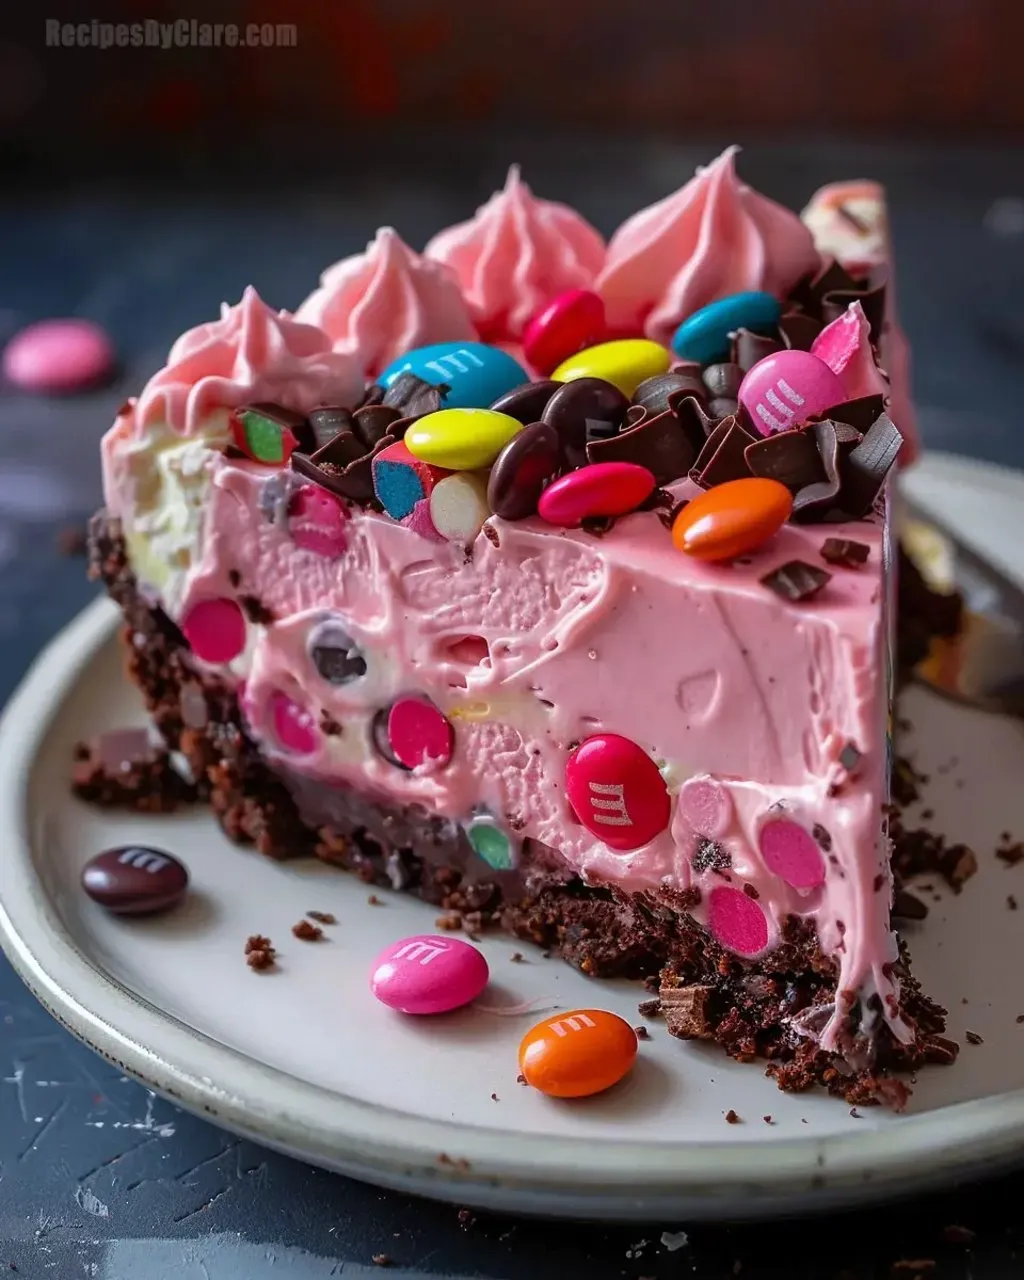
This dreamy pink cheesecake blends the mouthwatering tastes of Snickers and M&Ms into a knockout treat that doesn't need baking. It's just right for birthday parties, Valentine's celebrations, or any time you want to wow your guests without heating up the kitchen. The smooth, chocolate-mixed filling gets a fun pink twist while bits of candy add crunch and sweetness in every bite.
I whipped this up for my niece's birthday the first time, and everyone loved it so much that my family asks for it at practically every get-together now. Grown-ups enjoy those candy flavors from their childhood just as much as kids go crazy for that pretty pink color!
Ingredients
- Crushed Oreos or graham cracker crumbs make a sturdy base that stands up nicely to the soft, creamy layer on top
- Cream cheese gives you that classic tangy cheesecake flavor and silky-smooth feel – don't go for low-fat here
- Melted chocolate makes the cake firmer and tastier without any baking – grab some good semisweet for just the right sweetness
- Snickers bars mix in chewy caramel, fluffy nougat and crunchy peanuts that break up the smooth texture
- Pink food coloring turns this into something extra special – the gel type works way better for bright colors without making the mix runny
- M&Ms sprinkled on top look fantastic and give you that satisfying candy crunch when you take a bite
Step-by-Step Instructions
- Fix the Bottom Layer
- Smash your Oreos or graham crackers into tiny bits with no chunks left. Stir in melted butter until it looks like damp sand. Push it down hard into your springform pan with a measuring cup to make it flat and tight. Don't skip the cooling time – it helps the base get nice and solid.
- Get the Chocolate Ready
- Heat your chocolate chips slowly and keep stirring so they don't burn. Your melted chocolate should be totally smooth with no bumps, but not too hot when you mix it in. Let it cool a bit so it blends in without making clumps or streaks.
- Mix the Main Filling
- Whip the cream cheese until it's super smooth before you add anything else – this stops lumps from forming. Powdered sugar works better than regular sugar and keeps everything silky. When you add your melted chocolate, pour it in slowly while mixing so it spreads evenly throughout.
- Turn it Pink
- Take a small part of your filling first when adding the food color – this helps you control how bright it gets. Slowly mix this colored part back into the main bowl until you get the pink shade you want. Keep in mind it'll look a bit lighter after you fold in the whipped cream.
- Add the Whipped Cream
- Beat your heavy cream until it forms stiff peaks that stay up when you lift the beaters. Use a gentle scooping motion to mix it with the filling so it stays fluffy. This step makes the whole thing wonderfully light.
- Put it Together and Cool
- Pour your filling onto the crust all at once, then spread the top smooth with a flat spatula. You absolutely need at least 4 hours of cooling time for it to set up right – leaving it overnight works even better for perfect slices.
- Add Toppings and Serve
- Slide a thin knife around the edge before opening the springform pan. Put your toppings on just before you serve so they look their best. Cut slices with a knife dipped in hot water and wiped clean between cuts for the prettiest pieces.

I think of melted chocolate as my hidden trick in this dessert. Many no-bake cheesecakes just count on cooling to hold together, but the chocolate gives it strength while making it taste better too. I figured this out after making a regular cheesecake that fell apart when I tried to serve it – that won't happen again!
Make-Ahead and Storage
This cheesecake actually tastes better after a day as all the flavors blend together nicely. You can make it up to two days before your event—just wait to put the fancy toppings on until right before serving. Keep any leftover slices covered in the fridge for up to 5 days. Want to save it longer? Wrap single pieces tightly in plastic and stick them in freezer bags. Let them thaw in the fridge overnight to get back that smooth texture.
Flavor Variations
The pink version looks amazing, but you can switch things up for different events. Try making it mint green with Mint M&Ms for Christmas, or go orange with Reese's Pieces for a Halloween treat. Want something fancier for the grown-ups? Skip the food coloring and add 2 tablespoons of coffee liqueur while cutting back a bit on the vanilla. This flexible recipe works great with almost any candy mixed in.
Serving Suggestions
This eye-catching dessert deserves to be shown off. Put it on a pretty cake stand with fresh berries scattered around the bottom to contrast with the pink filling. For birthday parties, put candles around the edge instead of poking them into the soft center. Enjoy it with coffee or milk at casual gatherings, or pair it with champagne at adult parties—the bubbly tartness cuts through the richness just right.
Troubleshooting Tips
If your filling seems too runny after mixing, stick it in the fridge for 30 minutes before pouring it onto the crust. This stops it from soaking into the bottom layer. Did your chocolate get lumpy while melting? Add a teaspoon of vegetable oil and stir until it smooths out. If your cheesecake still feels too soft after chilling, it probably just needs more time in the fridge—all refrigerators run at slightly different temps.
Common Questions About This Recipe
- → Can I switch out the crust ingredients?
Sure thing! You can swap the graham crackers or Oreos for digestive cookies, vanilla wafers, or any crunchy cookies you like.
- → How do I get a lump-free filling?
Make sure your cream cheese isn't cold and beat it thoroughly with the sugar before you add anything else.
- → Do I have to make it pink?
Not at all! The food coloring just makes it look pretty. It'll taste just as yummy without any color added.
- → What works instead of Snickers?
Try other candy bars like Milky Way or Twix, or go with some chopped nuts and caramel sauce for similar taste and crunch.
- → How long should it stay in the fridge?
Give it at least 4 hours to firm up, but leaving it overnight works even better.
- → Can I make this before my party?
You bet! You can make it up to two days before and keep it in your fridge until party time.