
 Pin
Pin
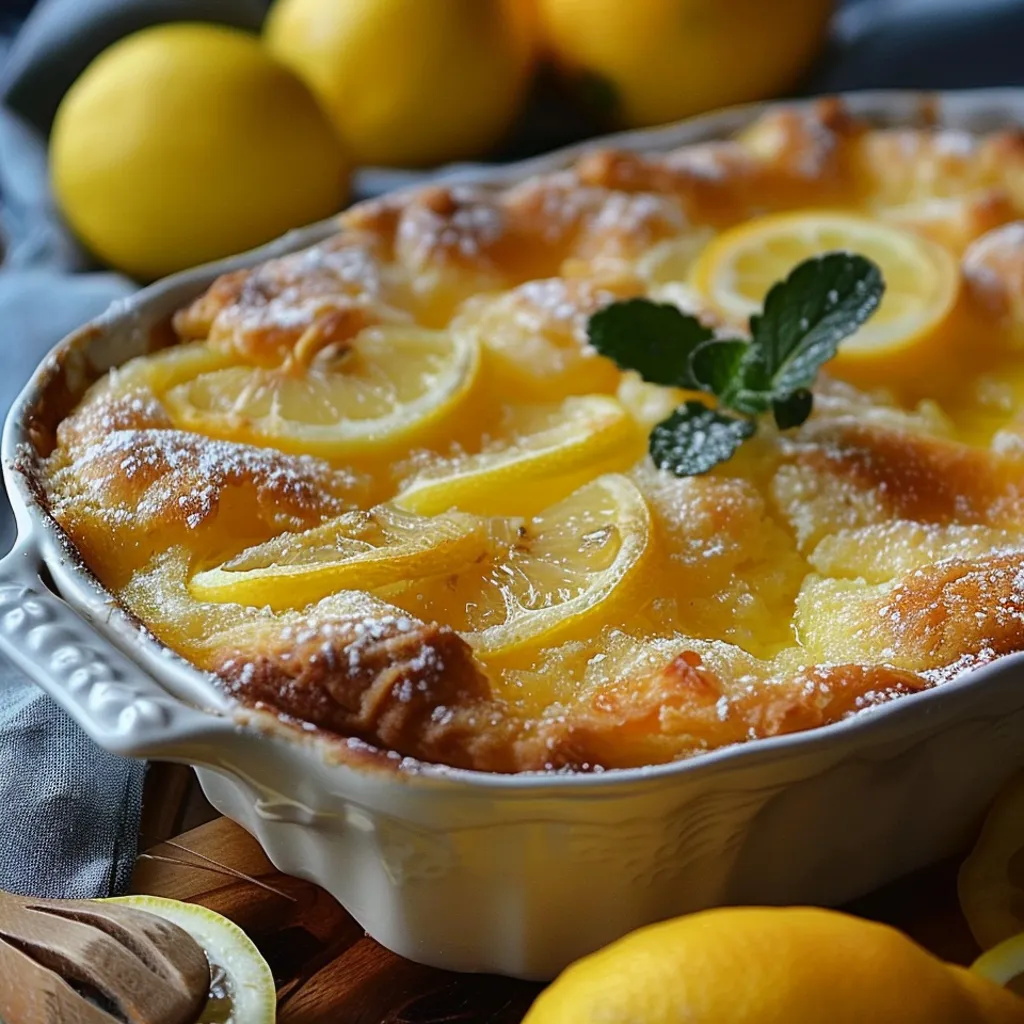
This hearty Magic Lemon Cobbler transforms simple ingredients into a dessert marvel with just minutes of prep time. The incredible chemistry between buttery batter and tangy lemon creates distinct layers that seem to magically arrange themselves during baking.
I discovered this recipe during a rainy weekend when my citrus cravings hit hard. After watching the magical transformation happen in my oven, it became my go-to impressive dessert for last-minute dinner guests.
Ingredients
- Unsalted Butter: 1/2 cup provides essential richness and creates that irresistible crispy golden edge
- All Purpose Flour: 1 cup gives structure while maintaining a tender crumb
- Baking Powder: 1 1/2 teaspoons creates the perfect lift, ensuring a fluffy cobbler top
- Salt: 1/4 teaspoon enhances all flavors, especially important for highlighting the lemon
- Granulated Sugar: 1 cup balances the tart lemon while helping caramelize the edges
- Buttermilk: 1 cup adds tang and creates an incredibly tender texture
- Vanilla Extract: 1 teaspoon rounds out the flavor profile with warm aromatic notes
- Lemon Extract: 1 teaspoon optional but intensifies the citrus experience throughout
- Lemon Pie Filling: 21 oz can delivers concentrated lemon flavor without requiring fresh fruit
Step-by-Step Instructions
- Preheat and Melt Butter:
- Preheat your oven to 350°F. Place the stick of butter in your 9×9-inch baking dish and set it in the oven while it preheats. Let the butter melt completely until it bubbles slightly at the edges but doesn't brown. This creates a perfect foundation for the batter and helps develop that signature crisp edge.
- Mix the Batter:
- In a large mixing bowl, whisk together flour, baking powder, salt, and sugar until thoroughly combined. Make a well in the center and pour in the buttermilk, vanilla extract, and lemon extract if using. Stir with a wooden spoon just until the mixture comes together into a thick, smooth batter. Avoid overmixing which can make your cobbler tough.
- Layer the Ingredients:
- Remove the hot baking dish with melted butter from the oven. Pour the batter directly over the melted butter without stirring. The batter will float on top of the butter creating distinct zones. Next, carefully spoon the lemon pie filling over the batter, distributing it evenly in dollops across the surface.
- Bake to Perfection:
- Place the baking dish in the center rack of your preheated oven. Bake for 45-55 minutes, watching for the top to become golden brown and puffed. The edges will rise higher than the center, creating a beautiful crater effect where you can see the lemon filling peeking through. The cobbler is done when a toothpick inserted into the cakey portions comes out clean.
The magic in this cobbler lies in its simplicity. My family constantly requests this dessert because it delivers such extraordinary results with ordinary ingredients. I particularly love how the edges get crispy from the butter while the center stays tender and moist.
Storage Tips For Success
This cobbler maintains its delightful texture for up to three days when stored properly in the refrigerator. Cover the baking dish with plastic wrap once completely cooled. When reheating individual portions, microwave for 20-30 seconds until just warmed through. The cobbler will release some moisture upon reheating which creates an even more pudding-like consistency many people actually prefer.
Seasonal Variations
While this recipe works beautifully with canned lemon filling, you can elevate it further with seasonal adaptations. During summer months, fold fresh blueberries into the lemon filling for a blueberry-lemon cobbler that showcases the classic flavor pairing. In winter, add a teaspoon of orange zest to the batter and substitute orange marmalade for a portion of the lemon filling to create a complex citrus profile that brightens dark evenings.
Making It Your Own
This forgiving recipe welcomes your personal touch. For a more intense lemon experience, add the zest of one lemon to the batter. Create a coconut variation by substituting coconut milk for half the buttermilk and sprinkling shredded coconut over the top before baking. For a special occasion, serve with a dollop of lavender-infused whipped cream that complements the lemon beautifully.
Common Questions About This Recipe
- → Can I use fresh lemons instead of lemon pie filling?
While the recipe calls for lemon pie filling or lemon curd, you can make a homemade version using fresh lemons. Combine 1 cup sugar, 3 tablespoons cornstarch, 1 cup water, 3 egg yolks, 1/4 cup lemon juice, and 2 tablespoons butter in a saucepan. Cook until thickened for a fresh alternative to store-bought filling.
- → Why is it called 'Magic' Lemon Cobbler?
The 'magic' refers to how the layers transform during baking. The lemon filling, which starts on top, sinks to create a pudding-like bottom layer while the batter rises to form a cake-like top. This self-sorting of layers creates a magical two-texture dessert without extra effort.
- → Can I make this dessert ahead of time?
Yes! You can prepare Magic Lemon Cobbler up to 24 hours ahead and refrigerate before baking. For best results, bring it to room temperature before baking. Already-baked cobbler keeps well refrigerated for up to 3 days - simply reheat individual portions in the microwave for 20-30 seconds.
- → What can I serve with Magic Lemon Cobbler?
This dessert pairs beautifully with vanilla ice cream, freshly whipped cream, or a simple dusting of powdered sugar. For an extra citrus touch, add a few fresh berries or a thin slice of lemon as garnish. A sprig of mint adds a refreshing contrast to the sweet-tart flavors.
- → Can I make this cobbler with other fruit fillings?
Absolutely! While lemon creates the classic version, you can substitute other fruit fillings like blueberry, cherry, or peach with excellent results. The magic layer transformation works with most fruit fillings, though you may need to adjust the sugar in the batter depending on how sweet your chosen filling is.
- → Why shouldn't I stir the batter into the melted butter?
Keeping these layers separate is crucial for the cobbler's signature texture. The melted butter helps create a golden, slightly crisp exterior as it bakes with the batter. Stirring would incorporate the butter too evenly, preventing the formation of that delightful crust around the edges.