
 Pin
Pin
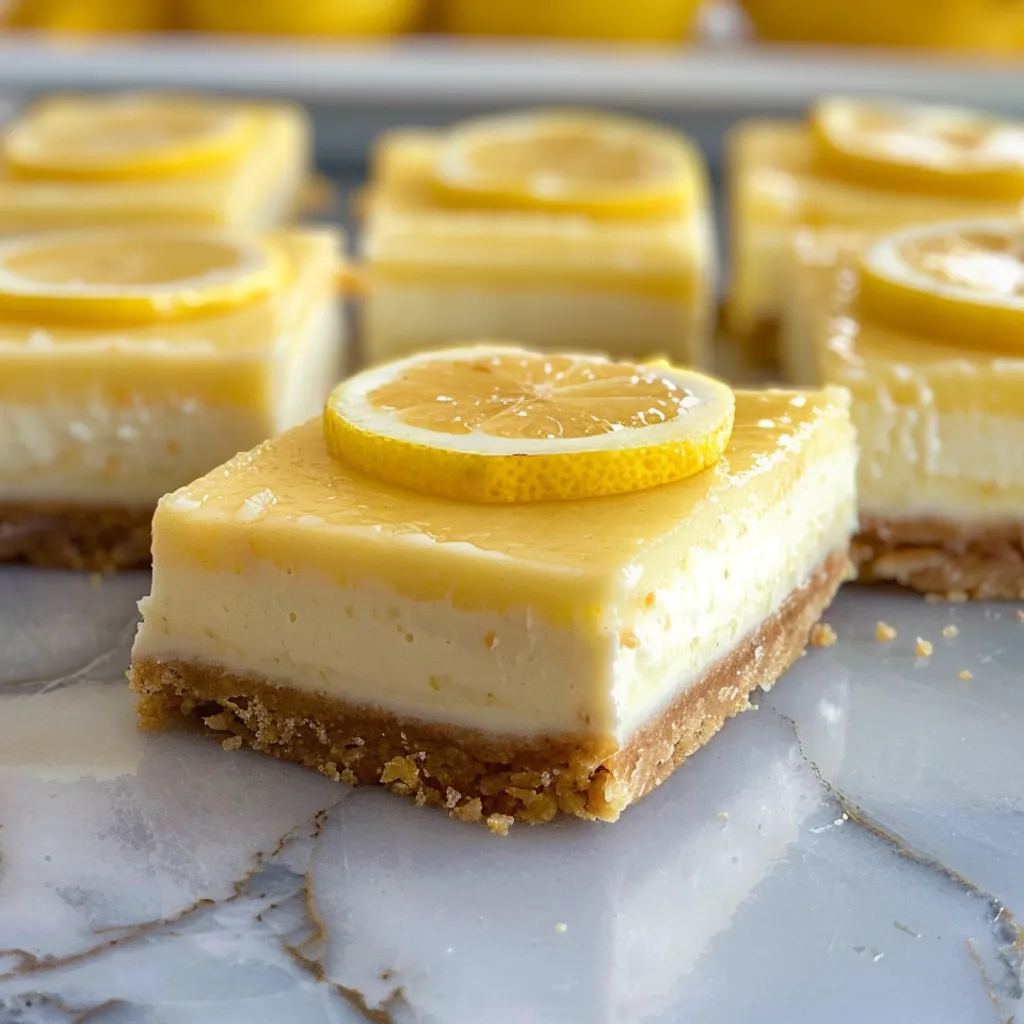
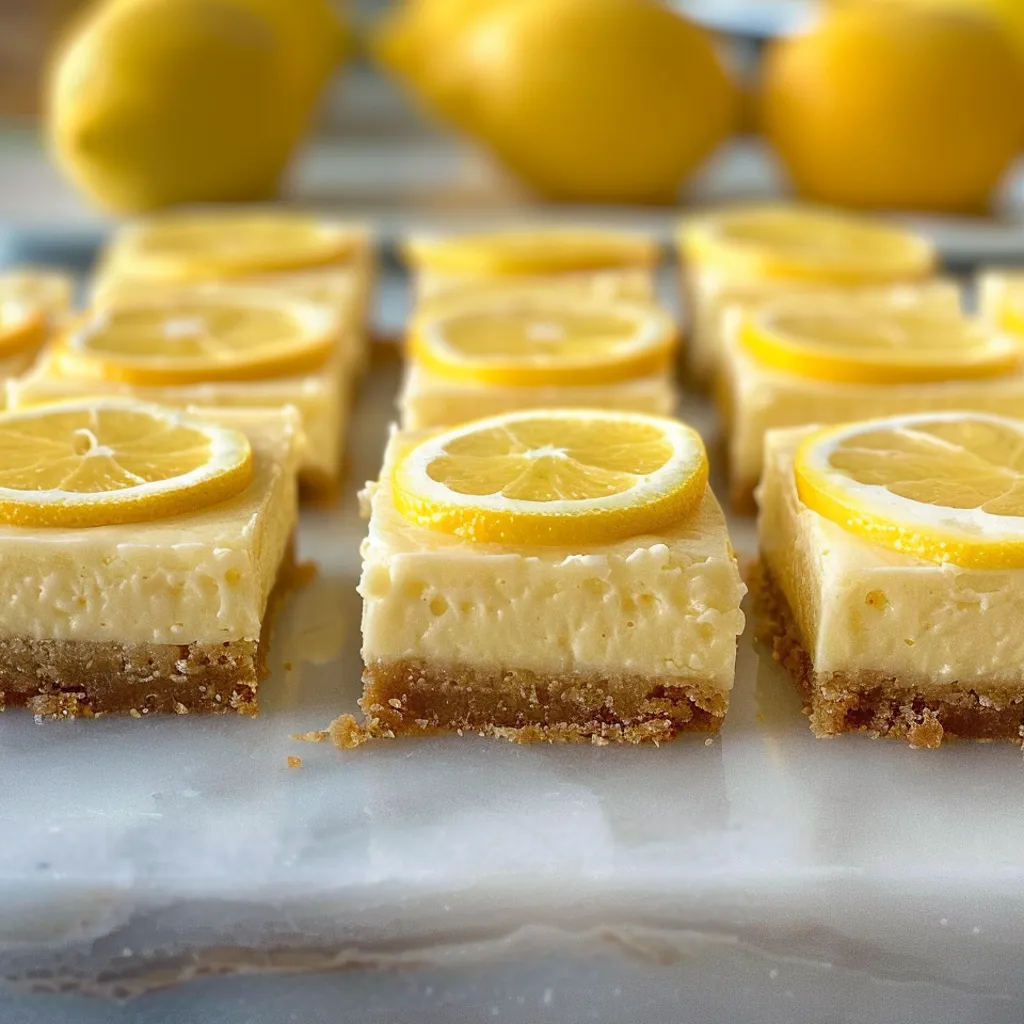
This no-bake lemon cheesecake bar recipe brings back memories of my grandmother's summer gatherings. The refreshing citrus flavor combined with the creamy texture creates a dessert that's both nostalgic and impressively simple to make without turning on the oven.
I first made these bars for a garden party when my oven broke unexpectedly. They were such a hit that they've become my go-to dessert whenever I need something foolproof yet special.
Ingredients
- Digestive biscuits or Graham Crackers: Provide the perfect crumbly base with just the right amount of sweetness. Look for ones without added flavors for a clean taste.
- Butter: Binds the crust together while adding richness. Use unsalted for better control over the final flavor.
- Lemon jelly: Gives these bars their signature set and tangy flavor. Choose a quality brand for the best results.
- Hot water: To dissolve the jelly completely, ensuring there are no lumps in your filling.
- Cream cheese: Creates that classic cheesecake texture. Allow it to come to room temperature for easier mixing.
- Evaporated milk: Adds creaminess without thinning the mixture too much. The concentrated milk solids give better structure.
- Lemon juice: Brightens the flavor with natural acidity. Fresh is always best here.
- Lemon zest: Intensifies the citrus notes with aromatic oils. Use organic lemons if possible for zesting.
- Caster sugar: Dissolves more readily than granulated, creating a smoother texture. The superfine crystals blend seamlessly.
Step-by-Step Instructions
- Prepare Your Pan:
- Line your tin with baking parchment ensuring it comes up the sides for easy removal later. Take time to press the paper into the corners for clean edges on your finished bars.
- Create The Perfect Base:
- Crush Digestives or Graham Crackers until they become fine crumbs with no large pieces remaining. Melt butter until just liquid but not hot, then combine thoroughly with the crumbs until every bit is coated. Press this mixture firmly and evenly into your prepared tin, using the back of a spoon to compact it. Refrigerate for at least two hours to set completely.
- Prepare The Filling Base:
- Dissolve the lemon jelly in hot water, stirring continuously until no crystals remain. Set aside to cool but not set, aiming for room temperature. Meanwhile, beat the cream cheese until completely smooth and free of lumps, taking your time with this step for the silkiest result.
- Combine The Filling Ingredients:
- Add sugar, lemon juice, lemon zest, and evaporated milk to the cream cheese, mixing thoroughly between each addition. The mixture should be smooth and uniform before moving forward. Slowly incorporate the cooled jelly mixture in a steady stream while continuously beating to prevent any separation.
- Assemble And Set:
- Pour the filling carefully over the chilled biscuit base, ensuring it spreads evenly to the edges. Tap the tin gently on the counter to release any air bubbles. Refrigerate overnight for the best set, though at minimum four hours will be needed for the filling to firm up properly.
My grandmother always insisted on using fresh lemons for this recipe, claiming the bottled juice would never give the same bright flavor. She would zest her lemons with a small cheese grater reserved only for citrus, a tradition I continue in my kitchen today.
Storing Your Cheesecake Bars
These cheesecake bars keep wonderfully in the refrigerator for up to 5 days when stored in an airtight container. I recommend placing squares of parchment paper between layers if you need to stack them. For longer storage, these bars freeze beautifully for up to 3 months. Wrap individual portions tightly in plastic wrap then foil before freezing, and thaw overnight in the refrigerator before serving.
Clever Substitutions
This versatile recipe welcomes many adaptations. For a gluten free version, substitute the Digestives with gluten free cookies or a mixture of ground nuts and dates. Dairy free cream cheese and coconut cream can replace the traditional dairy elements with minimal texture change. For different flavor profiles, try orange, lime, or raspberry jelly instead of lemon while adjusting the citrus juice and zest to match.
Serving Suggestions
These lemon cheesecake bars shine when paired with fresh berries, particularly raspberries or blueberries which complement the citrus notes beautifully. A light dusting of powdered sugar just before serving adds an elegant touch. For special occasions, serve with a small dollop of lightly whipped cream and a sprig of fresh mint. I often cut them into smaller portions for afternoon tea or larger squares for a more substantial dessert.
The History Behind The Bars
This recipe emerged during the 1950s and 60s when convenience foods like packaged jelly became household staples. Often featured in community cookbooks and passed between neighbors, these no bake cheesecake bars represent a clever adaptation of traditional baked cheesecake for busy households. The addition of evaporated milk, another post war pantry staple, creates a silky texture without the need for heavy cream, making this truly a recipe born of practical innovation.
Common Questions About This Recipe
- → Can I use Graham Crackers instead of Digestive biscuits?
Yes, Graham Crackers make an excellent substitute for Digestive biscuits in this recipe, providing a similar sweet, crisp base. The measurements remain the same at 8 oz (225g) of crackers.
- → How long do these lemon cheesecake bars need to set?
For best results, allow the bars to set in the refrigerator overnight. At minimum, they need several hours to properly firm up before slicing.
- → Can I substitute the lemon jelly with another flavor?
Absolutely! You can experiment with other jelly flavors like lime or orange for different citrus variations. Just maintain the same 3 oz (85g) measurement for consistent texture.
- → What's the best way to store these cheesecake bars?
Store the bars in an airtight container in the refrigerator for up to 3-4 days. They're best enjoyed cold and will maintain their texture when properly chilled.
- → Can I make these lemon cheesecake bars ahead of time?
Yes, these bars are perfect for making ahead. Their overnight setting requirement makes them ideal for preparing 1-2 days before serving, and the flavors often improve with time.
- → Is there a dairy-free alternative for this dessert?
You can create a dairy-free version using plant-based cream cheese, coconut milk instead of evaporated milk, and dairy-free butter for the base. The setting time may vary slightly.