
 Pin
Pin
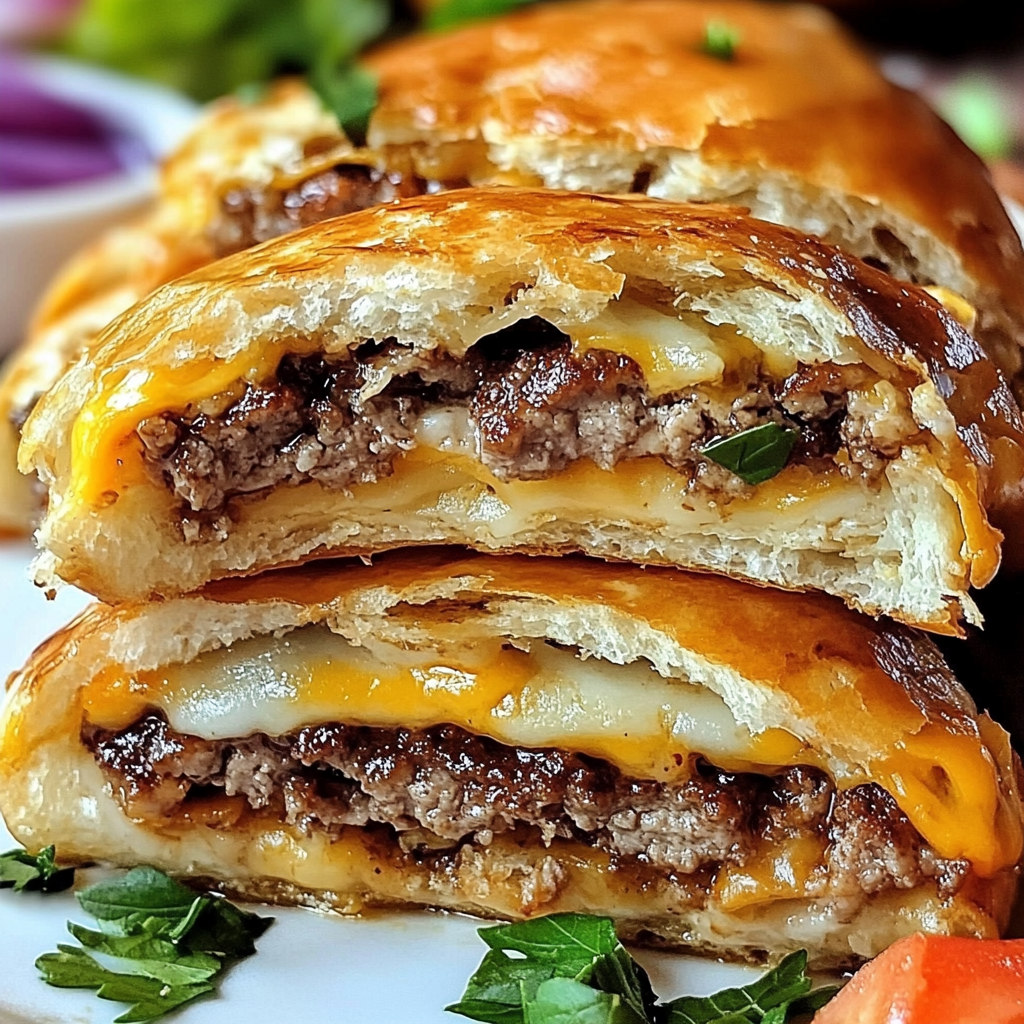
Turn classic cheeseburger flavors into handy, bite-sized snacks that everyone's gonna keep reaching for. Each cheesy, beefy bite is wrapped in a flaky biscuit that's golden on the outside and melty on the inside, capturing that burger goodness in a snackable way.
The first time I made these was when a football crew showed up out of nowhere. Everyone gobbled them up even before halftime. Now, my teens ask for them for movie marathons and always sneak leftovers into their lunchboxes.
Tasty Ingredients
- Ground beef brings juicy bite and loads of flavor in every piece
- Diced onions throw in a sweet pop and some crunch, caramelizing as they cook alongside the beef
- Diced pickles add that burger zing to cut through all the richness
- Garlic powder and onion powder make it taste like your favorite burger joint, but easier
- Melted butter goes on top for a crispy, shiny outside
- Cheddar cheese gives that gooey, cheesy pull that everyone loves inside
- Refrigerated biscuit dough keeps things quick and stress-free
- Sesame seeds finish them with that burger bun look and a bit of crunch
Easy Directions
- Rest The Bombs
- Give your cheeseburger bombs a 5-minute breather right out of the oven. This way, the cheesy inside doesn't burn your mouth and settles just a bit.
- Bake Until Golden
- Slide your bombs into the hot oven. Bake 15 to 18 minutes, or until they're deeply golden and gorgeous. The inside needs to hit 160°F so they're good and safe.
- Melt, Brush, Top
- Once the bombs are wrapped and ready, slather them with the melted butter. Drop on sesame seeds for that classic burger touch.
- Wrap Everything Up
- Grab each biscuit and flatten it gently — aim for about a 4-inch round. Scoop in nearly 2 tablespoons of filling, then pull that dough up and pinch it tight over the top so it stays sealed. Set seam-down on your sheet.
- Add Gooey Goodness
- After the beef and onion cool just a bit, stir in cheese and diced pickles if you like. It's important not to add cheese while it's too hot — otherwise, all that cheesy goodness melts out before baking even starts.
- Brown The Beef
- Cook the ground beef with onions in a skillet over medium. Toss in garlic powder, onion powder, salt, and pepper as you go. Keep it on the heat until the meat isn't pink — about 8-10 minutes. Drain fat off so the bottom doesn't get soggy.
- Get Set Up
- Fire up your oven to 375°F and get a pan ready with parchment paper so nothing sticks. Having everything laid out makes putting these together quick and easy.
Our gang loves the version with dill pickles inside best. My son was a hard no on pickles at first, but after one bite, he yelled these were 'the best ever' and now he wants extra pickle every time!
Prep In Advance
You can totally assemble these up to a full day before baking. Build your bombs, lay them on a tray, cover with plastic wrap, and pop them in the fridge. Let them sit out as the oven warms, then brush on your butter and throw on sesame seeds just before baking. If you bake straight from cold, tack on an extra 2-3 minutes.
Fun Twists
Mix things up and match to your favorite burger combos. Bacon fans, add about 1/4 cup of cooked, crumbled bacon inside. For a mushroom Swiss vibe, switch to Swiss cheese and toss in 1/4 cup sautéed mushrooms. Want heat? Stir in a tablespoon of sriracha or shake in some cayenne while you're cooking the beef.
How To Serve
Put these out with all sorts of dips — think ketchup, ranch, burger sauce, or mustard. Round out your spread with crunchy veggie sticks, a fresh salad, or a pile of fries. For extra fun, lay the bombs out on a board with lettuce leaves, cute tomato halves, and pickle spears for that burger joint feel.
Storing Leftovers
Keep extra bombs in a sealed container and just chill them — they'll last up to three days. For best reheating, pop them in a 350°F oven for about 10 minutes. A quick zap in the microwave works if you're in a hurry, but the biscuit might get a bit soft. If you've got an air fryer, reheat them at 350°F for a few minutes and the outside gets nice and crisp again.
Common Questions About This Recipe
- → What biscuit dough should I pick?
Refrigerated canned dough works perfectly! It's easy to shape and gets golden and flaky when baked. Choose a plain dough, not a sweet one.
- → How far ahead can I prep these?
You can get them ready up to a day in advance! Keep them in the fridge for no more than 24 hours before baking. Don't forget to butter and sprinkle sesame seeds before they go in the oven.
- → Is freezing an option?
Totally! After baking, store them in a sealed container in the freezer for three months tops. Warm them up in a 350°F oven till they're hot and fresh again.
- → Can I try different cheese?
Definitely! Mozzarella, pepper jack, or even combining cheeses will give you unique flavors. Cheddar is just one of the great options.
- → What dips or sides go with these?
Dip them in ketchup, mayo, ranch, or even burger sauce! Fries or a fresh salad also pair super well with these tasty snacks.